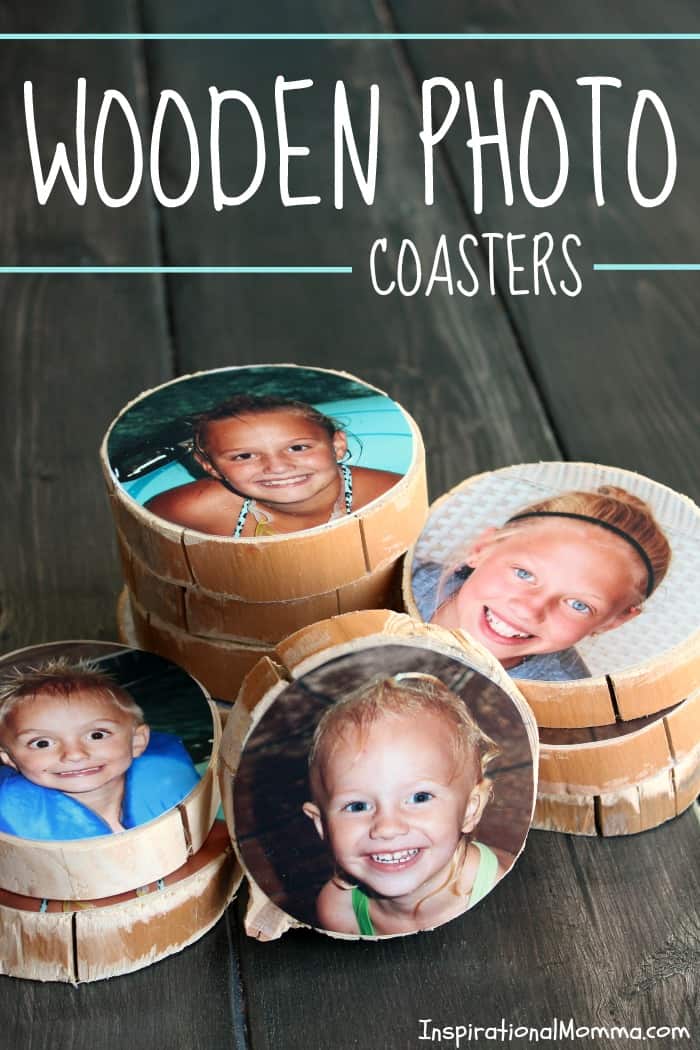
DIY Wooden Photo Coasters
- broom and dustpan
- cookie sheet
- kitchen towels
- dish scrubber
You may be wondering what this list is for! And that was exactly my thought was when I received it from my mom back in November! Did she accidentally send me her grocery list? In one of my daily phone conversations with her, I had to inquire.
What? This was her Christmas list? While these four items would be easy to find and buy, I couldn't see giving my mom four household items that truly had no meaning. It quickly became a guessing game! What to buy? I love giving unique gifts that have some sentimental meaning, but I was at a loss! That's when my mind started racing.
Before long, I had decided to create a personalized gift that would melt her heart in a second. And that is just what these DIY Wooden Photo Coasters did! While I know she would love a unique and colorful dish scrubber, I was quite confident this gift would be perfect!
Follow the simple steps below and get ready to create a sentimental gift that anyone would love!
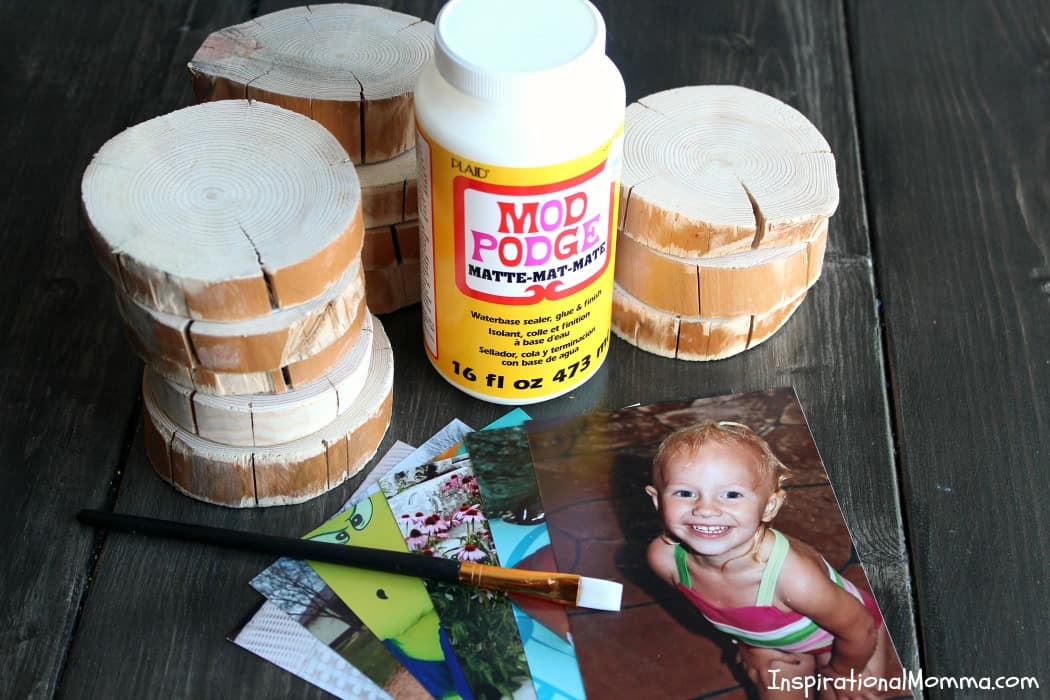
Materials Needed:
- Natural Wood Slices (mine were 1" thick and 4" wide)
- 4"x6" photos
- Mod Podge
- smaller paint brush
- sandpaper (if needed)
These DIY Wooden Photo Coasters are inexpensive and so easy to make! Let's get started!
Step 1: You must get your wooden coasters. We chose to find, collect, and cut our own. There is no restriction on what type of wood works best. We ended up using some sort of pine. You can also purchase Natural Wood Slices. No matter where you get your wood from, it is important that it is sanded smooth to make sure your photos adhere well.
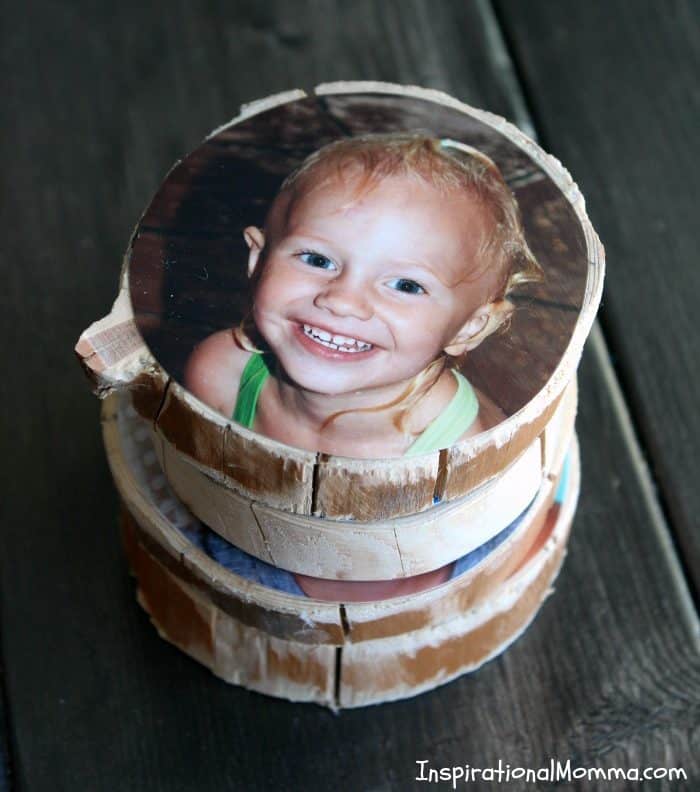
Step 2: Now it is time to prepare your photos. It is important to place the coaster on top of the photo, right side up. Once you are satisfied with the placement, trace the coaster. Be sure to cut just inside of your traced line to avoid the photo from hanging over the coaster.
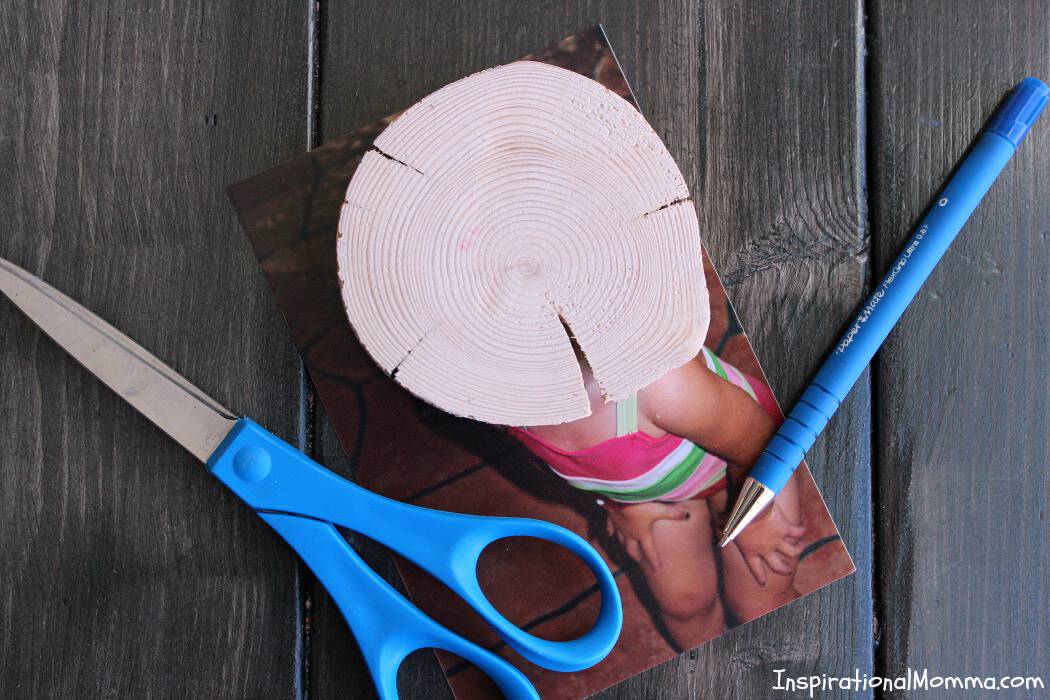
Before moving on, be sure to check the size of your photo. When you are satisfied, you can move onto Step 3.
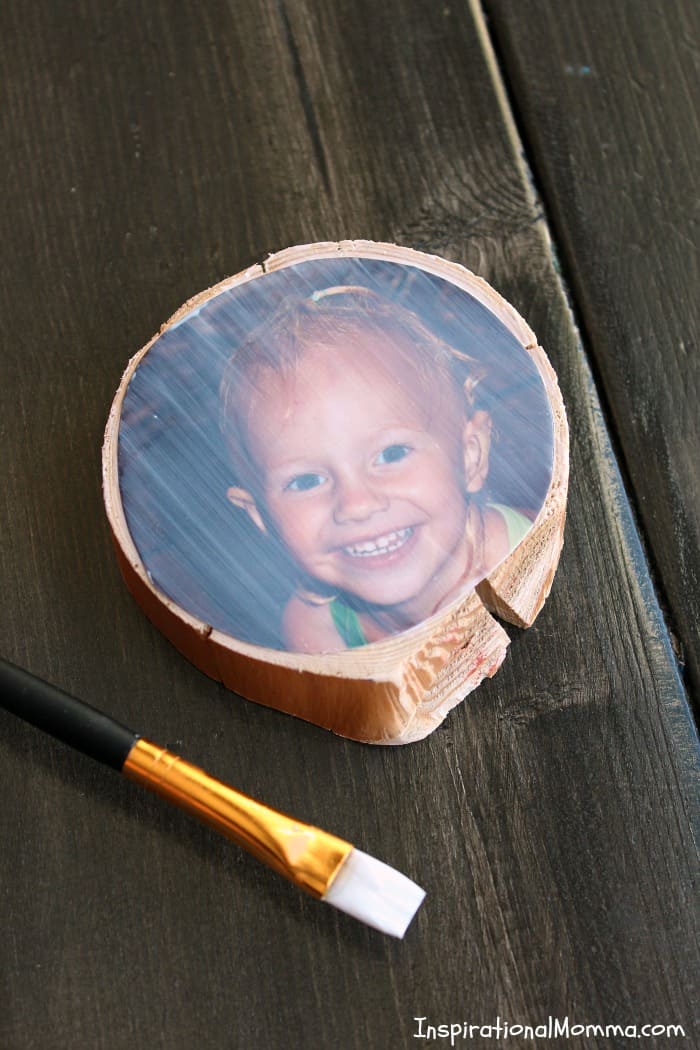
Step 3: Using a small paintbrush, apply a decent layer of Mod Podge to your coaster.
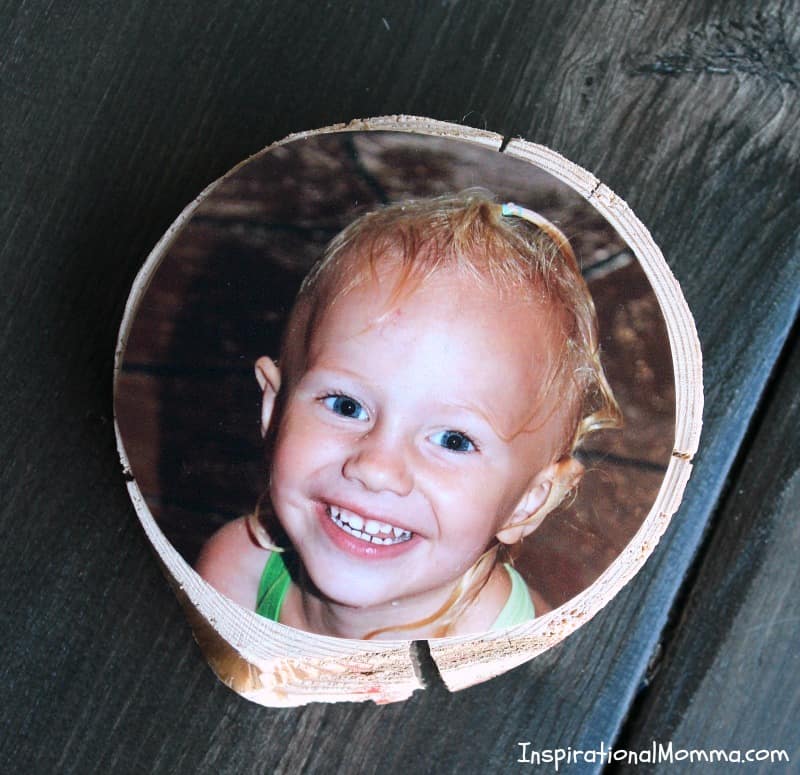
Step 4: Carefully place your photo on top of the Mod Podge.
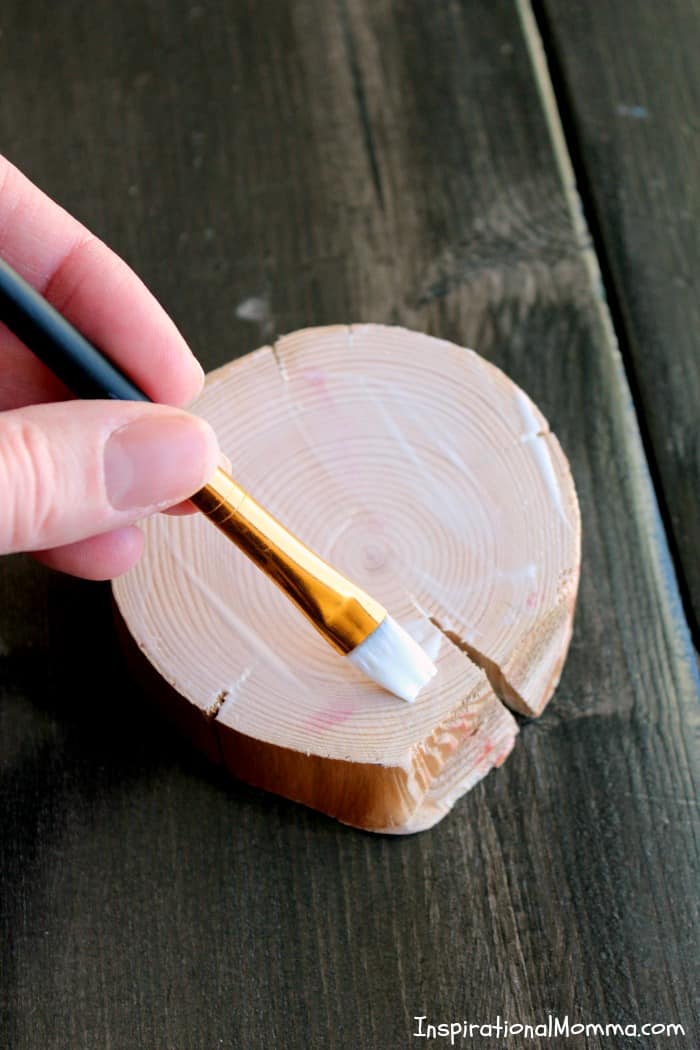
Step 5: To finish things off, cover your photo with another layer of Mod Podge. Make sure your brush strokes are all going in the same direction. This also must be done quickly before it begins to dry to avoid any gunky messes.
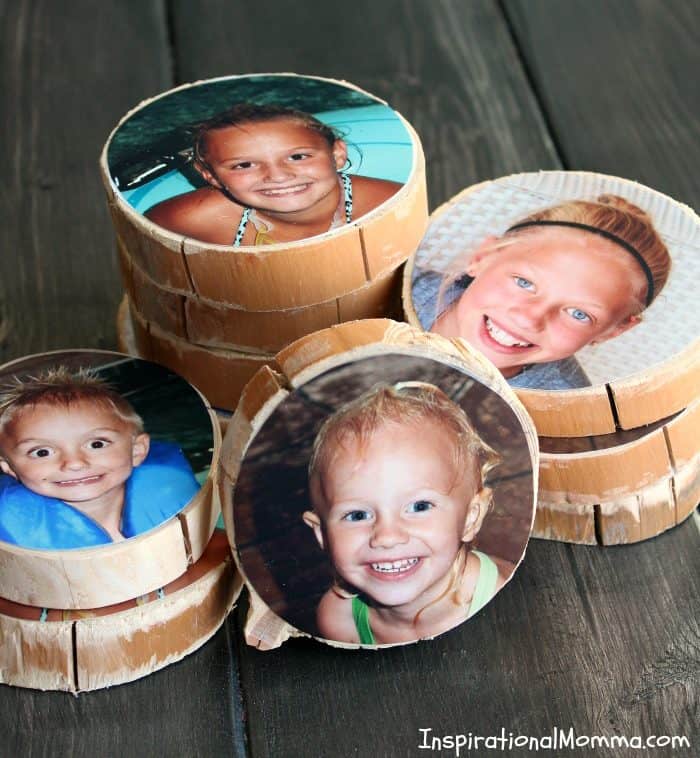
Finally, allow your DIY Wooden Photo Coasters to dry and they are ready to be enjoyed!
I wish I would have had my camera ready when my mom opened her gift. As soon as she saw her grandchildren's faces, a smile came across her face and she quickly fell in love! These DIY Wooden Photo Coasters are a perfect way to capture a beautiful memory while creating a practical gift that anyone would love! Or they may just be something fun to spoil yourself with!
Be sure to leave a comment and share what photos you chose for your DIY Wooden Photo Coasters!
Get Inspired!
Never miss my delicious recipes, cute creations, or household tips!