Create An Invitation With PicMonkey

Today is your lucky day! By following this simple tutorial, you will be able to Create An Invitation With PicMonkey! There have been so many times, while planning for a birthday party, that I just can't quite find that perfect invitation. Yes, I could go with the latest craze, whether it's Frozen or Sophia the First, but I am always a fan of sending something personalized out to family and friends. And being the picture-addict that I am, I love including my sweetheart's face on the invite. PicMonkey is just the tool that I needed. Ever since I discovered it, I have created everything from Christmas cards to birth announcements. The possibilities are endless, and it gives me the ability to produce professional quality products on a budget.
PicMonkey is an online editing tool that allows you to enhance photos as well as create digital files. The greatest thing about it is that it is user friendly and doesn't require a ton of background knowledge to use. There are two different options that PicMonkey offers. With the free version, users are able to create and edit, and personally, I think you will be blown away by what you can do. If you are looking for a few more bells and whistles, which I strongly suggest, I would sign up for their PicMonkey Royale membership. I am a member, and I absolutely love it. This is also where I do all of my editing for my blog images and printables!
If you aren't quite sure, check out the free version or sign up for the 30-day free trial of the PicMonkey Royale membership that they offer. I definitely could be wrong, but I am quite confident that you will fall in love as fast as I did and PicMonkey will be your new best friend!
Now...let's get started and Create An Invitation With PicMonkey!
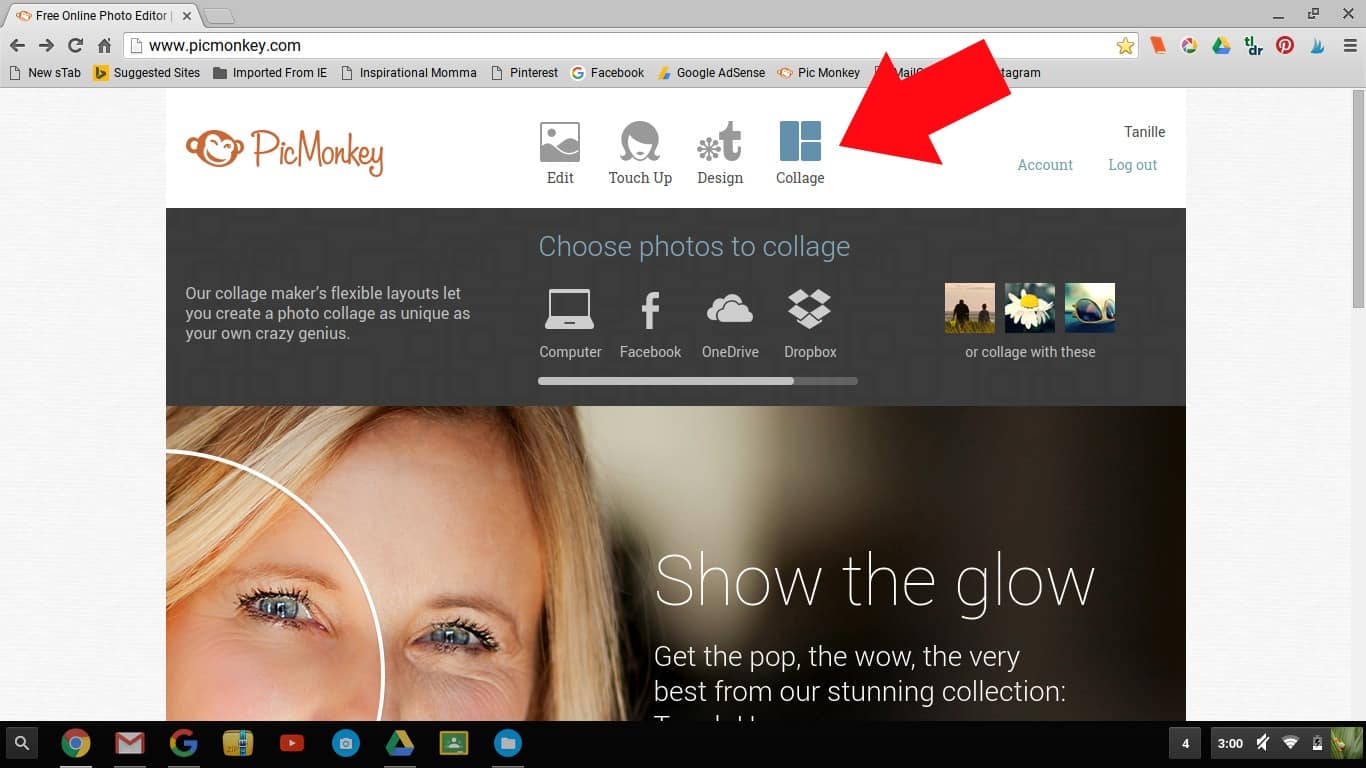
Step 1: Go to PicMonkey.com
Step 2: Select "Collage"
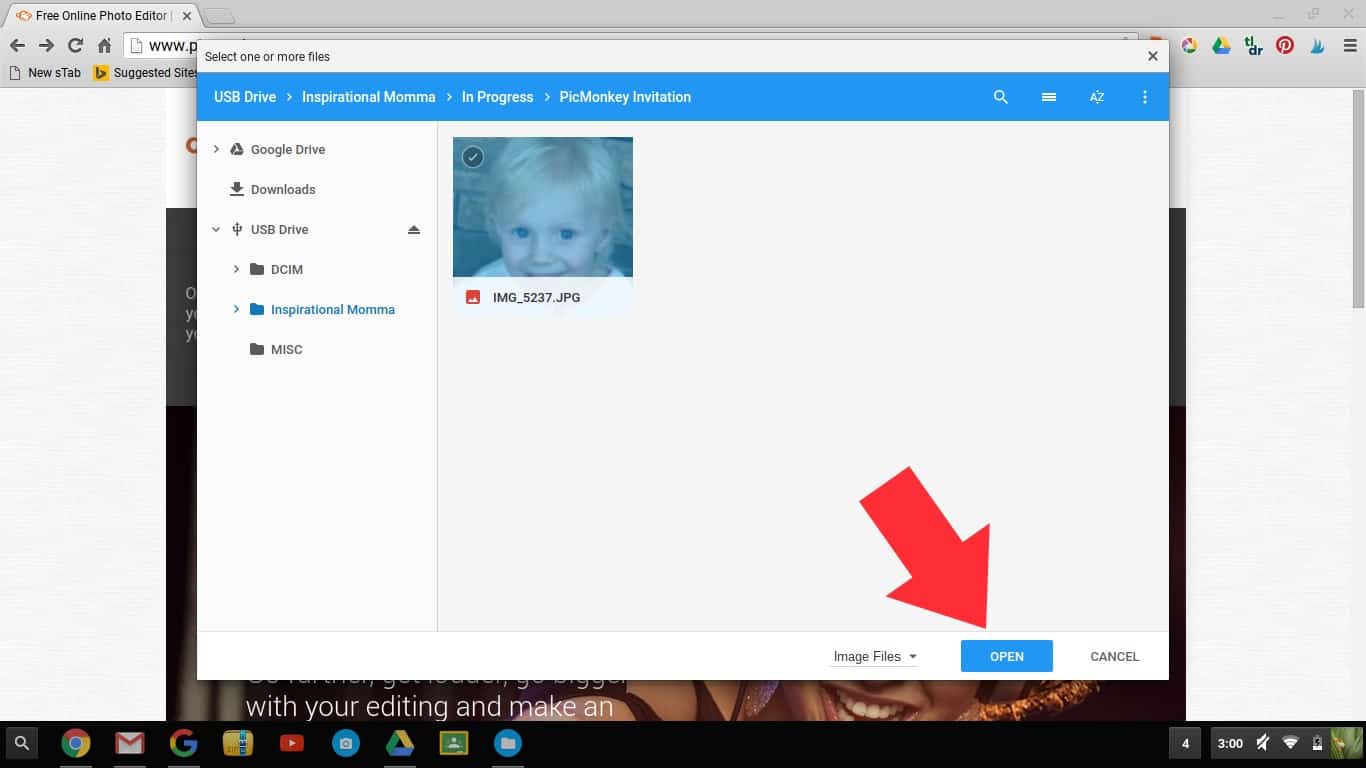
Step 3: A window will pop, asking you to select the images you want to use. Locate the one you want, select it, and then click "Open".
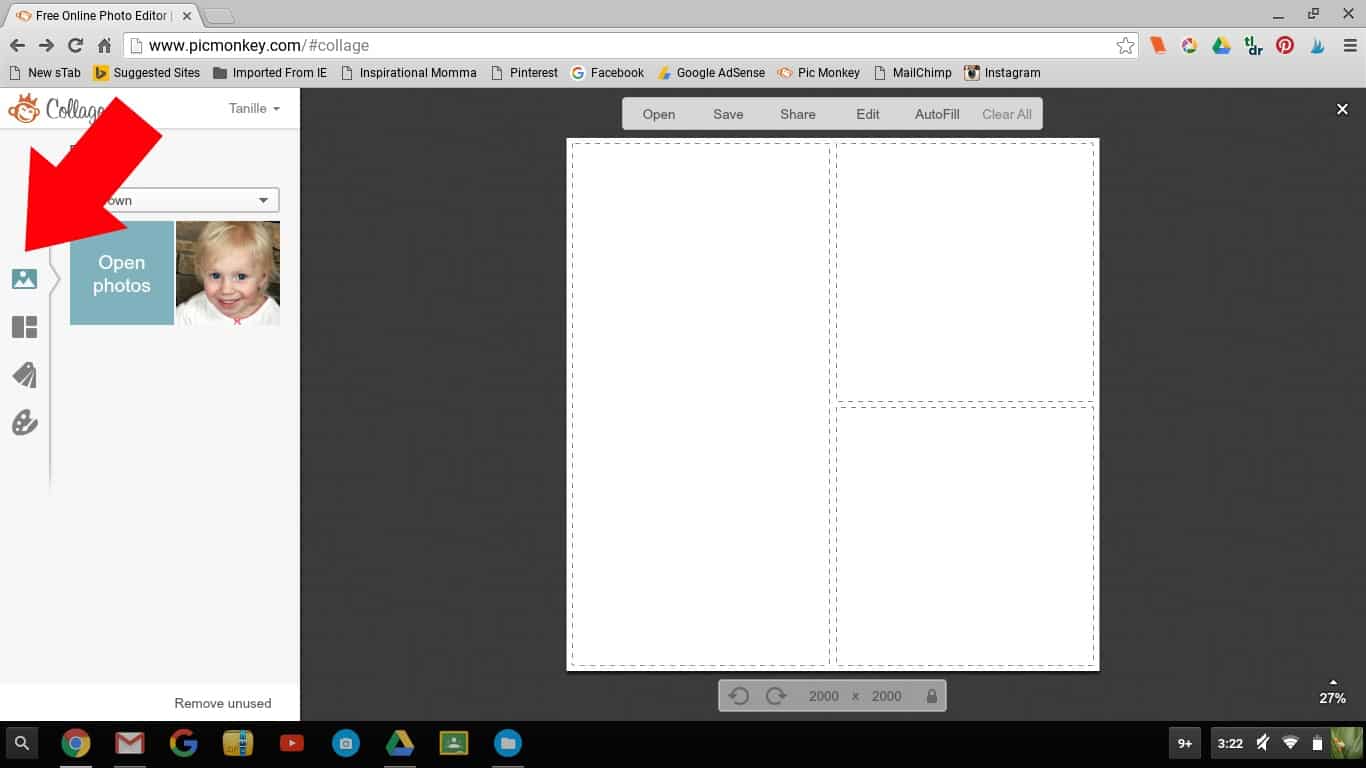
Throughout this tutorial, I will be referring to the far left-hand toolbar. These are the tabs that I will be referring to.
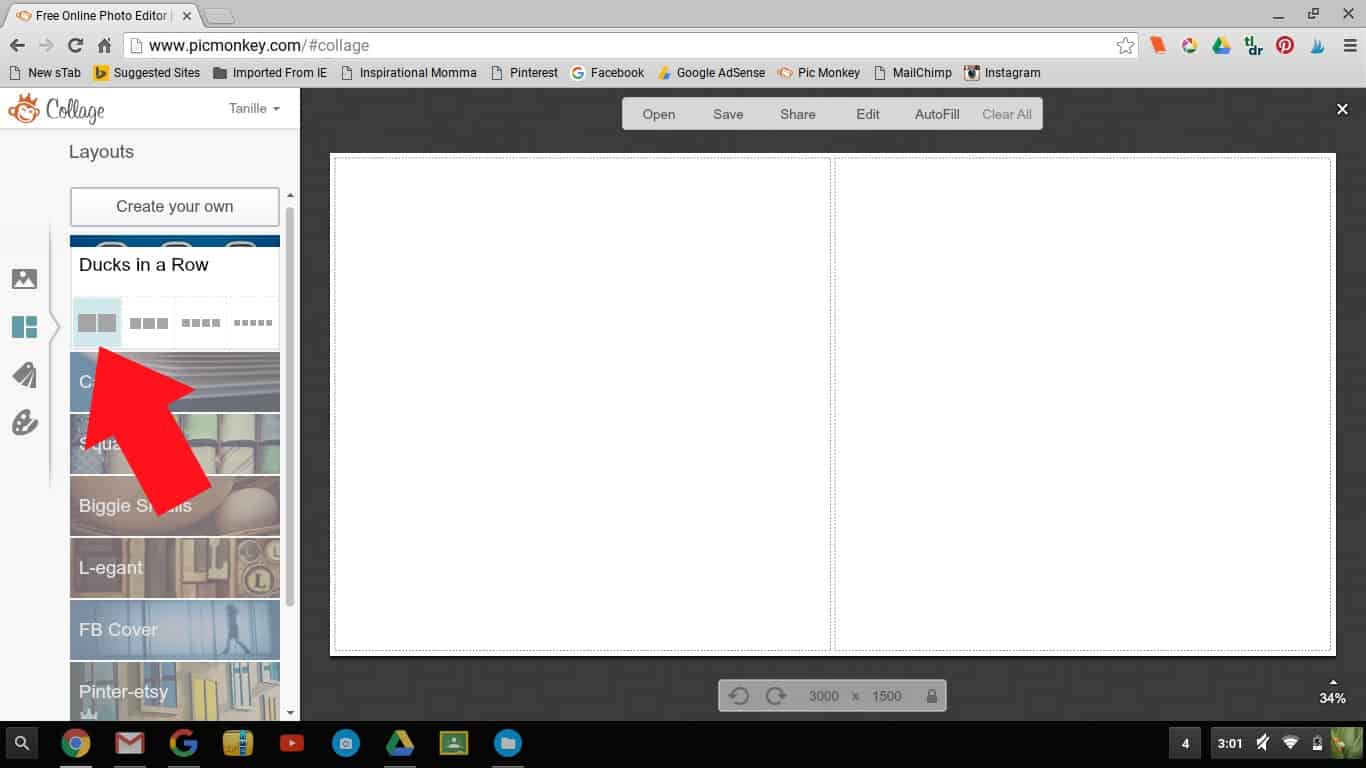
Step 4: Under the "Layouts" tab on the far left-hand toolbar, select "Ducks in a Row". Choose the layout with 2 cells.
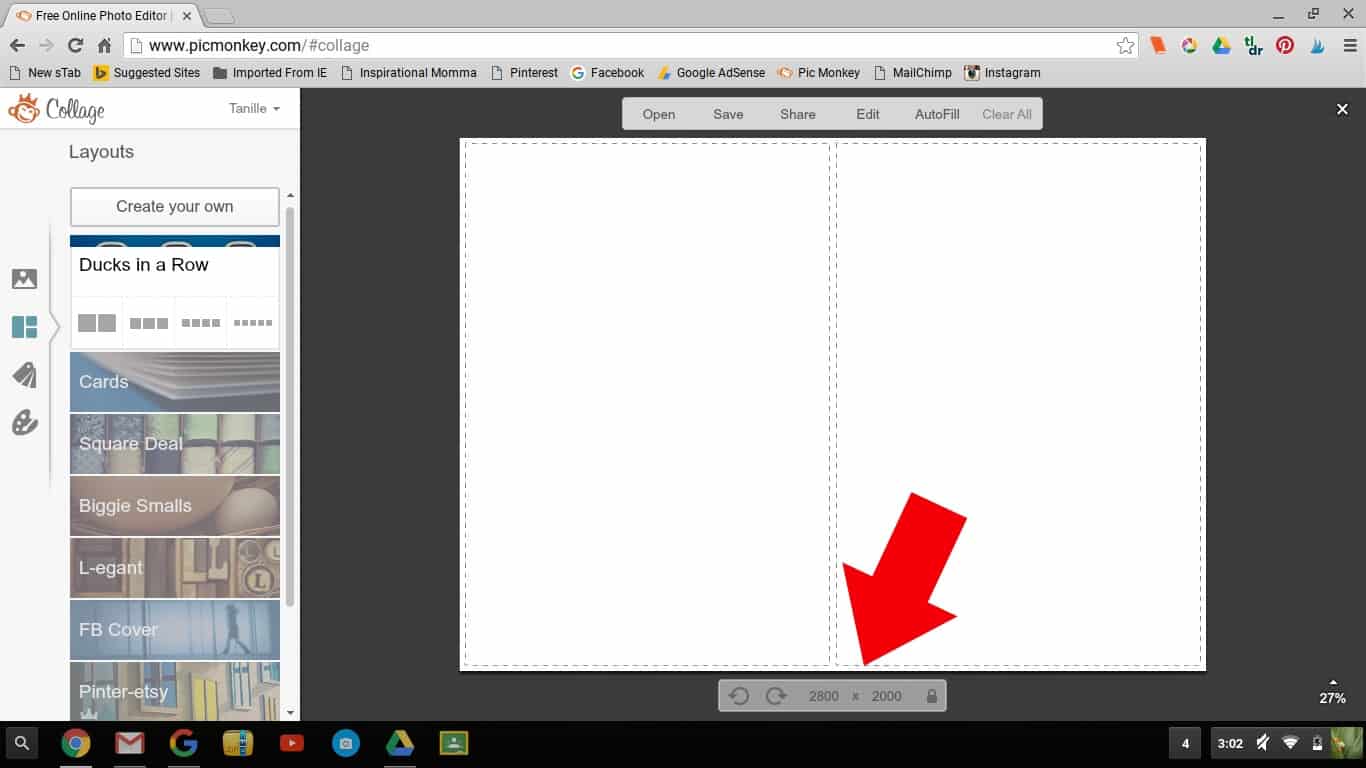
Step 5: Next, we must change the size of our layout. First you will need to select the padlock to unlock the size restraints (it should be gray, not blue). Because we are creating an invitation that is 7" x 5", we are going to change the overall size to 2800 x 2000. This will create a high quality image that will print well. To do this, change the the numbers to the left of the padlock.

Step 6: Our next step is to eliminate the spacing between the cells. Select the "Background" tab on the far left-hand toolbar. Slide the spacing bar to "0".
Now the fun stuff...
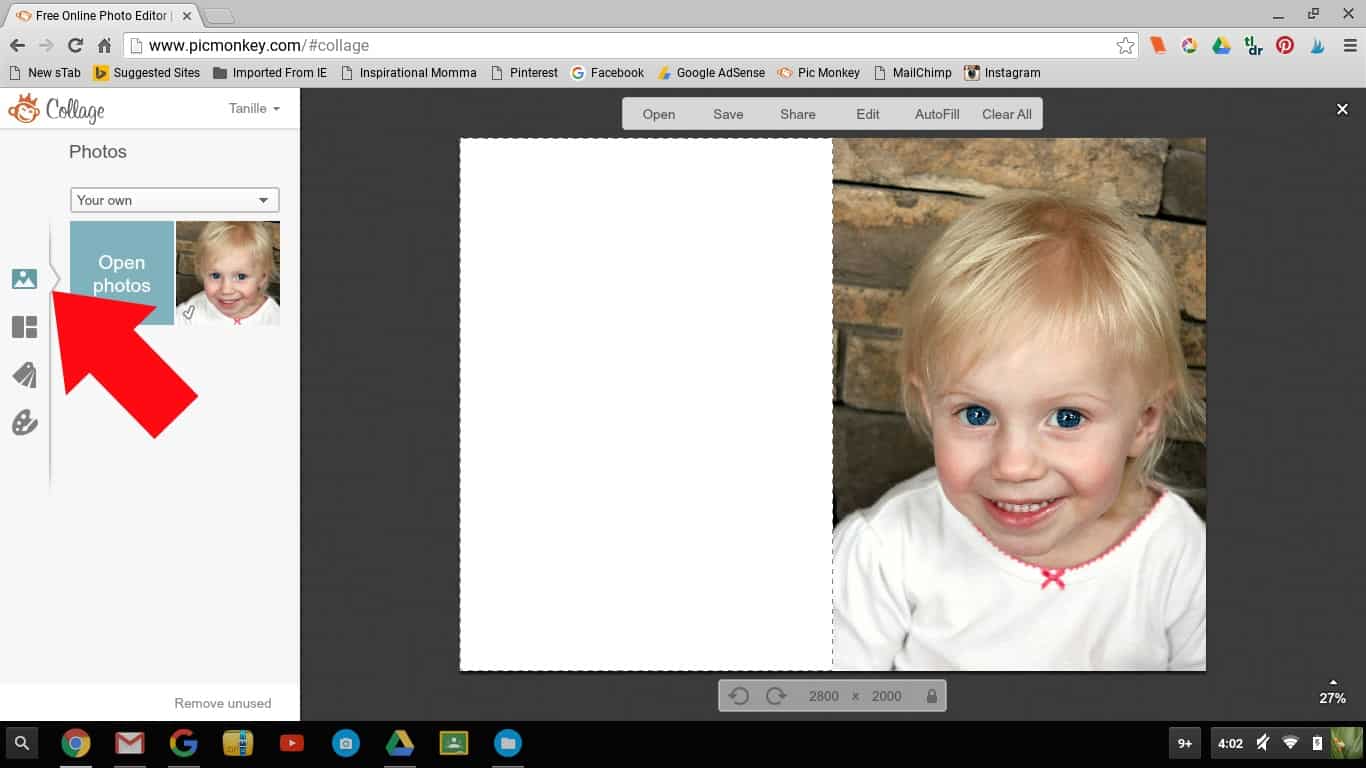
Step 7: We are going to add the image of your choice the the right cell. Click on the "Images" tab on the far left-hand toolbar. Click on the picture you want and drag it to the right cell.
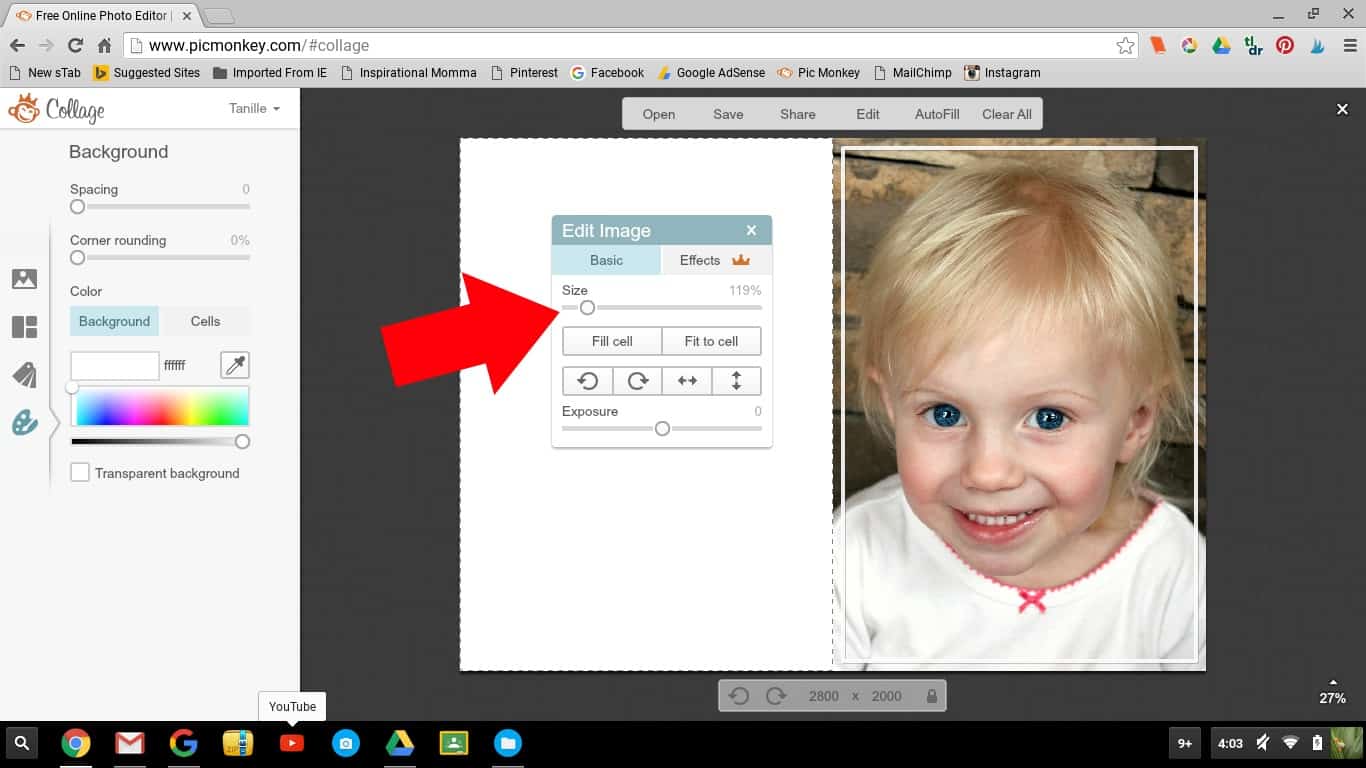
If you want to zoom in on this photo, click "Edit" in the upper left-hand corner of the picture. Using the "Size" bar, slide the selector to the right to zoom in. When you are happy, click on the X in the upper right corner of the "Edit Image" window.
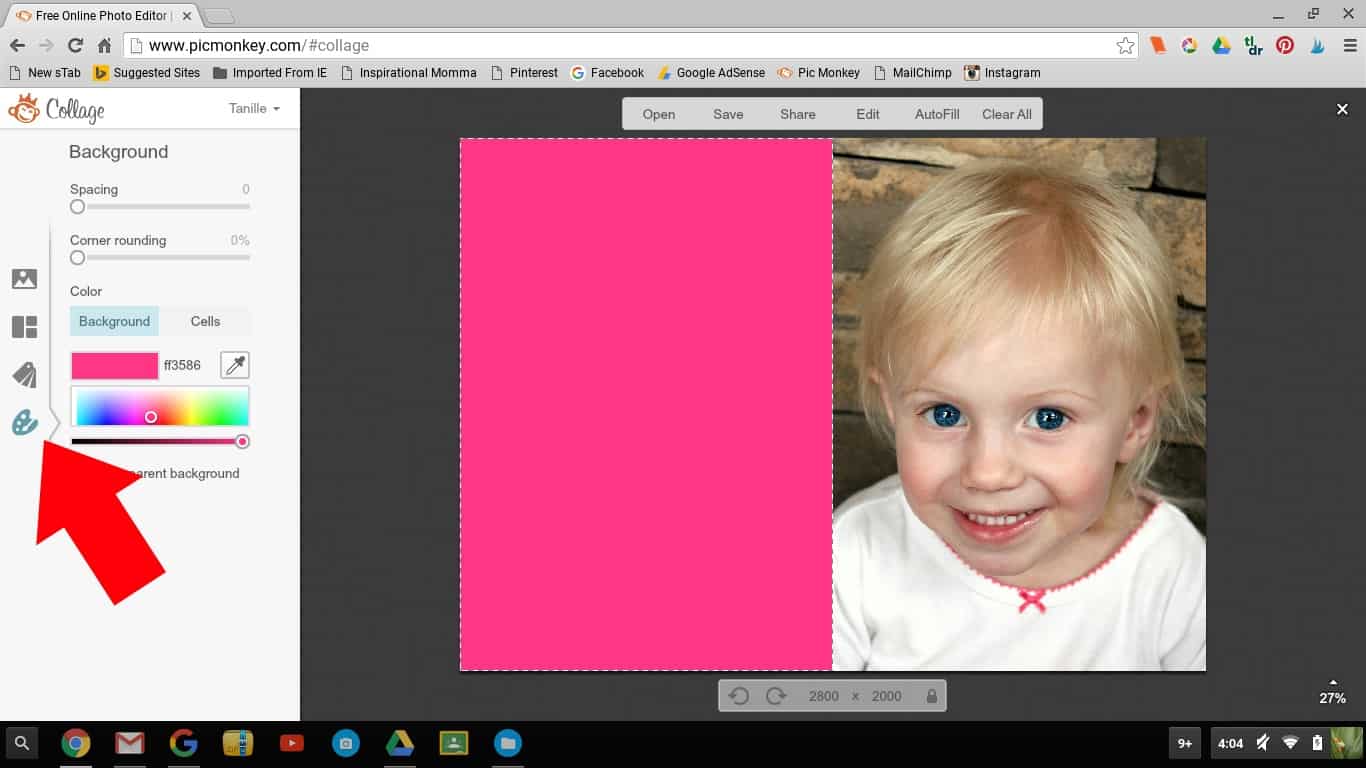
Step 8: Select the "Background" tab on the far left-hand toolbar. Choose the perfect color that will compliment your photo.
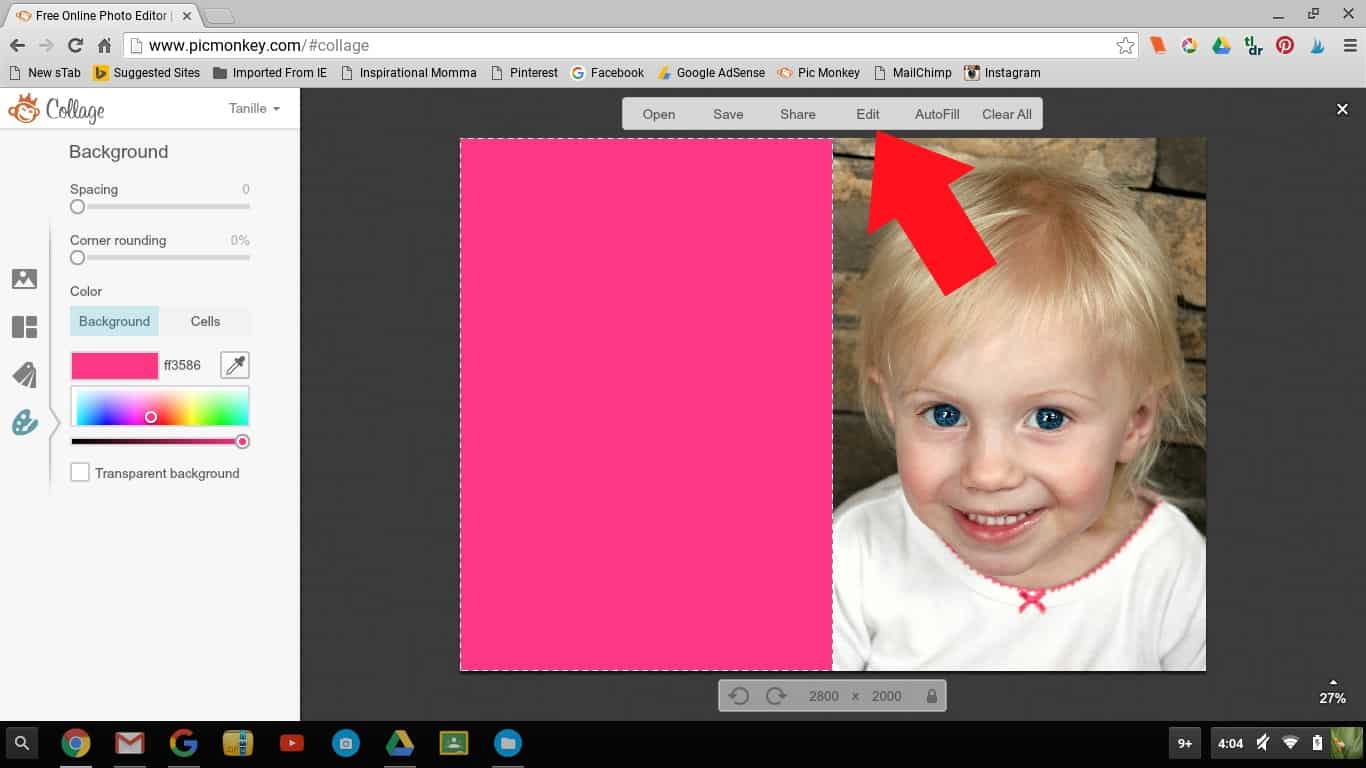
Step 9: Now that you have chosen a photo and a background, select "Edit" on the top bar. Once you click "Edit", you are entering a different area of PicMonkey and will not be able to go back and edit your photo or your background. Instead, you would have to start over.
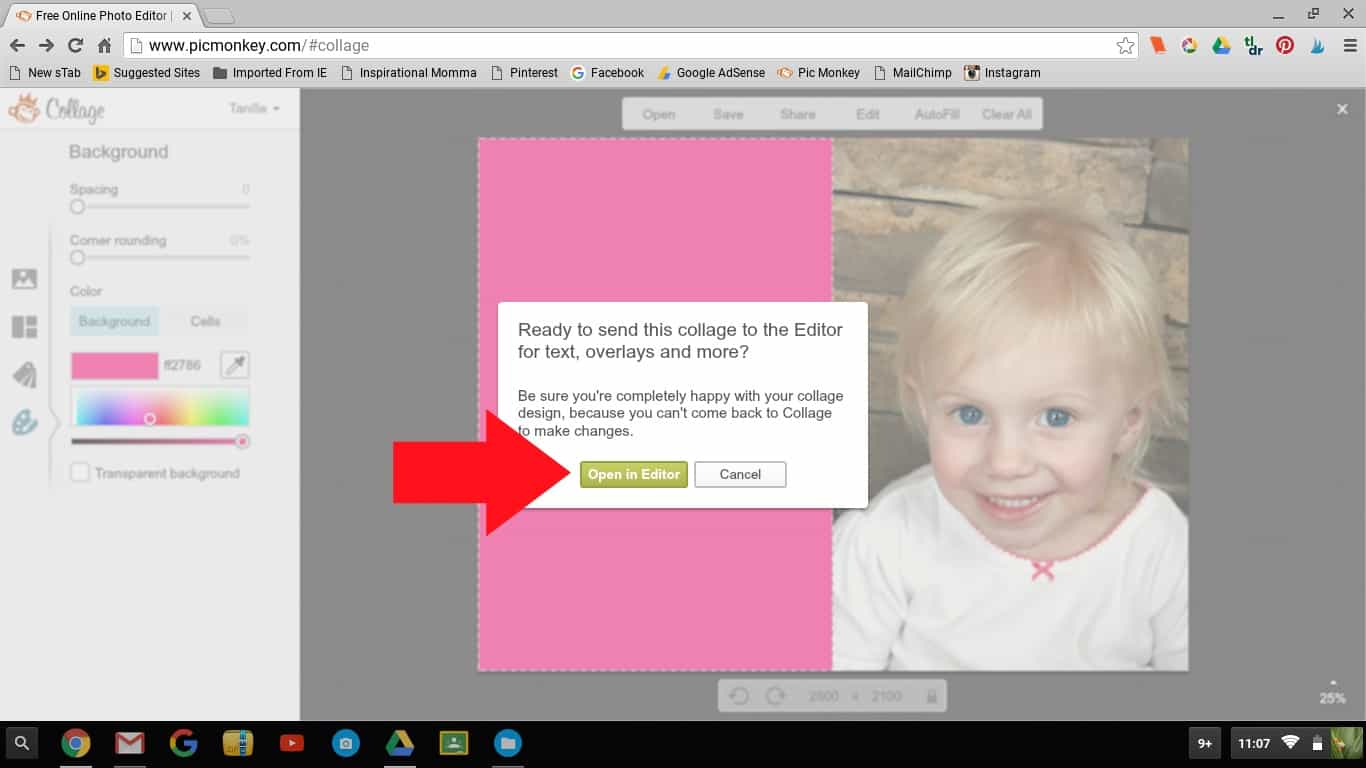
Step 10: To be sure you are truly content with your photo and background, you will be asked if you are ready to send this collage to the Editor for text, overlays, and more. If you are, select "Open in Editor".
It is time to add some text!
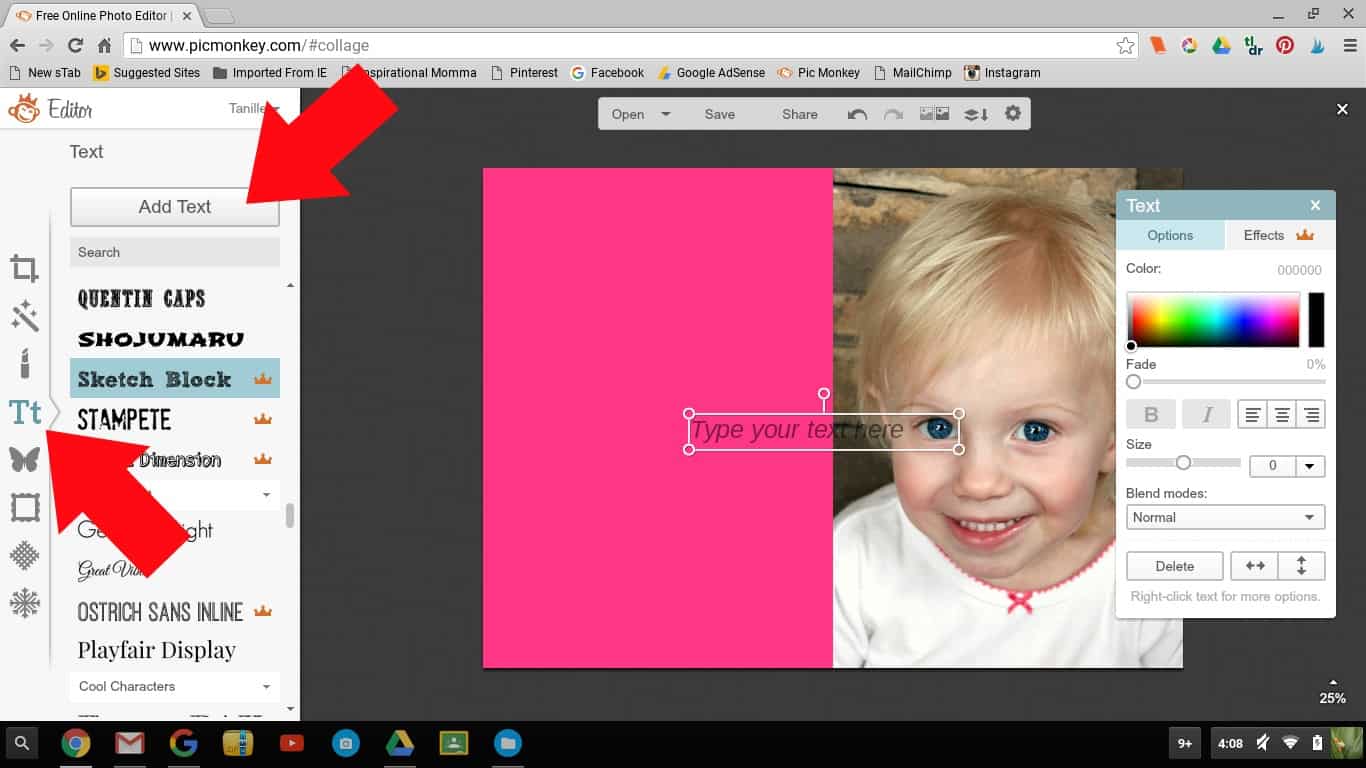
Step 11: Click on the "Text" tab on the far left-hand toolbar.
Select the font of your choice. I chose Sketch Block which is only available to PicMonkey Royale Members. You can try this membership out free for 30 days. If you fall in love like I did, you can subscribe for $4.99/month or $33/year.
Step 12: Click "Add Text" to insert a text box. To add your personal text, click inside the text box and type away.
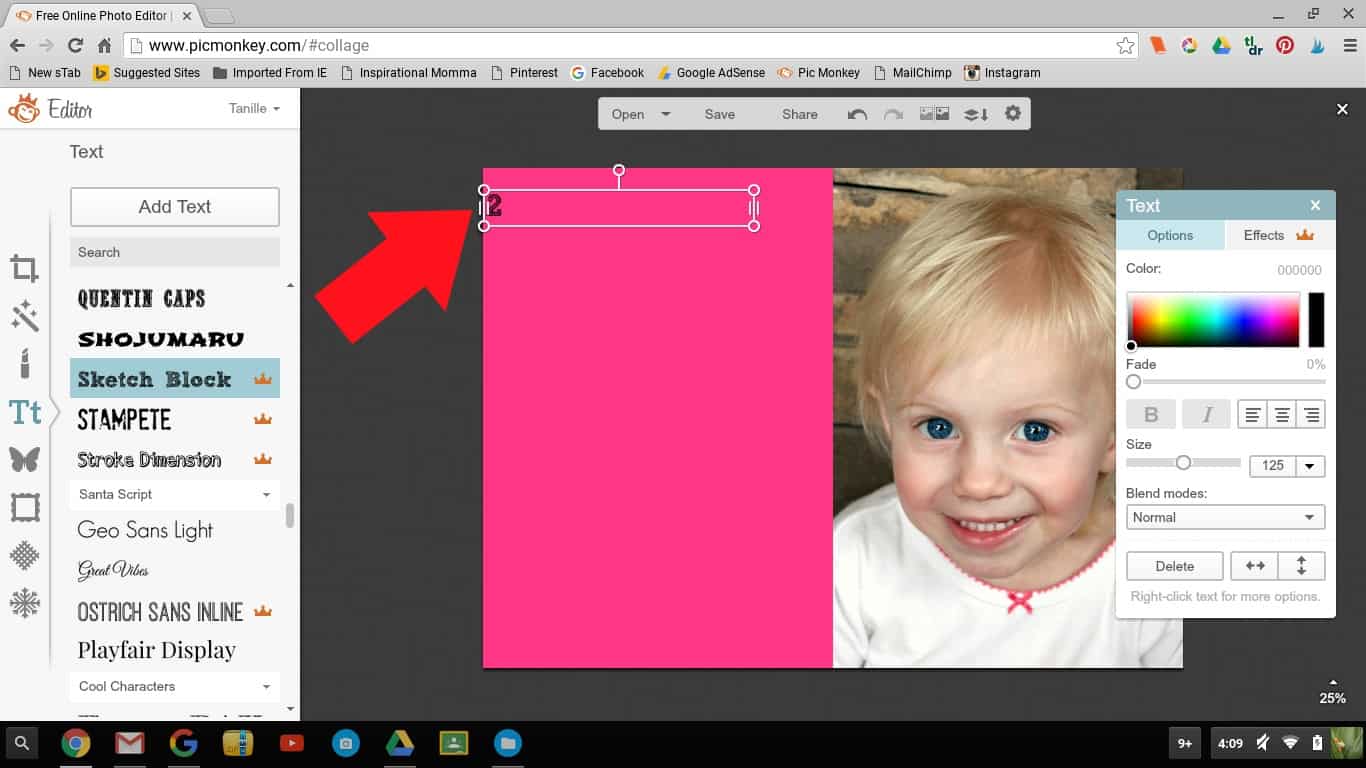
Step 13: When you are done typing, click anywhere on your invitation outside of the text box. This will keep your text box selected but allow you to move it. While it is still selected, click on the text box and drag it to the desired location near the top of the text area.
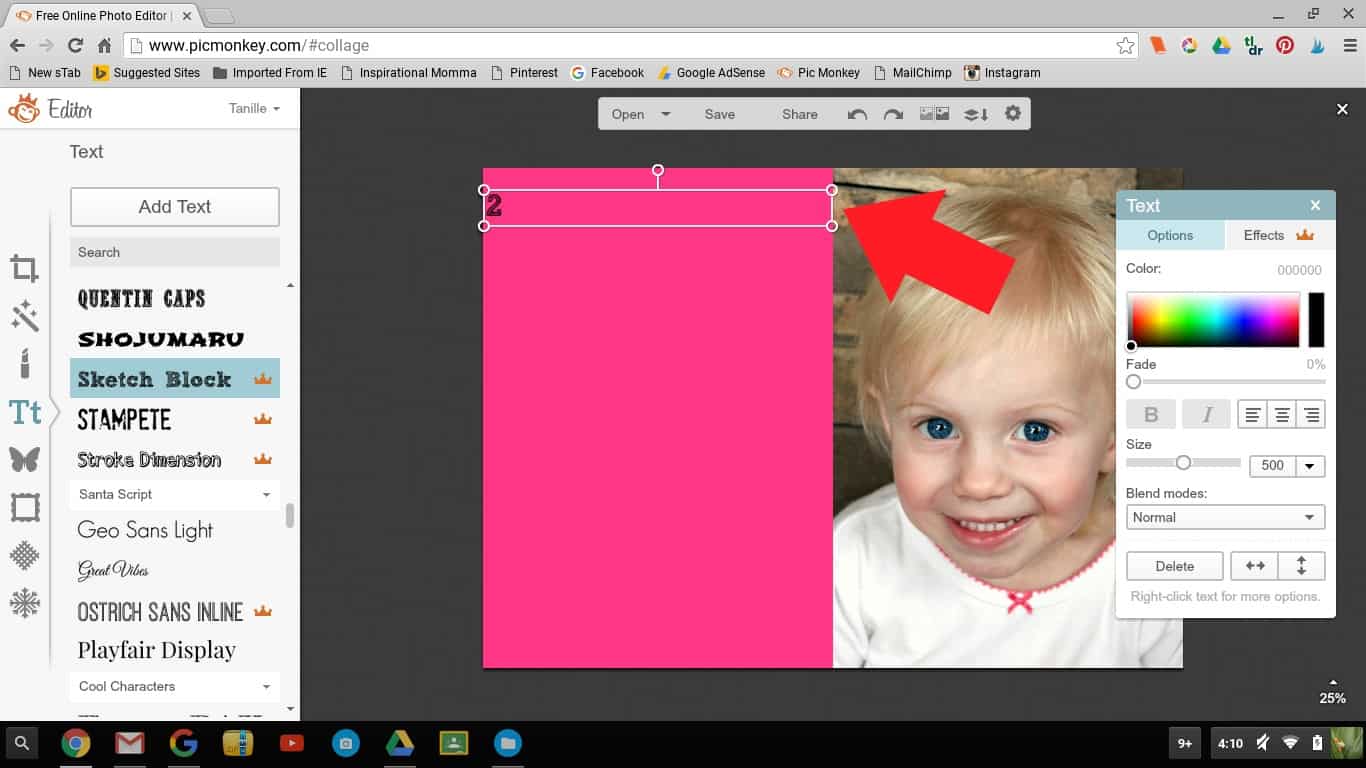
Step 14: To help keep things centered, click on the right side of the text box and drag it so the text box stretches across the entire text area.
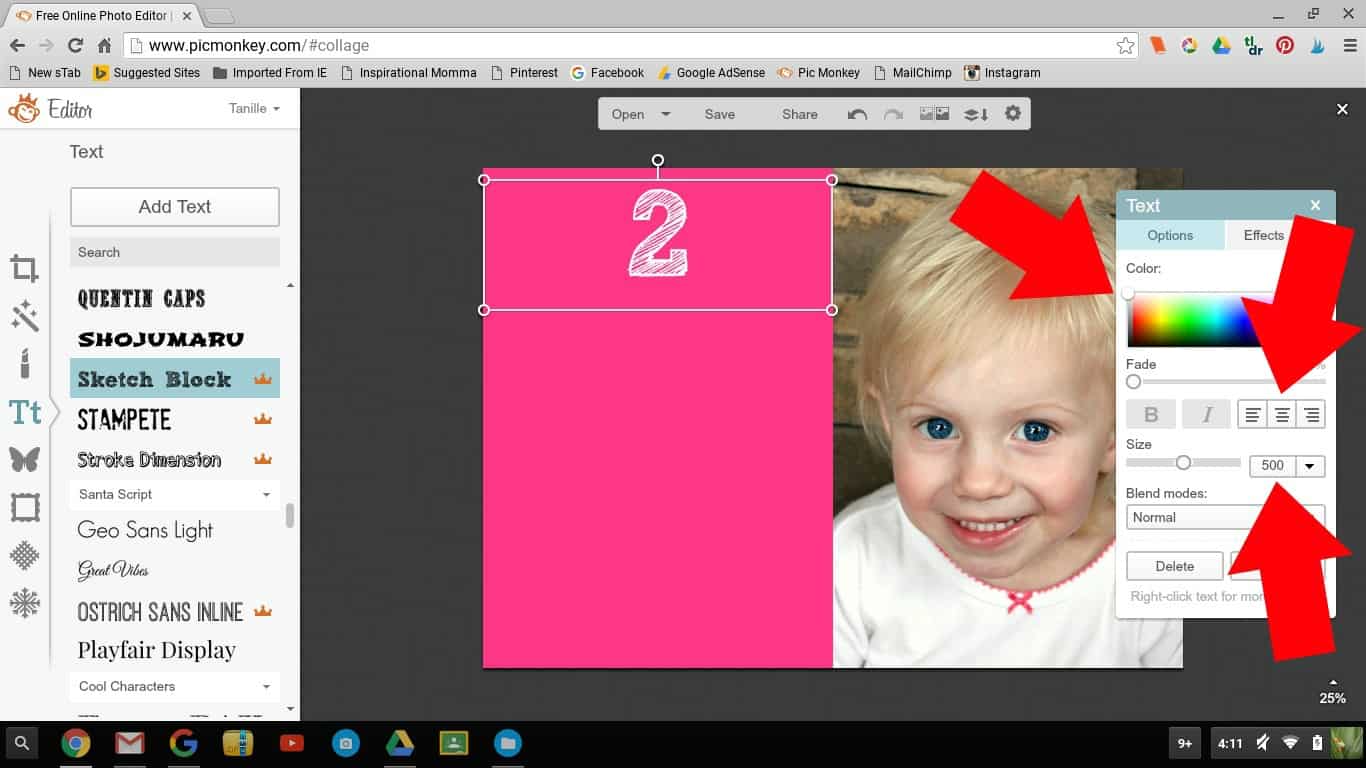
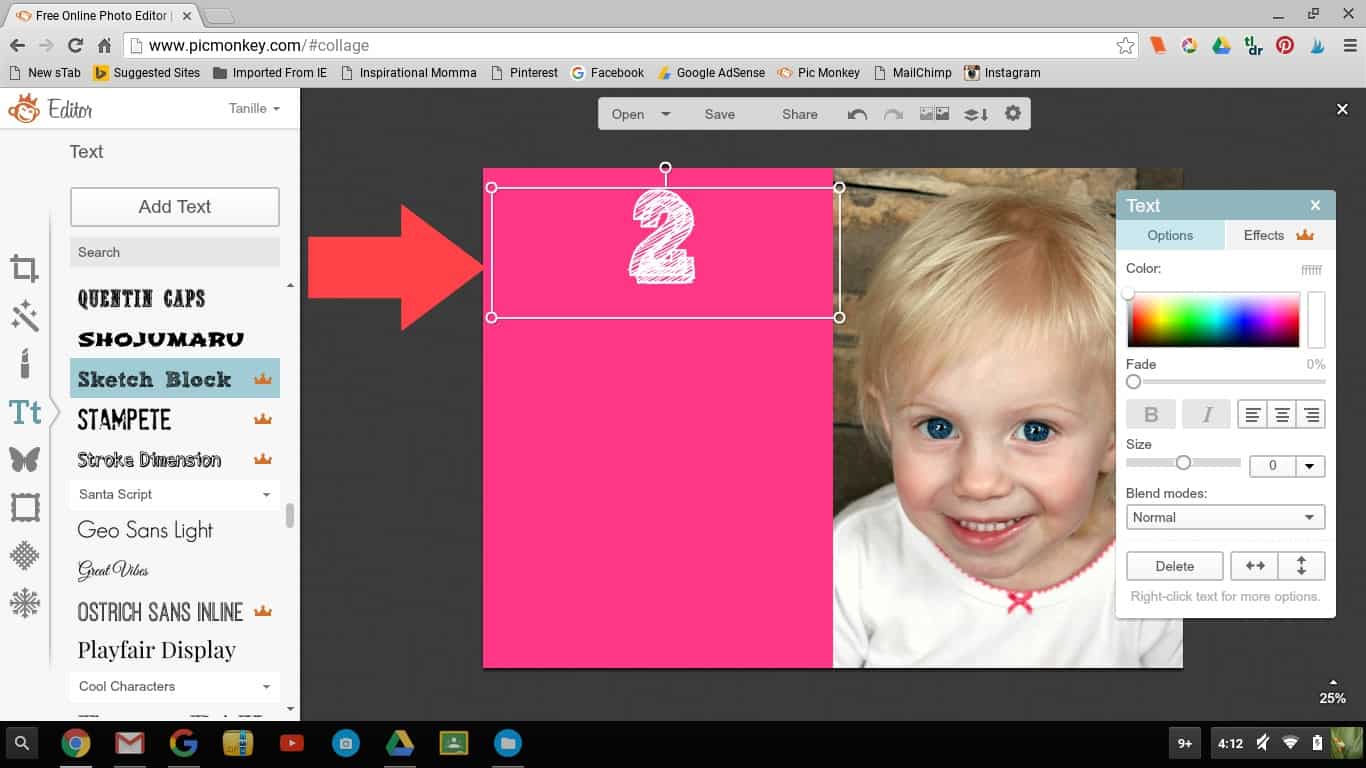
Step 15: Next, we are going to change the font size and color, as well as center it. To be sure that my font stands out, I chose white. I also want the number to to be emphasized, so I changed the font size to 500. Finally, I centered the text to keep things looking pretty!
Step 16: To add the next line of text, we are going to copy and paste the text box we already have. The reason for copying and pasting is to be sure that the color, font style, and text box size stay the same.
To do this, click on it to select it. On your keyboard, push CTRL + C. This will copy what you have selected. Now push CTRL +V to paste a duplicate copy.
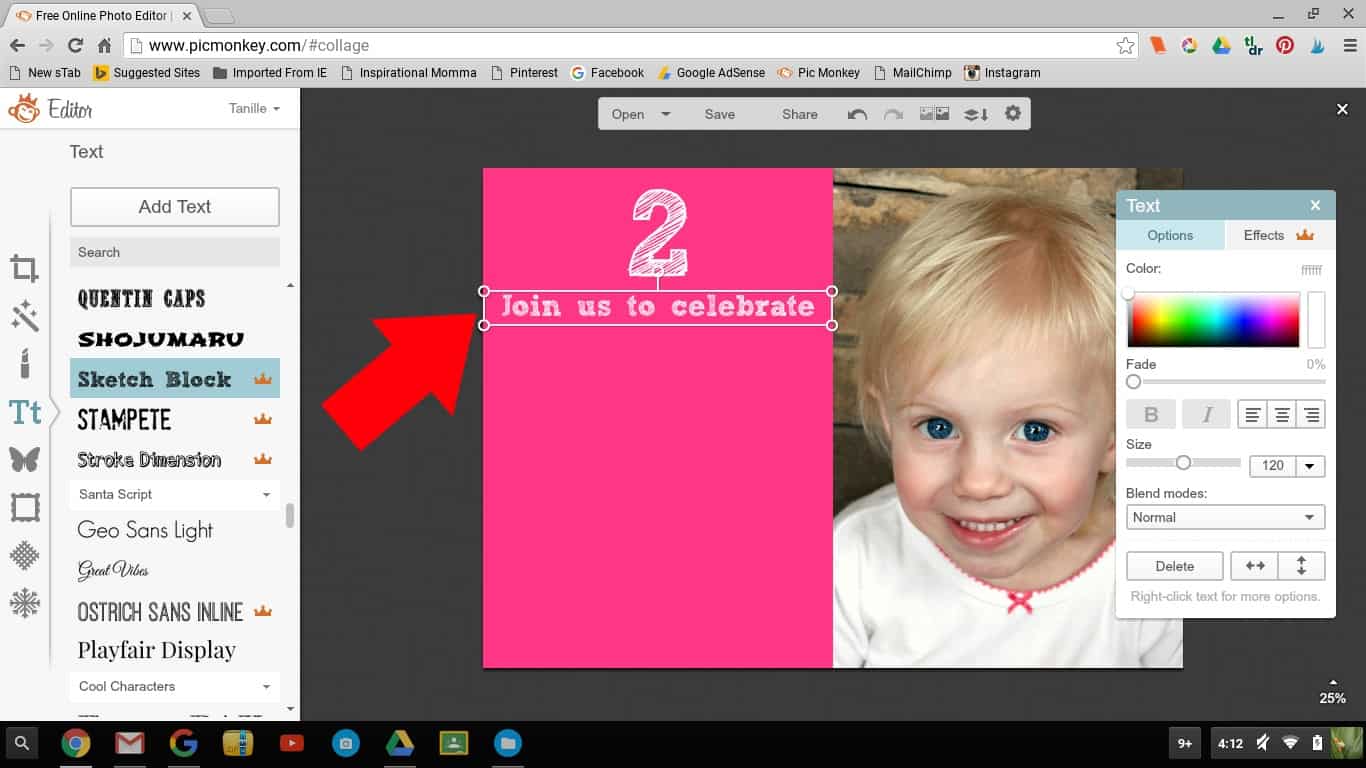
Step 17: Drag your new text box a bit lower, but keep it centered. Now, to change the text, click inside the text box and type. I also chose to use size 120 font.
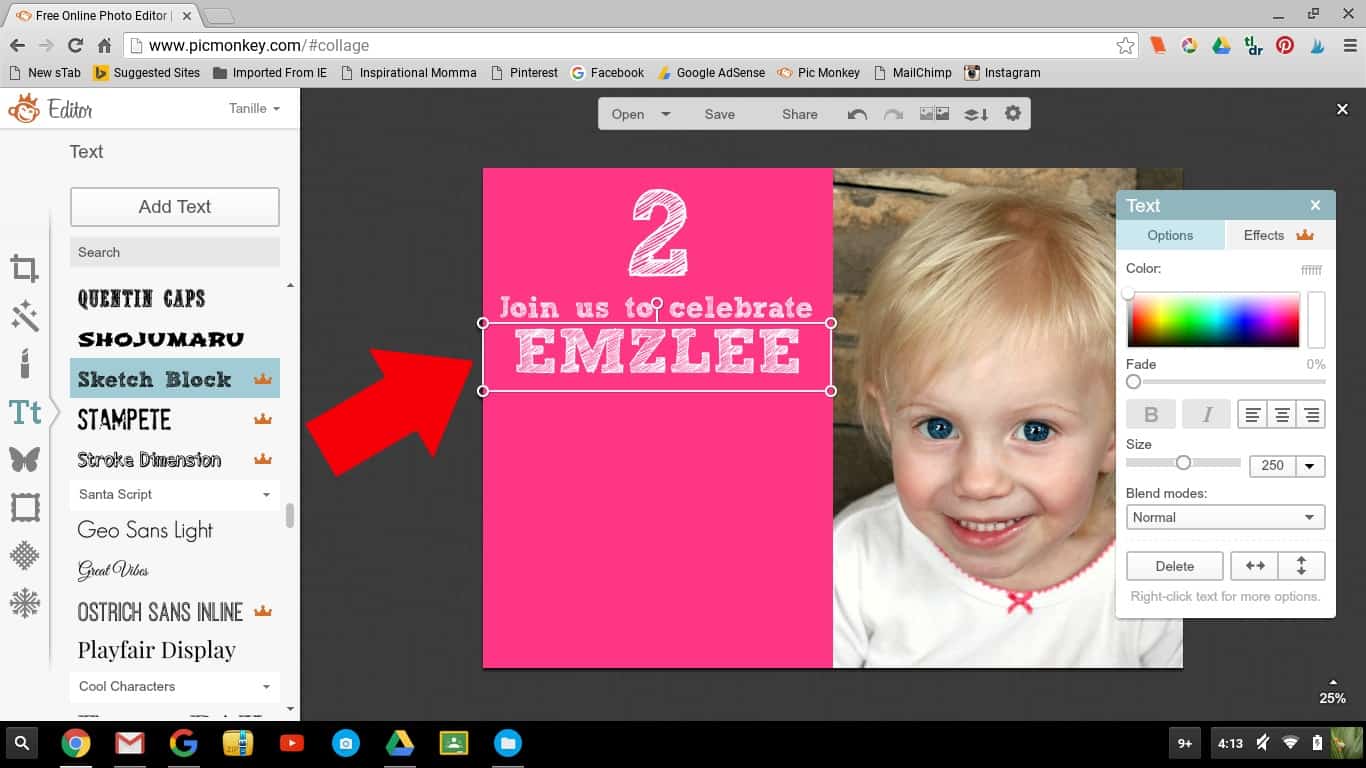
Step 18: Continue by copying and pasting again to create another text box. To make my daughter's name stand out, I decided to use capital letters and a font size of 250.
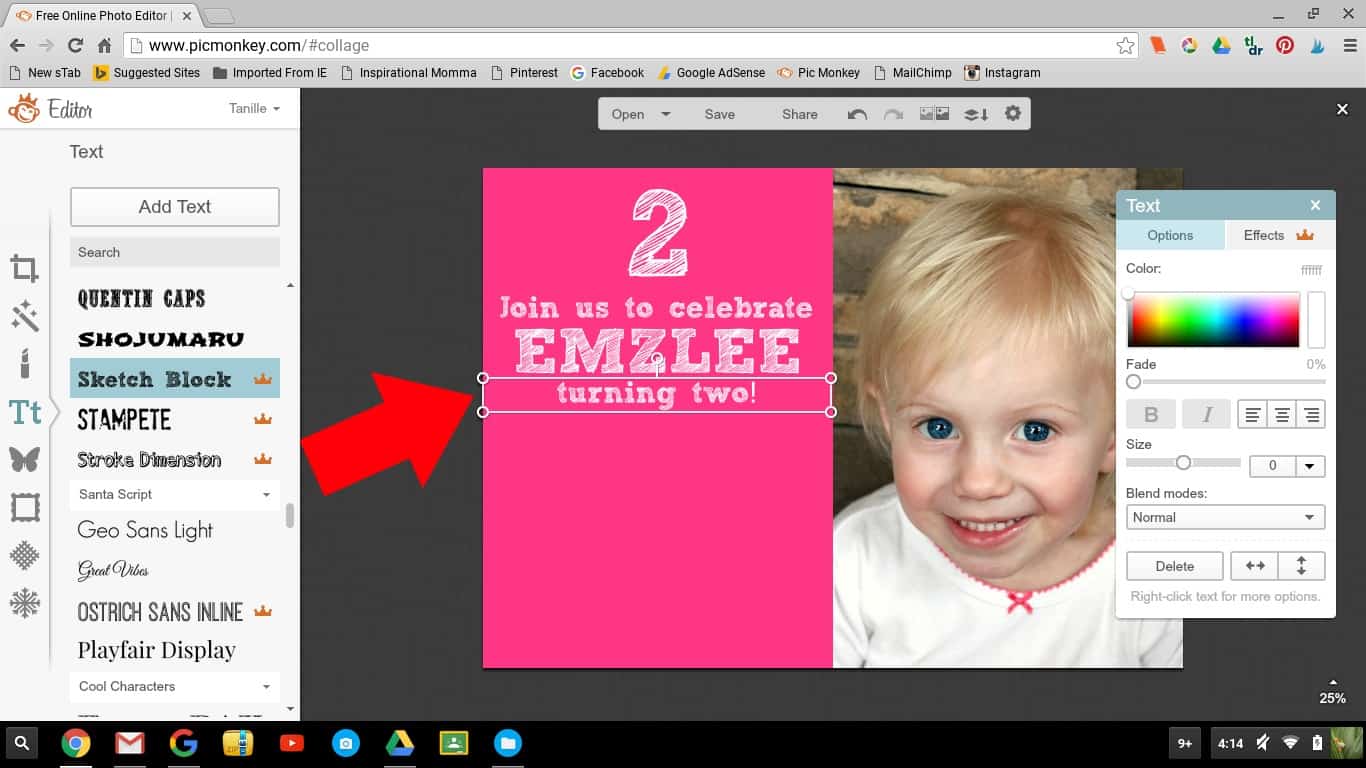
Step 19: We are going to create one more text box by copying and pasting. This one is also going to be size 120.
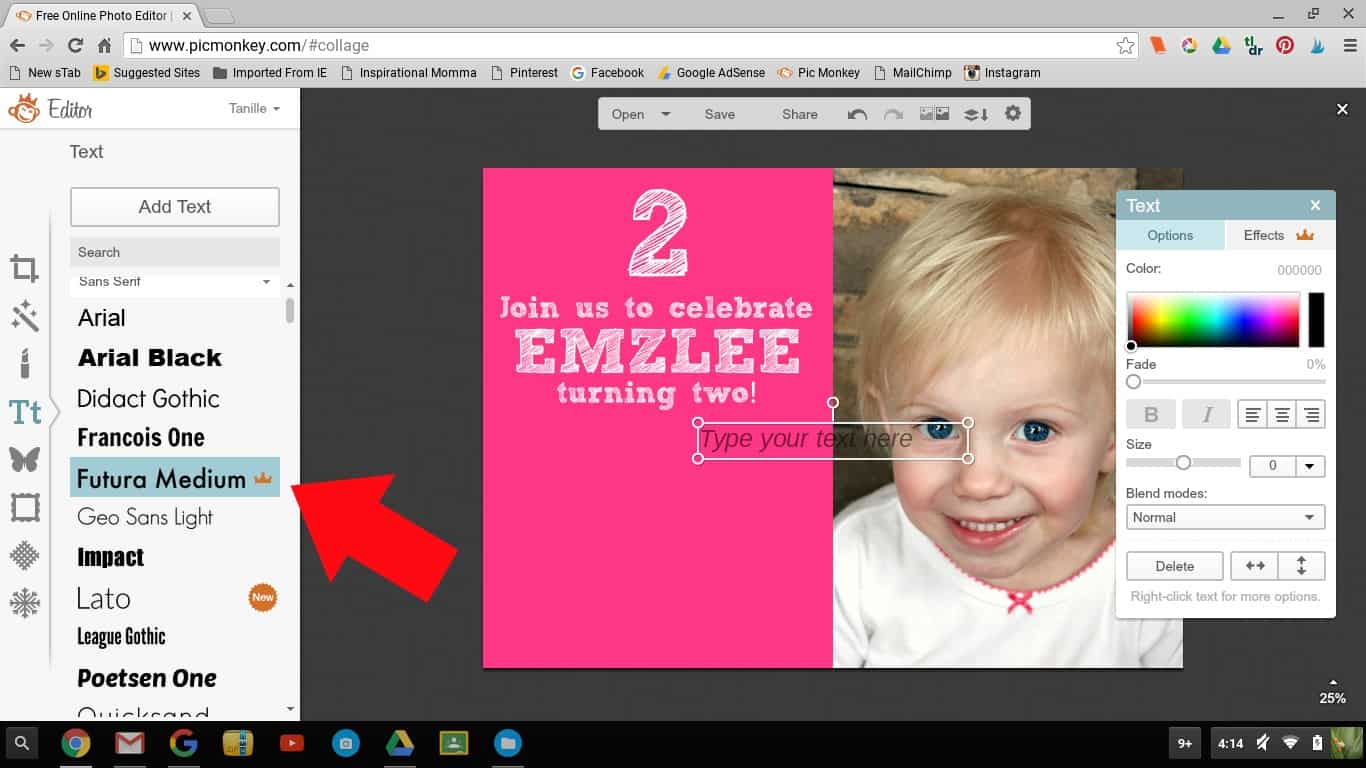
Step 20: Our next text box is going to include the details about the party. Because my font is going to be different, I would suggest creating a new text box instead of copying and pasting.
You must first select your font. I always like to choose a very clear, simple font to present this information. In this case, I chose Futura Medium (also a PicMonkey Royale font).
Next, click "Add Text" to add that new text box.
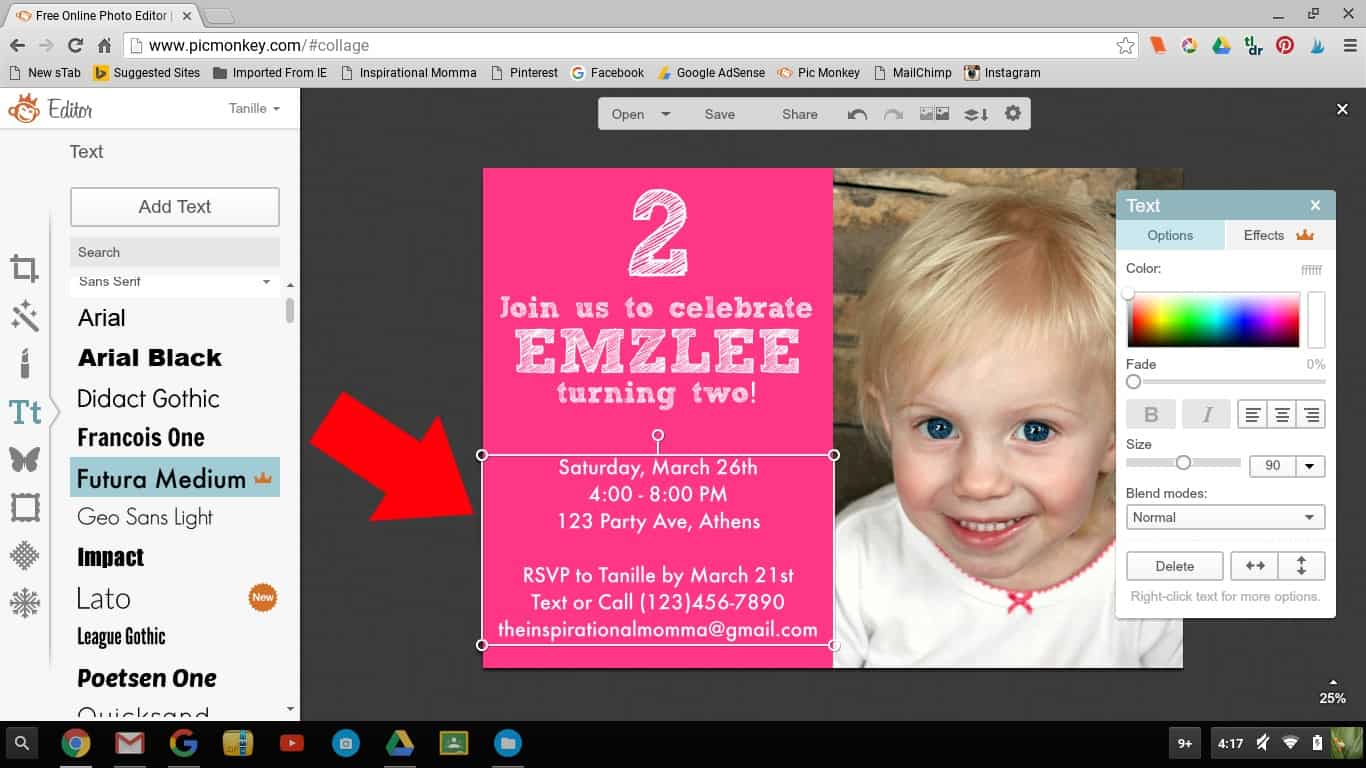
Step 21: Once again, I centered the text box and changed the font color to white. I also selected a font size of 90.
Now to add a little flair!
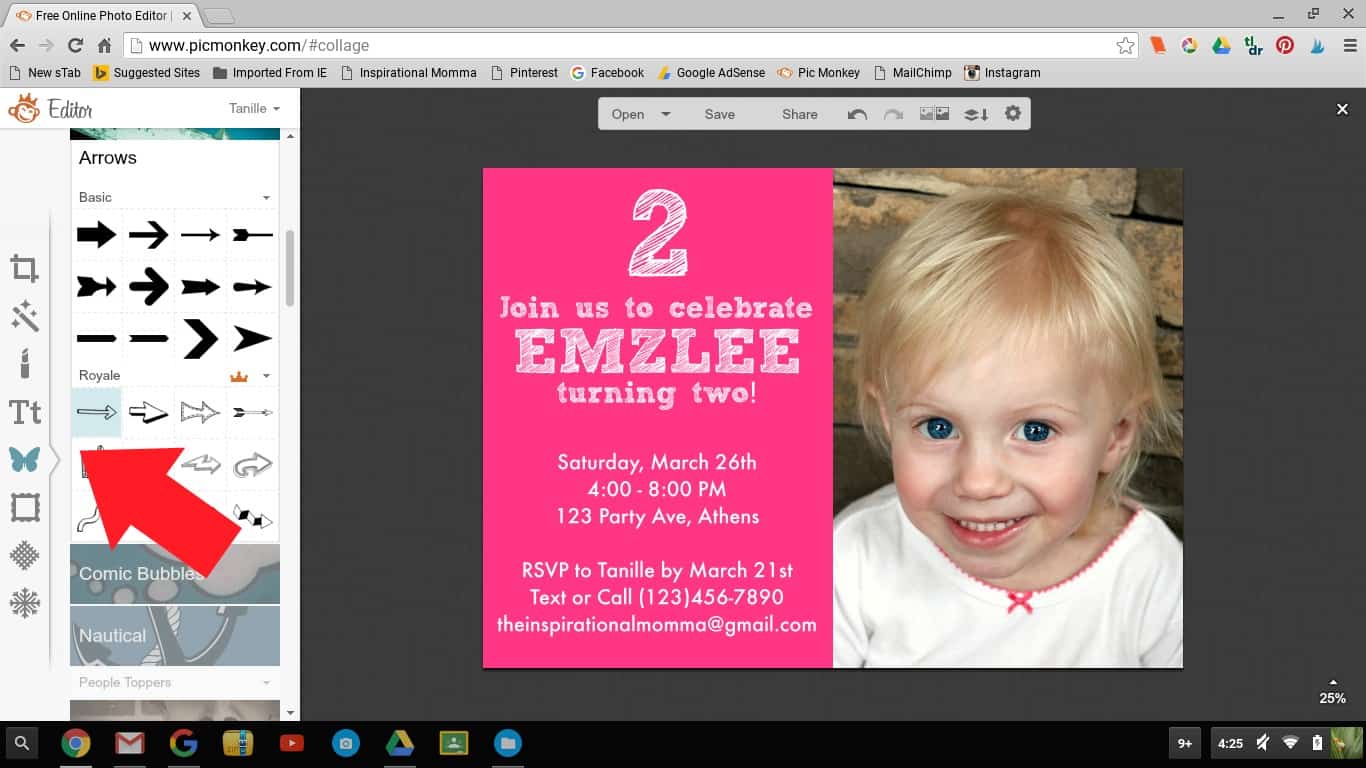
Step 22: Click on the "Overlays" tab on the far left-hand toolbar. Next, select "Arrows". I chose the first arrow under the "Royale" section. To insert it onto the image, just click on it.
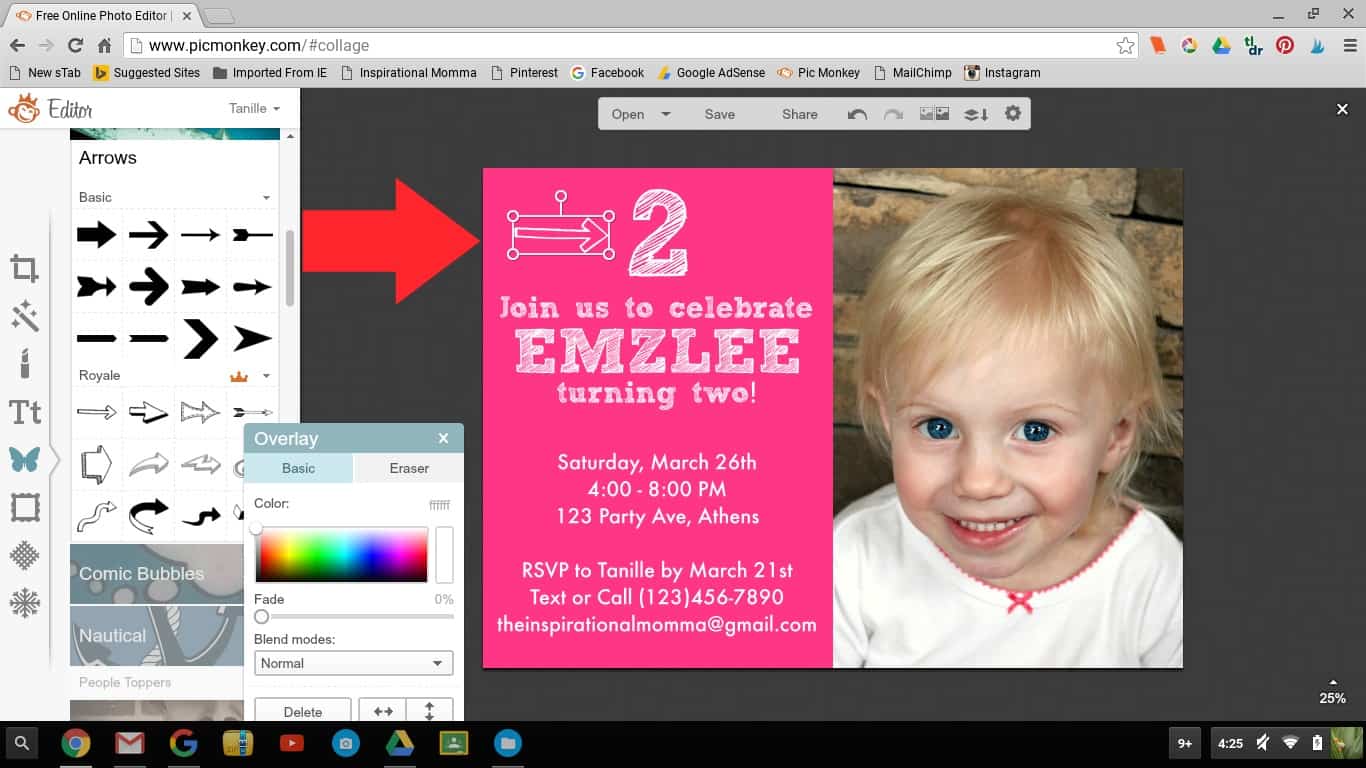
Step 23: To keep the overall design flowing, I chose to change the color of my arrow to white. This can be done in the "Overlay" window that pops up when you click on your arrow.
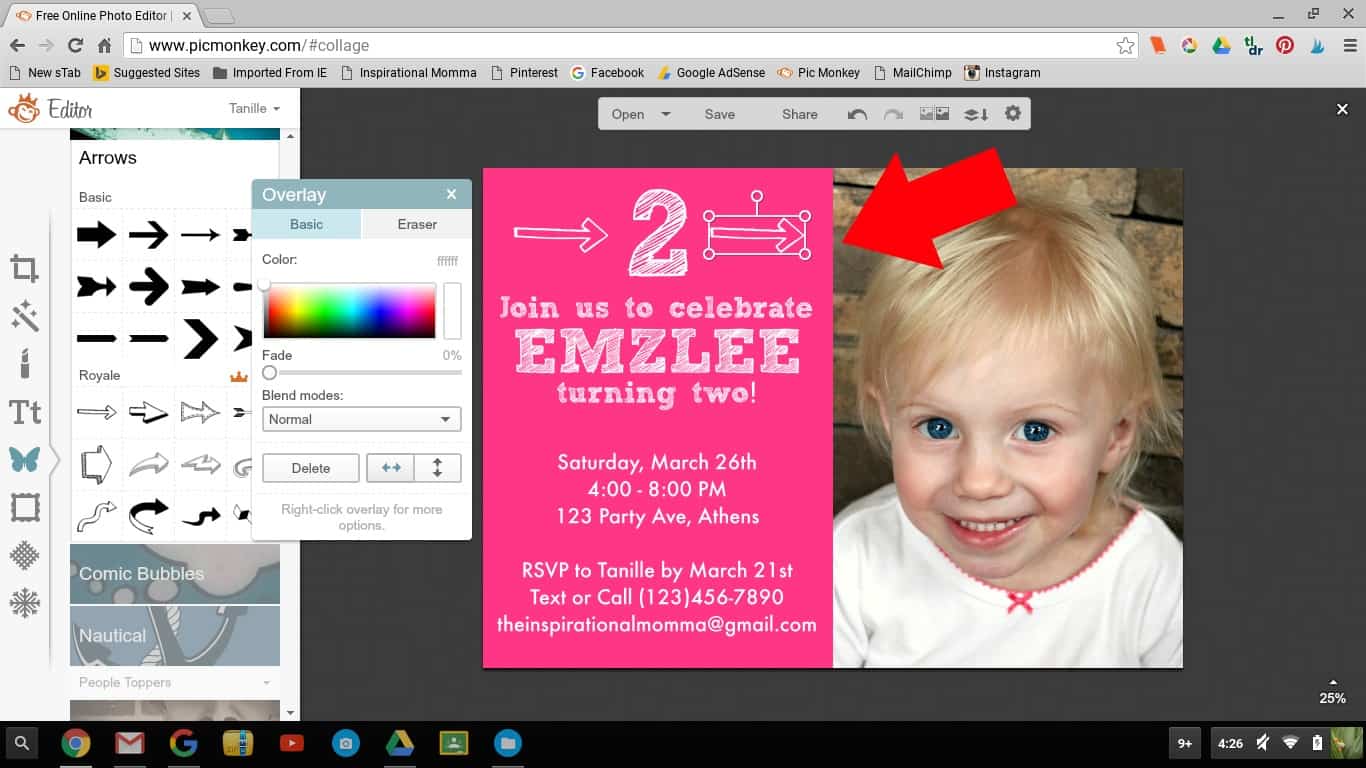
Step 24: To create a copy of this arrow to be sure both arrows are the same size and color, click on it to select it. On your keyboard, push CTRL + C. This will copy what you have selected. Now push CTRL +V to paste a duplicate copy.
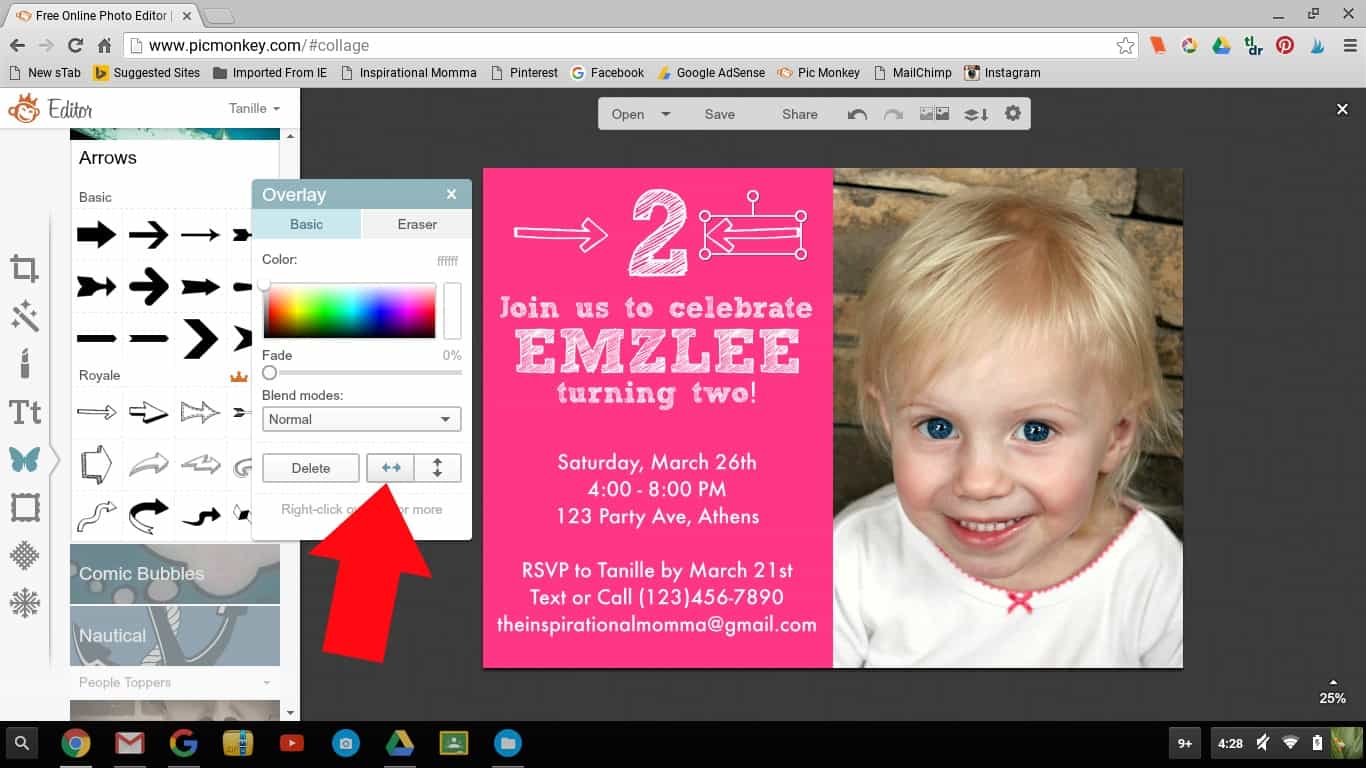
Step 25: You may notice that your new arrow is facing the wrong direction. No worries. This is an easy fix. In the "Overlay" window, click on the horizontal arrows to flip it the opposite direction.
Hopefully you were able to follow all of these steps along with me, and you have created an original, personalized invitation for an angel in your life. Now it is time to save!
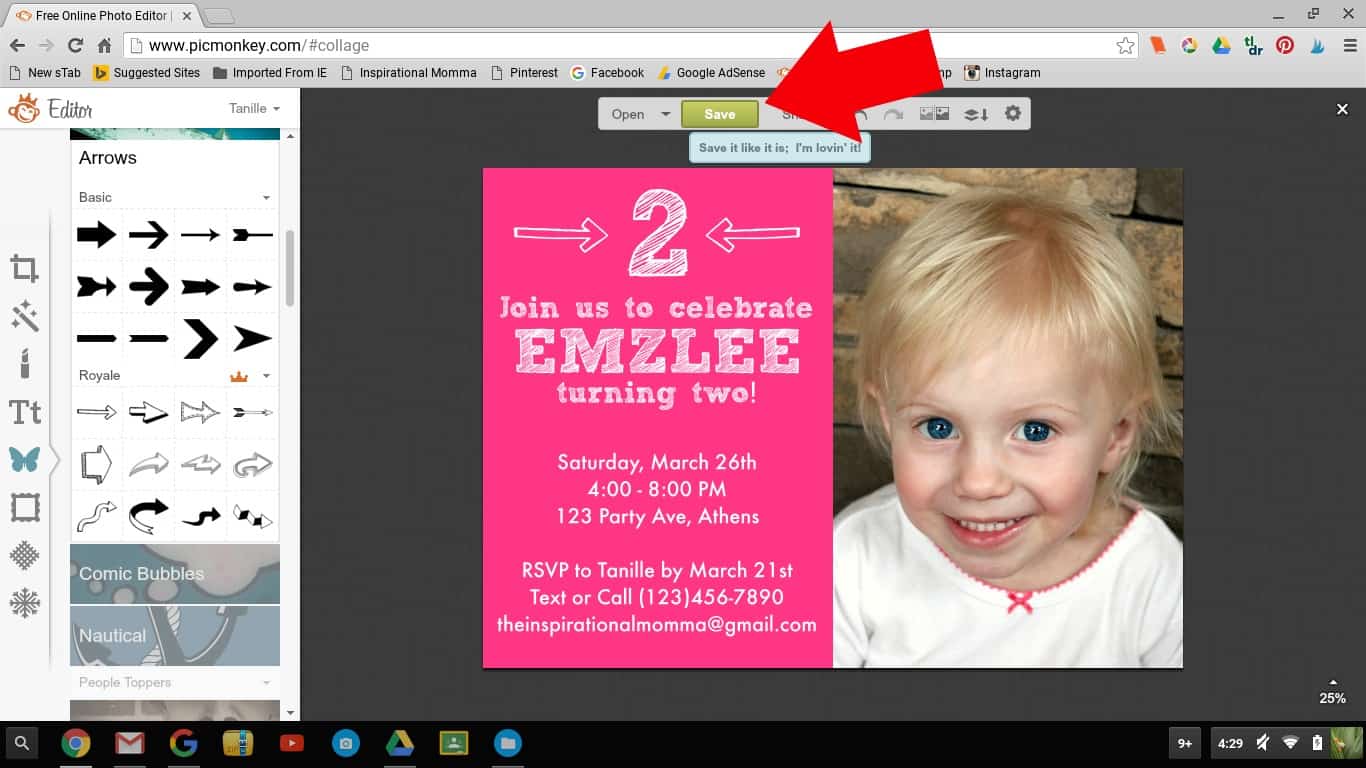
Step 26: Click on the "Save" button on the top toolbar.
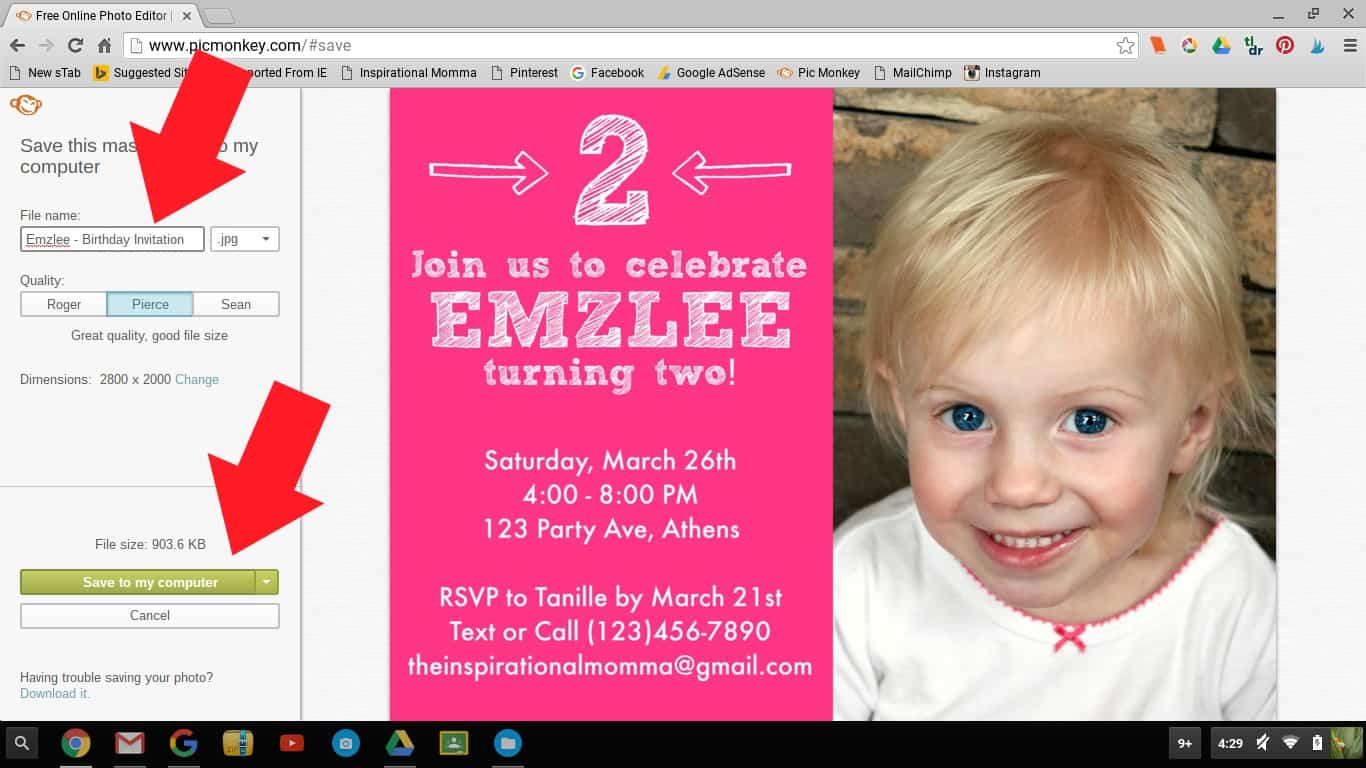
Step 27: After creating a name for your invitation, click "Save to my Computer".
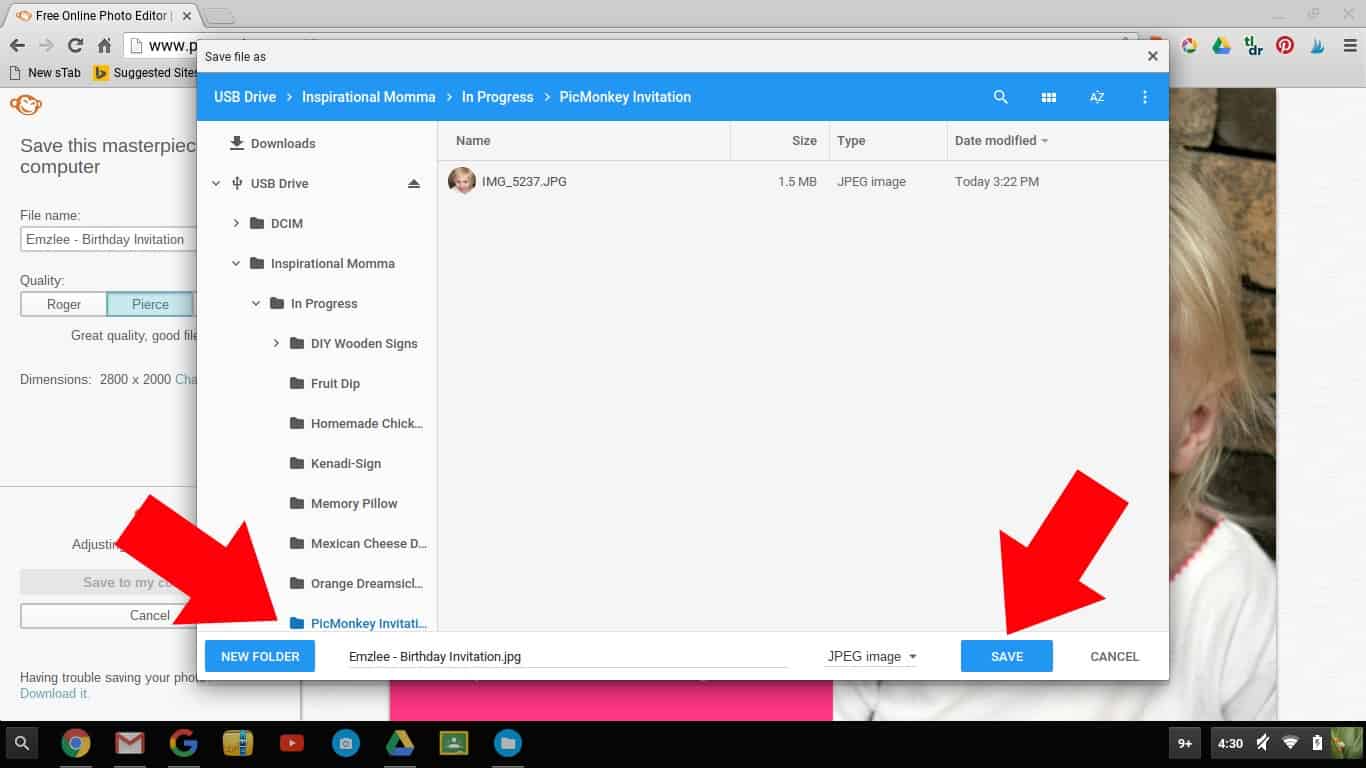
Step 28: One more window will pop up. This will allow you to choose exactly where you would like to save this image on your computer. When you have selected that location, click the "Save" button.
You did it! You are officially able to Create An Invitation With PicMonkey! This creation can be shared digitally or uploaded to a photo printing website like Shutterfly.com and printed!
Now the possibilities are endless. With the basic knowledge that I have shared with you, your potential is crazy! Please keep me updated on the fun items that you create! If you would have any questions, please leave them in the comments section below!

Get Inspired!
Never miss my delicious recipes, cute creations, or household tips!