Baked Turkey and Cheese Sliders
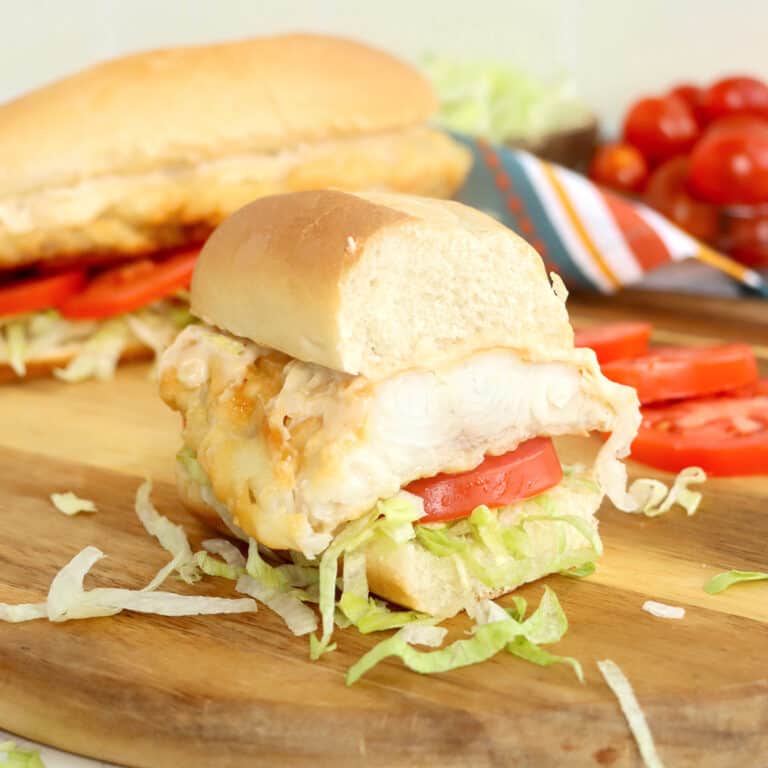
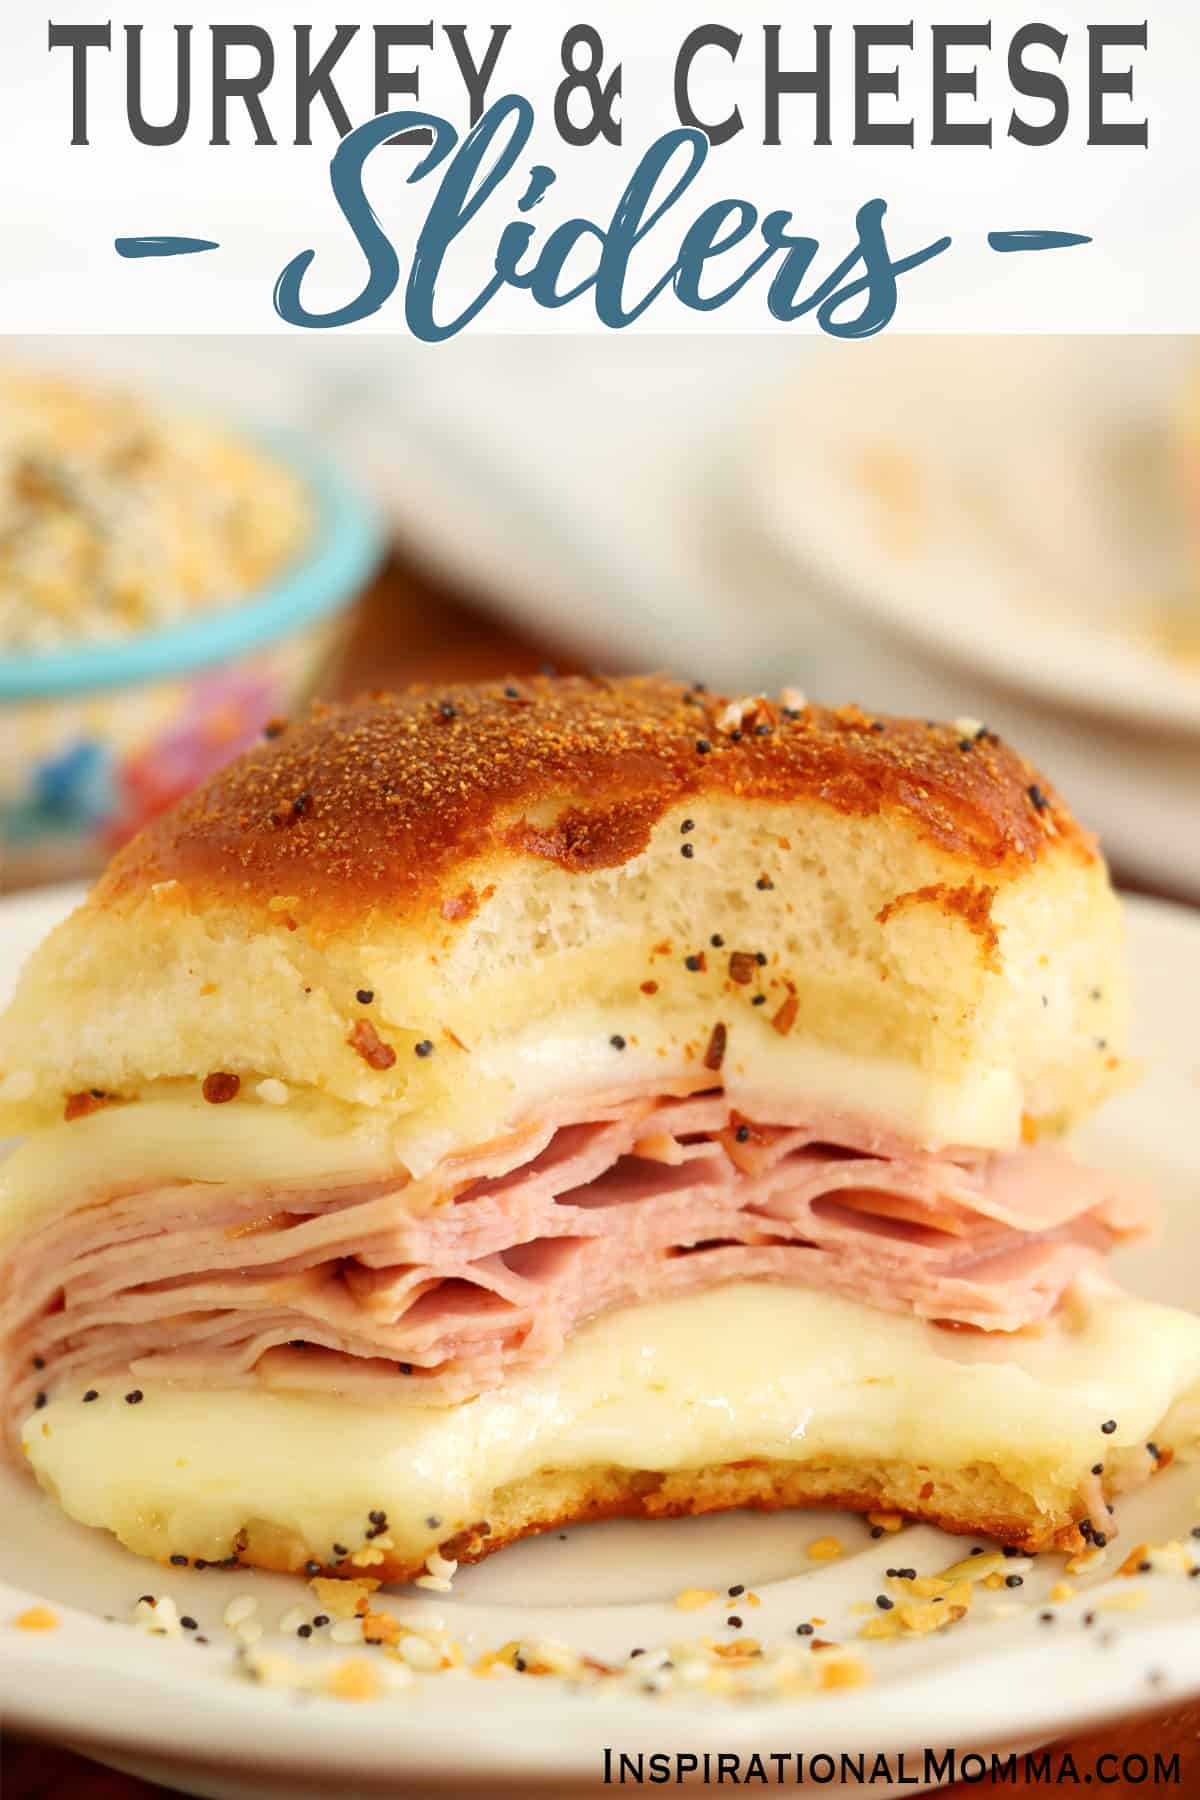
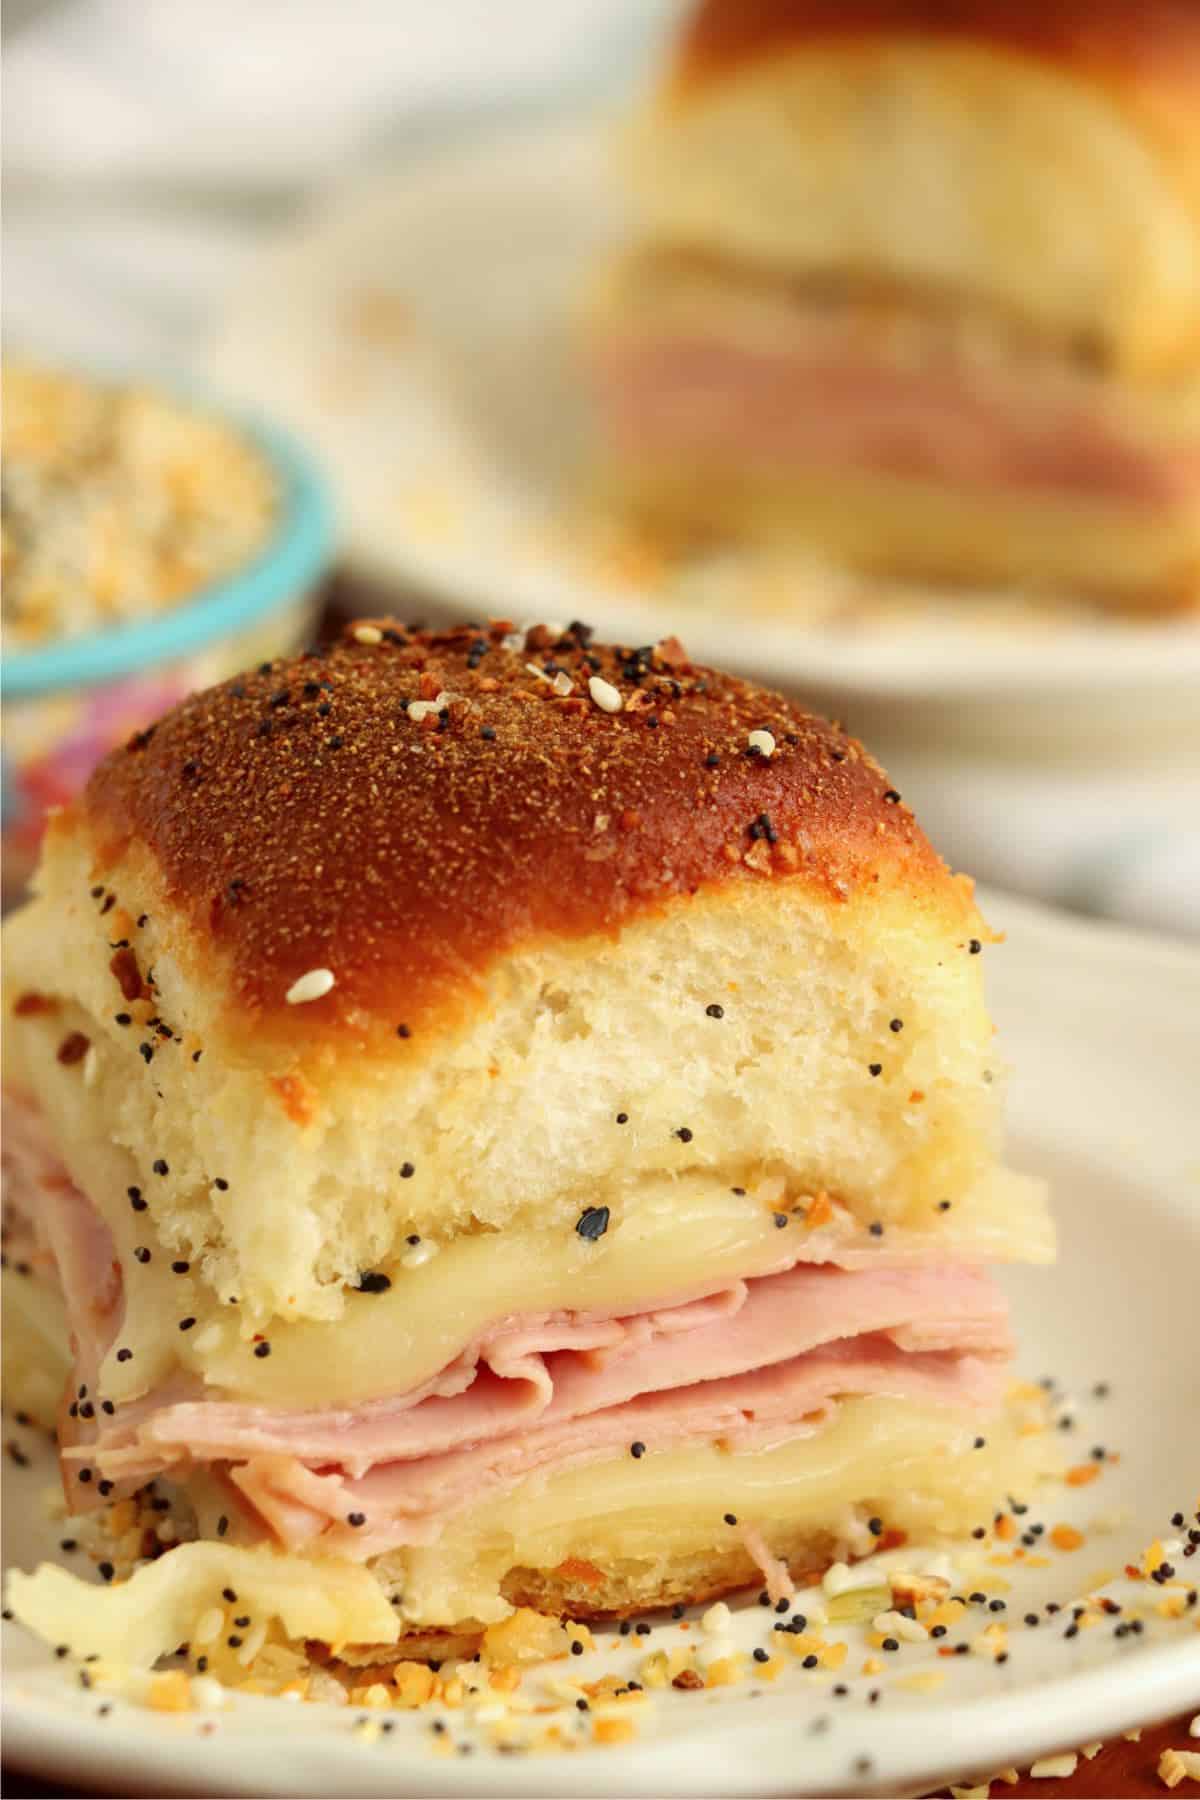
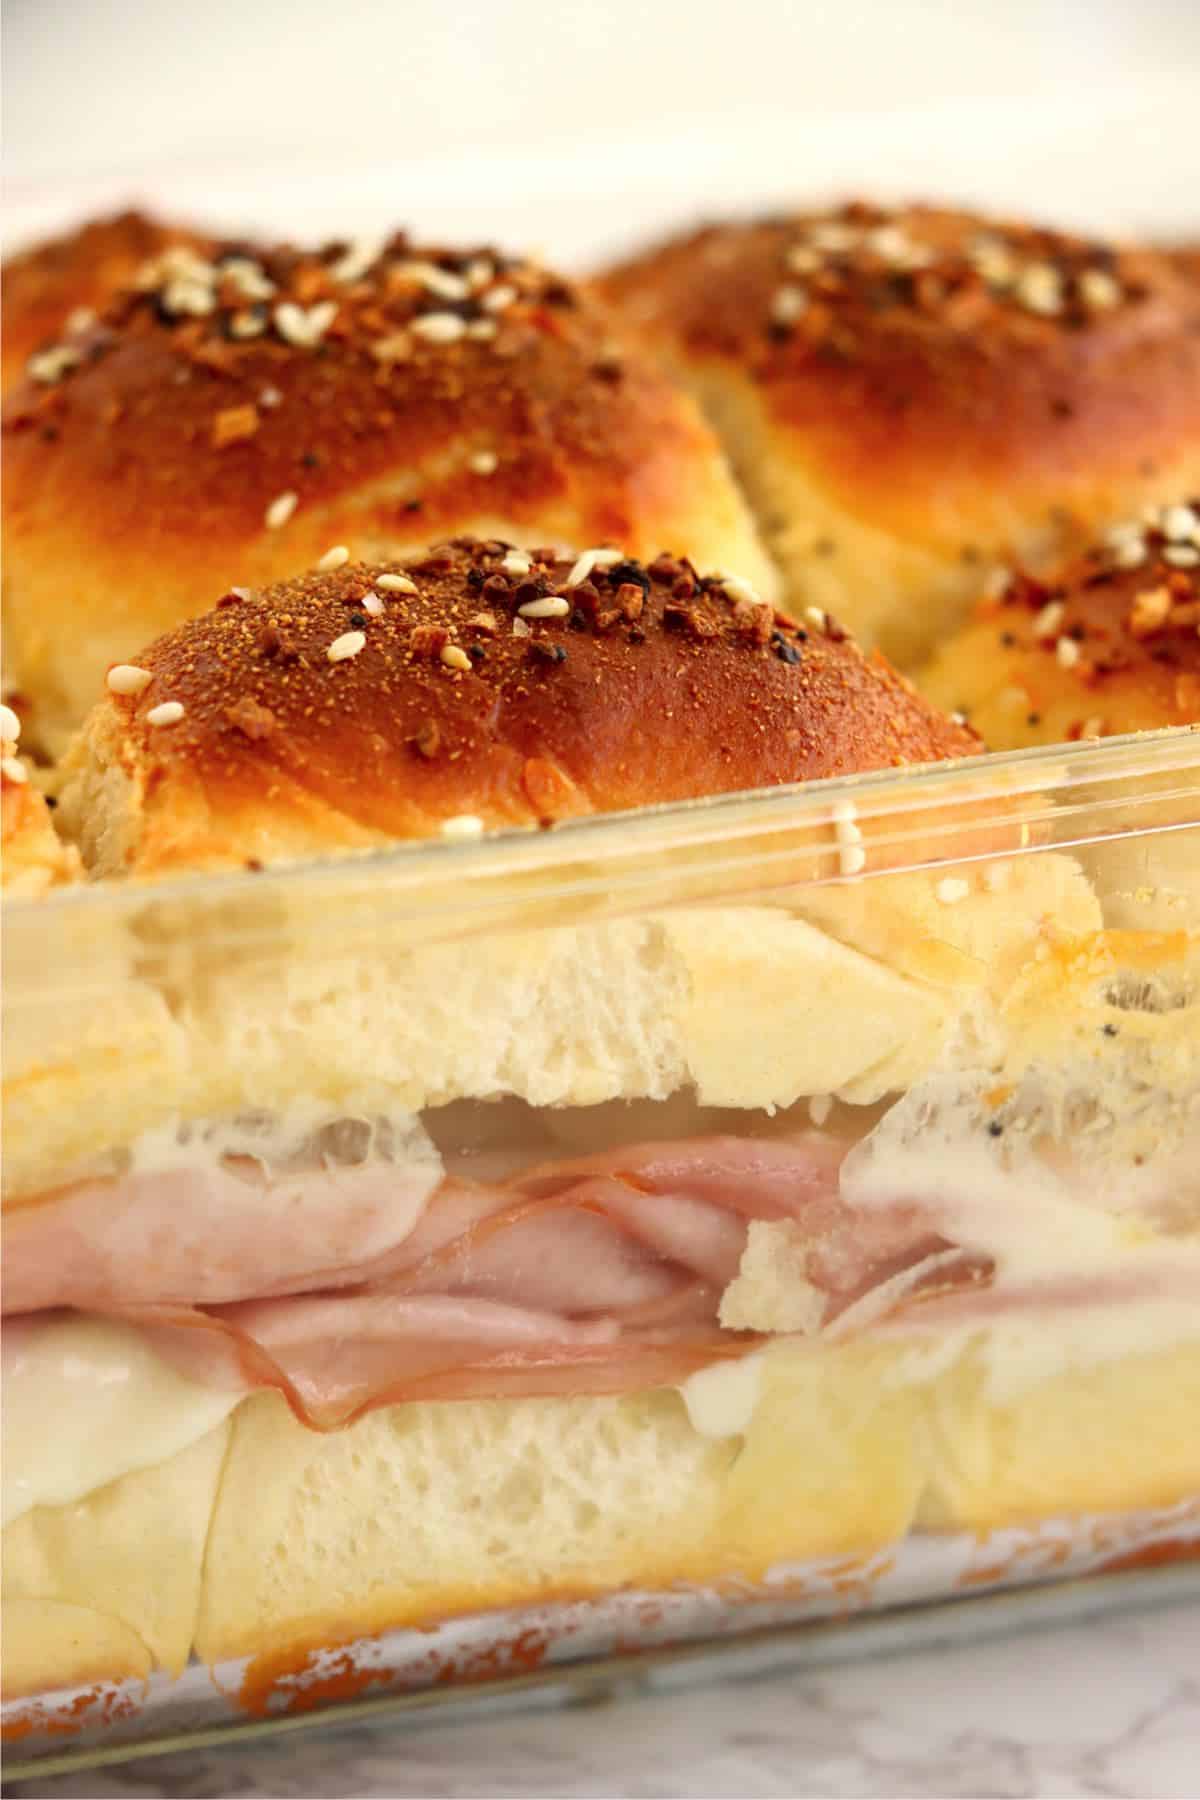
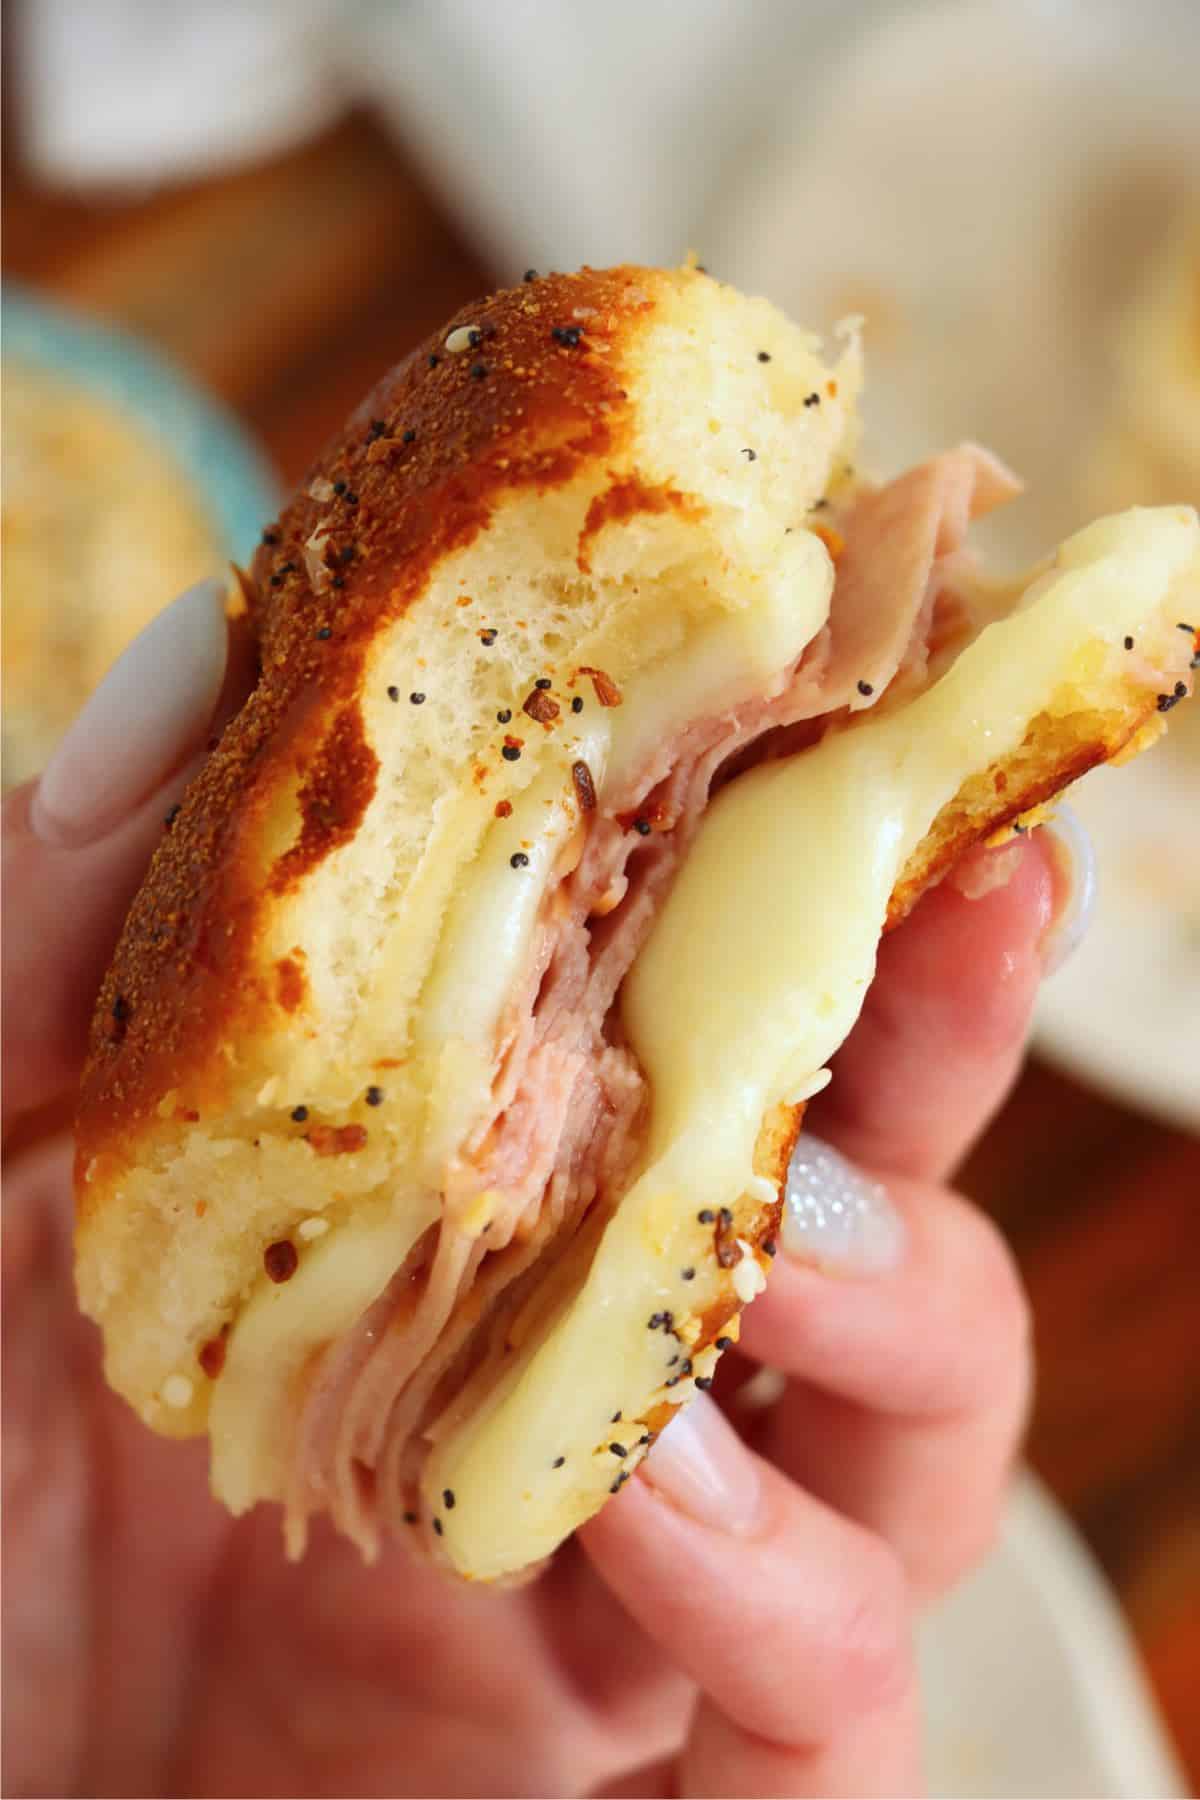
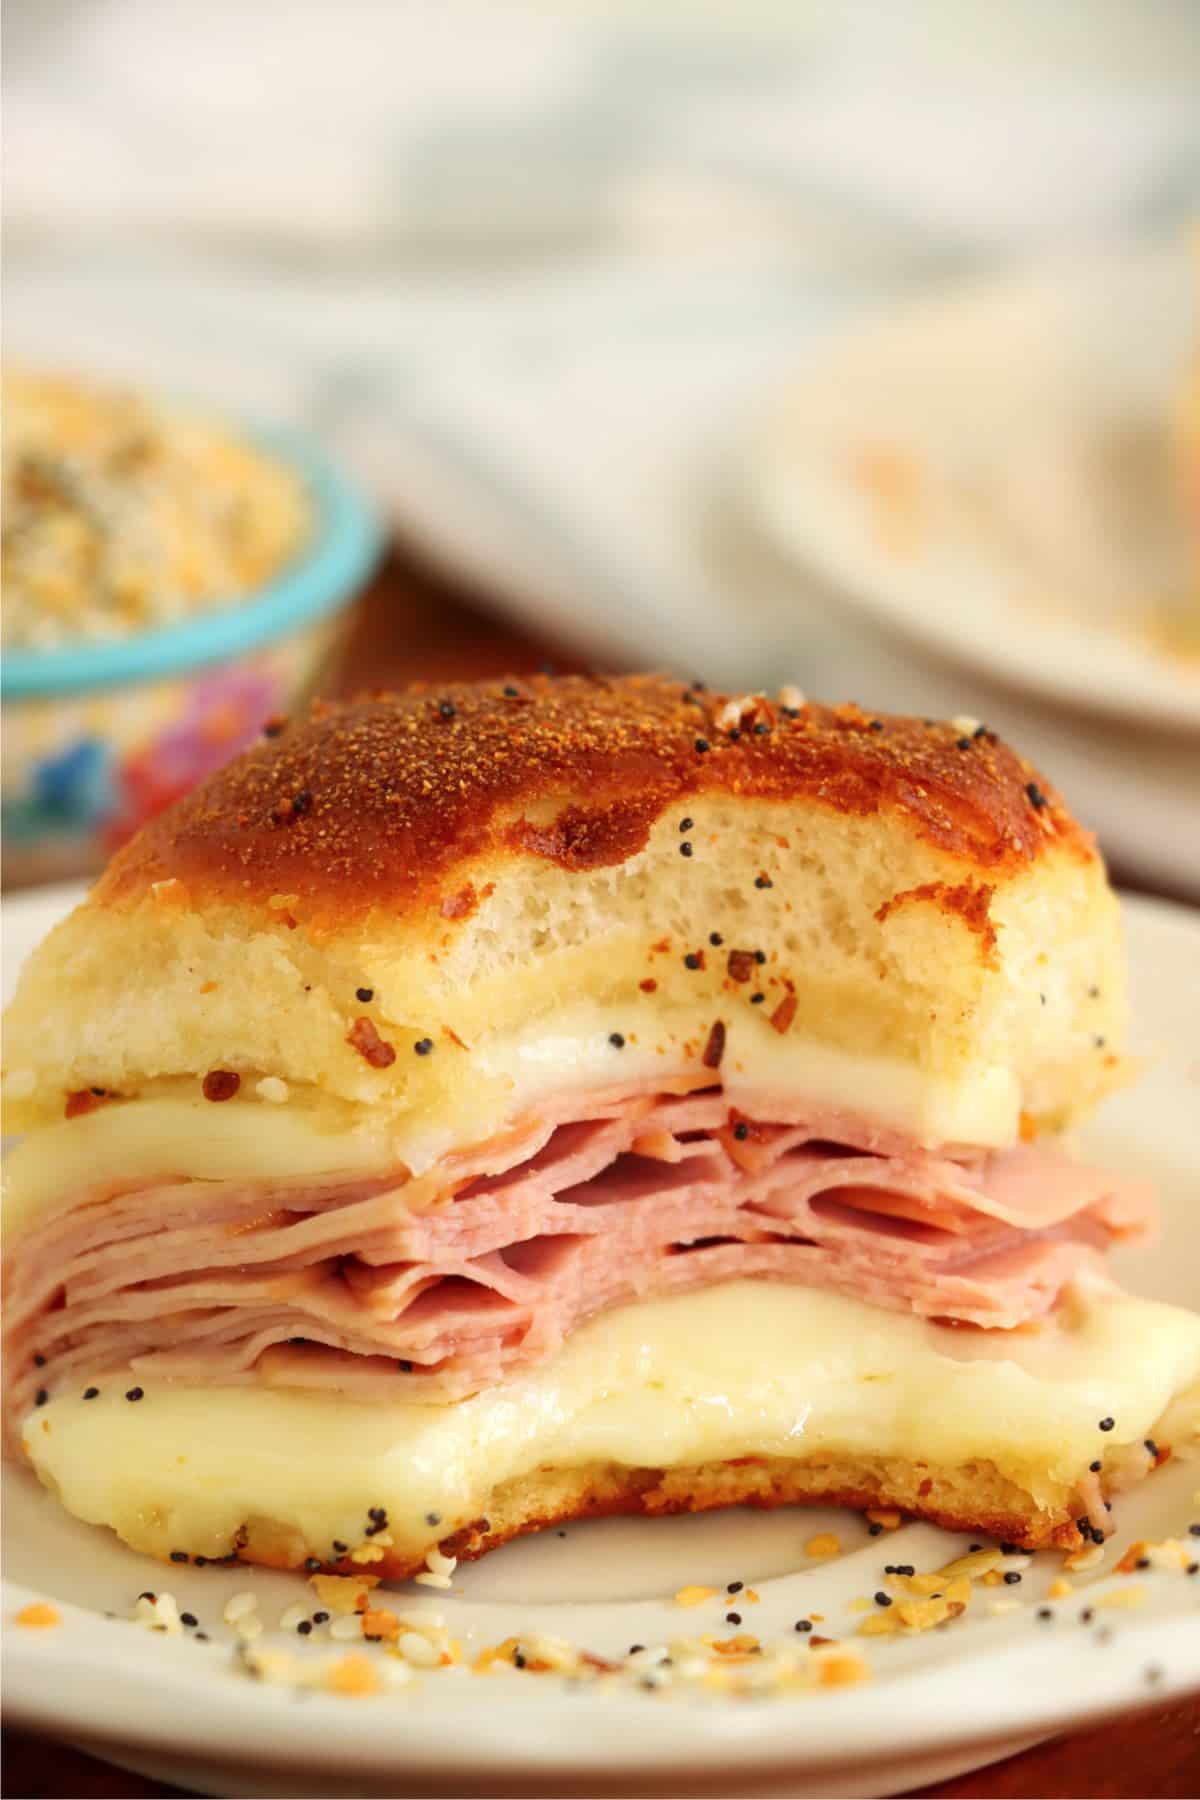
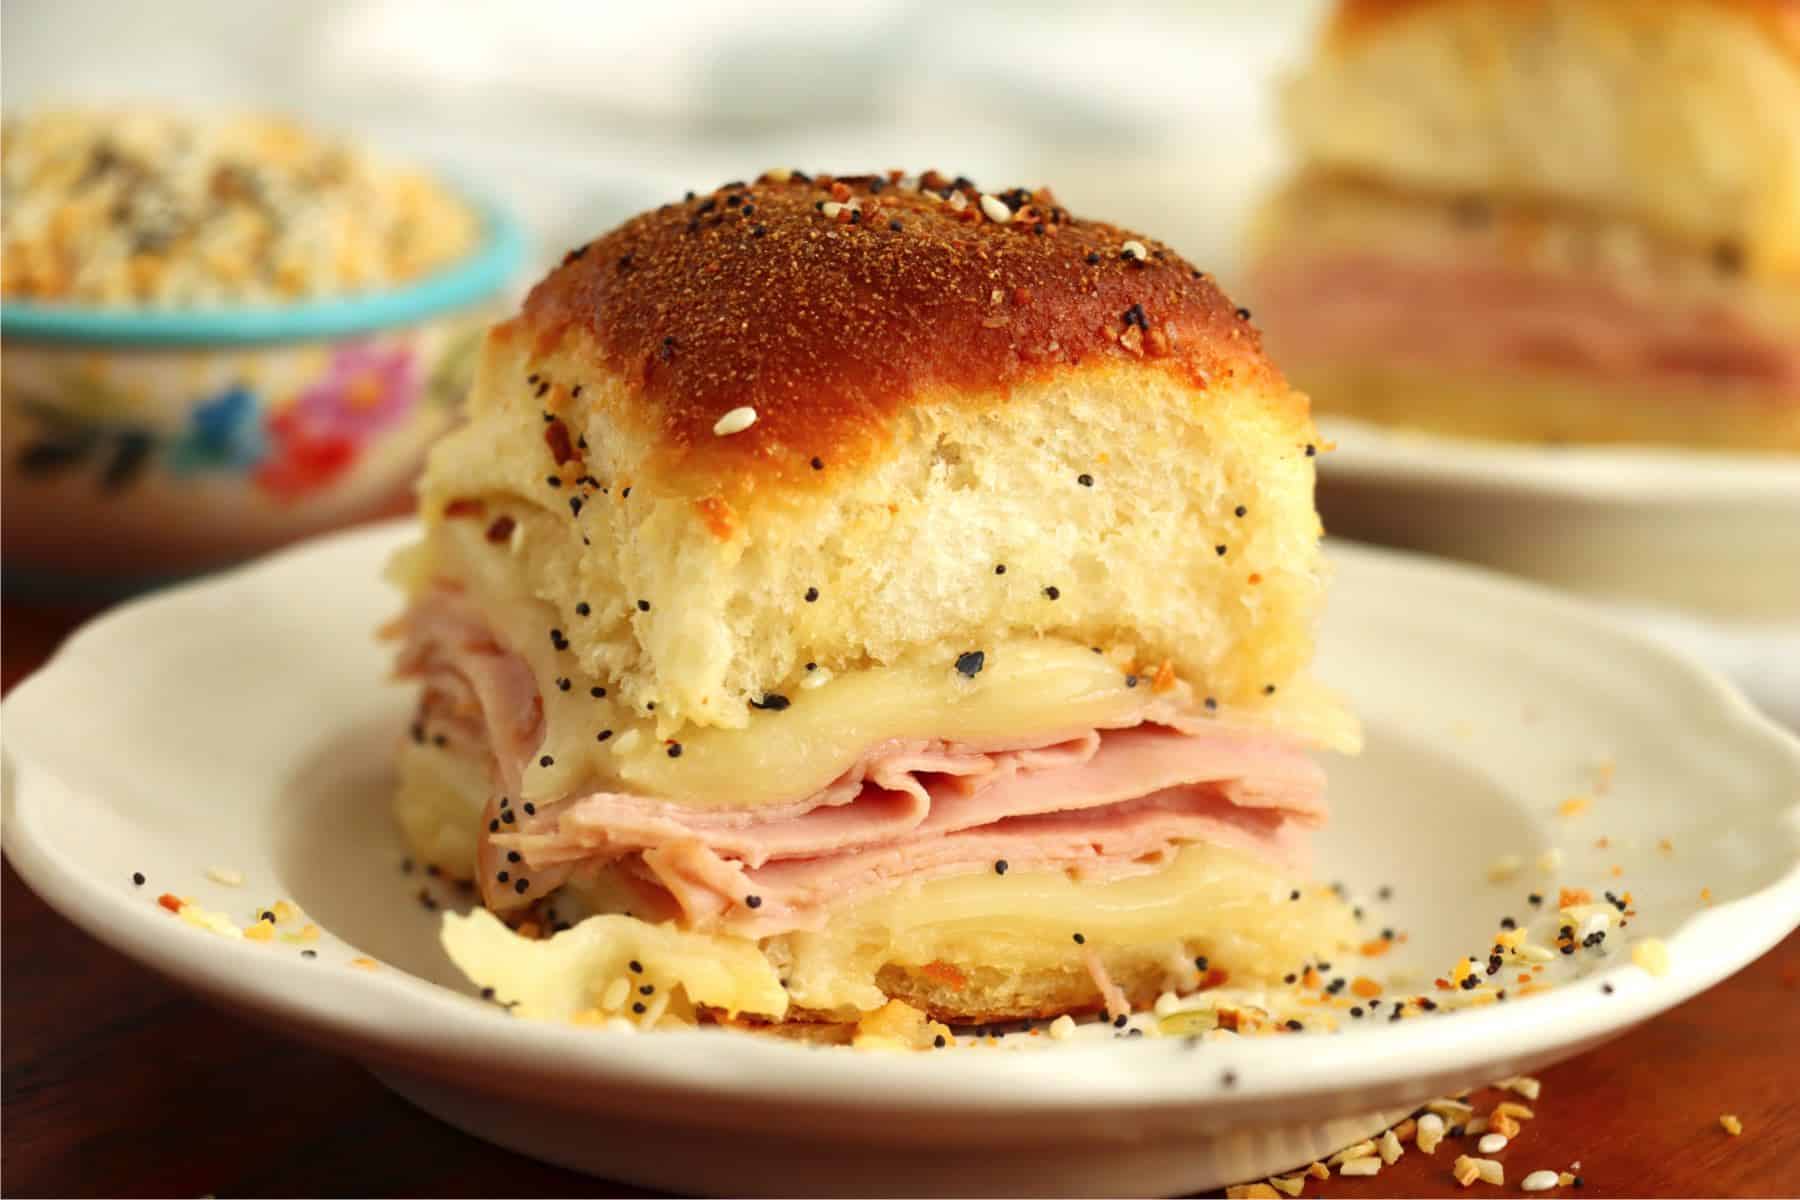
These baked turkey and cheese sliders feature hot, melty provolone cheese and turkey breast lunchmeat on the inside and a buttery seasoned coating on the outside of the buns.
If you love sliders, then you're going to be extremely happy when you make this recipe. I bring out this recipe when I want to make a fun dinner or I need a great appetizer dish that's quick and easy. These gooey, meaty sliders are so full of flavor, and they're ridiculously easy to make.
Why You'll Love This Recipe
- It's a quick and easy recipe that's ready in minutes from start to finish.
- It only uses a handful of simple ingredients.
- The provolone and turkey flavors pair perfectly with the buttery, seasoned rolls.
- It's the perfect recipe for everything from lunch or dinner to potlucks and gameday parties.
Top Tip
Use a sharp serrated bread knife to cut your rolls in half. This keeps the slices even and helps prevent squishing the rolls.
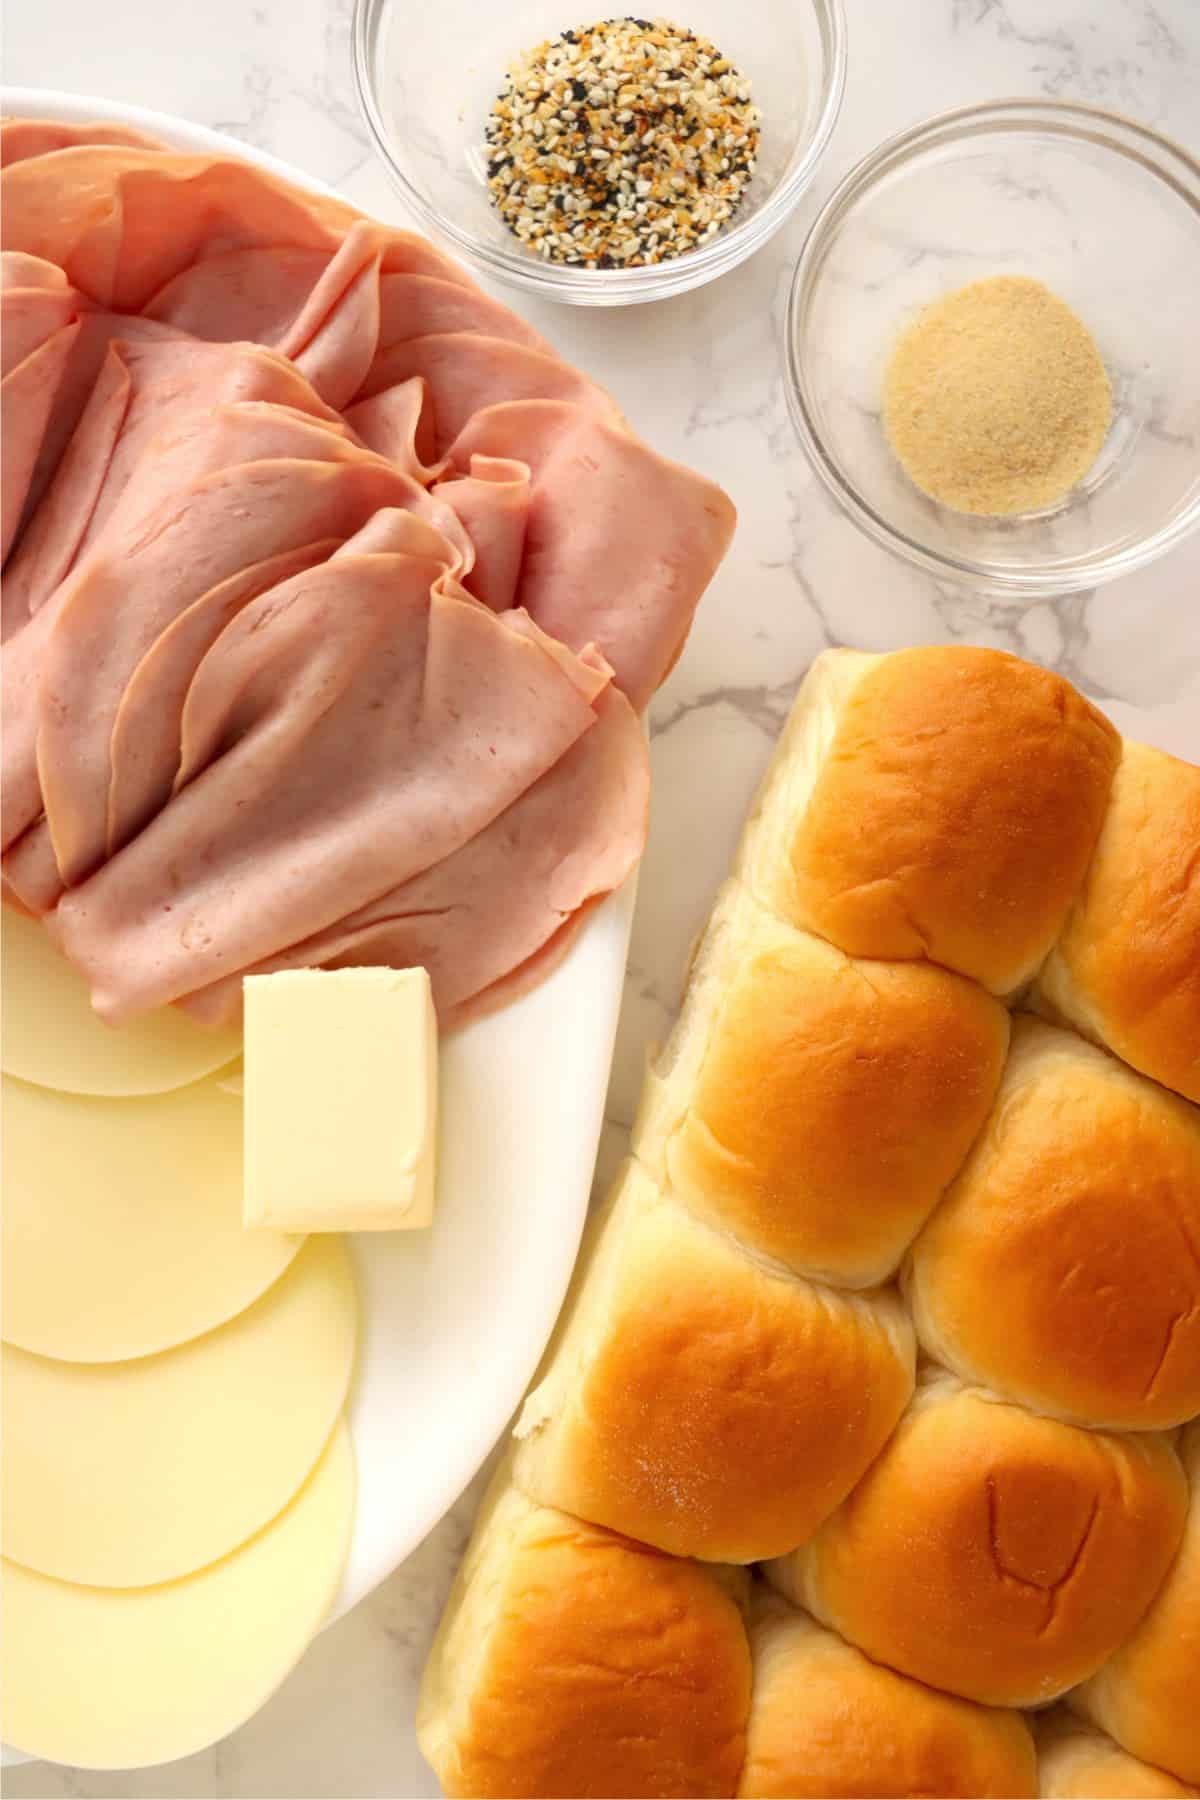
Ingredients
You'll only need a handful of simple ingredients to make this recipe, and they're all readily available at your local grocery store. Everything you need is right here, but you'll find the exact amounts in the recipe card at the end of the post.
- Sweet Hawaiian Rolls
- Butter, divided
- Provolone cheese slices
- Thin sliced turkey breast
- Garlic powder
- Everything Bagel seasoning
Instructions
This recipe only takes a few minutes and a few simple steps. It's mostly just layering and baking. You'll be in and out of the kitchen in no time. The highlights are here, but you'll find the exact instructions in the recipe card at the end of the post.
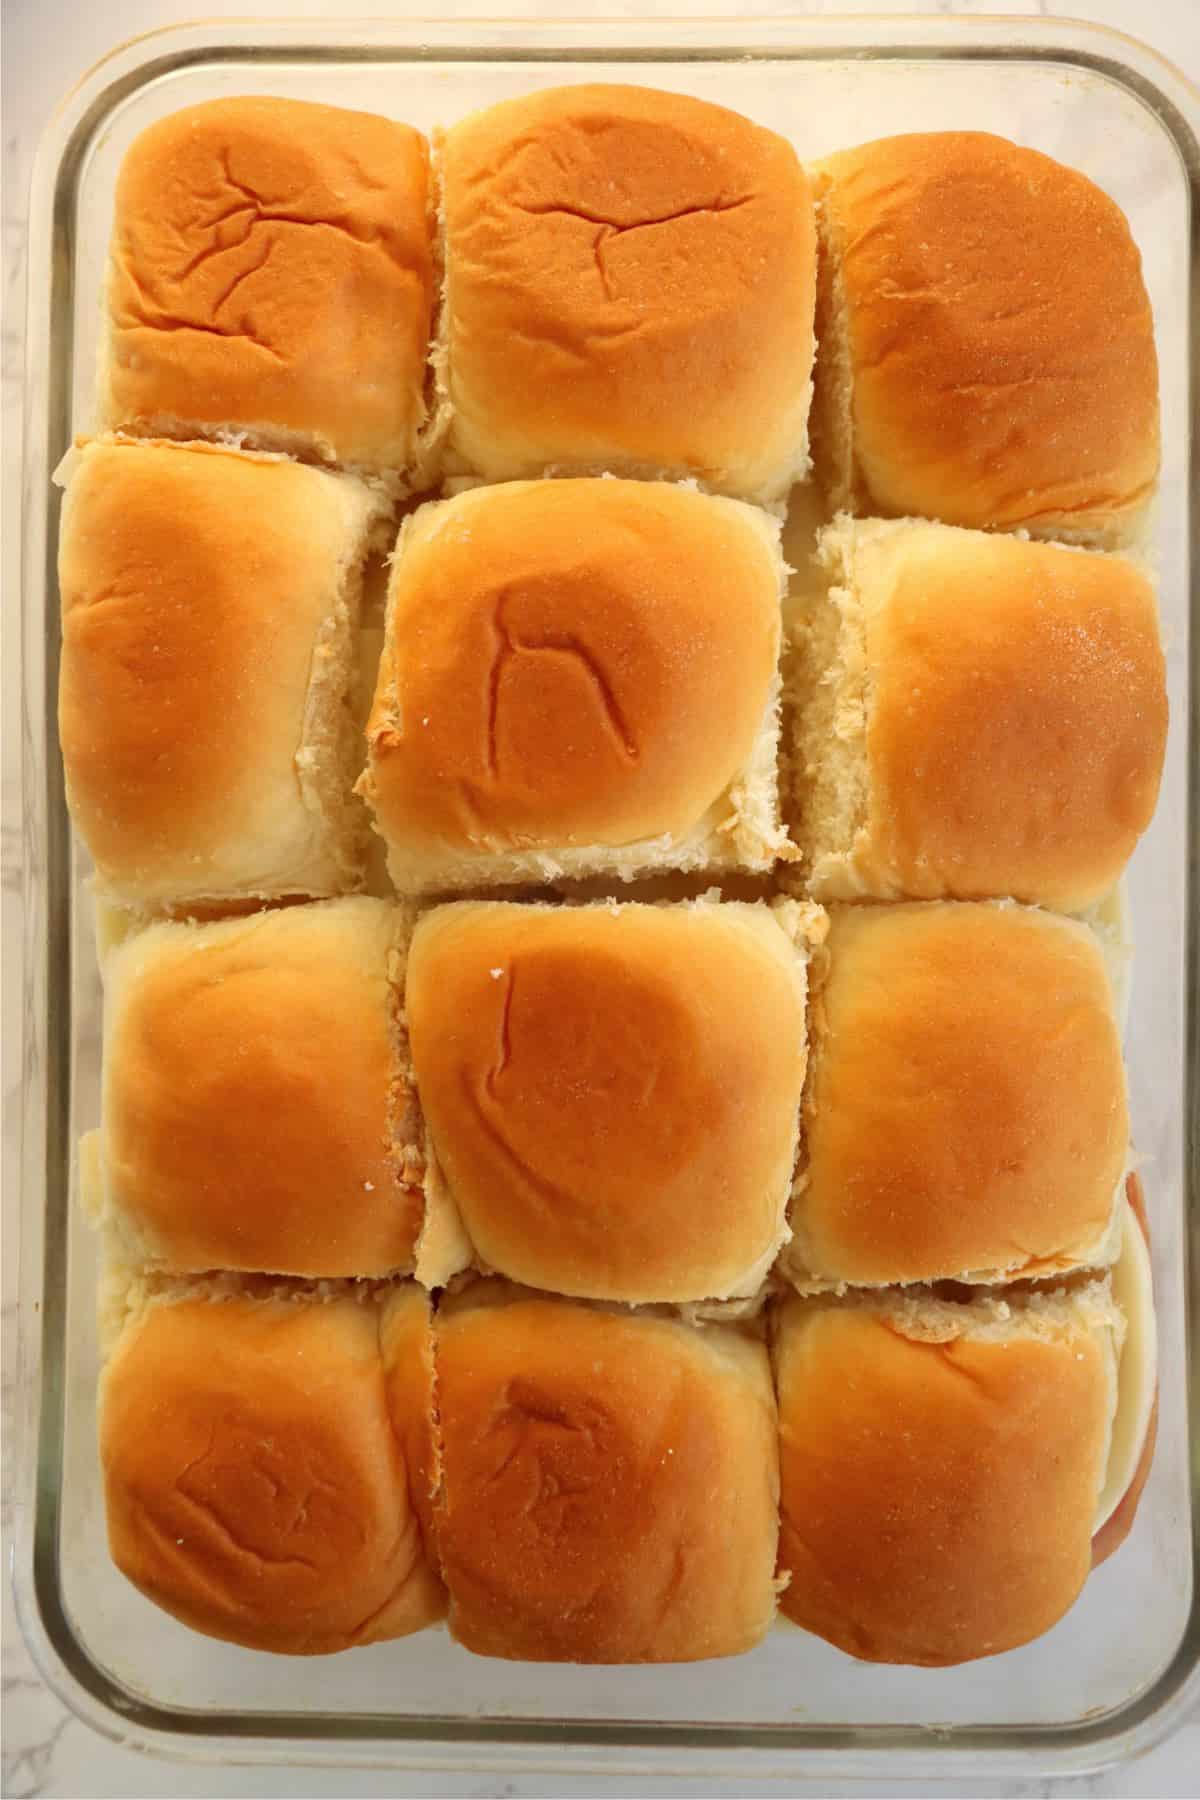
1: Cut the rolls in half and place the bottoms in a prepared baking dish.
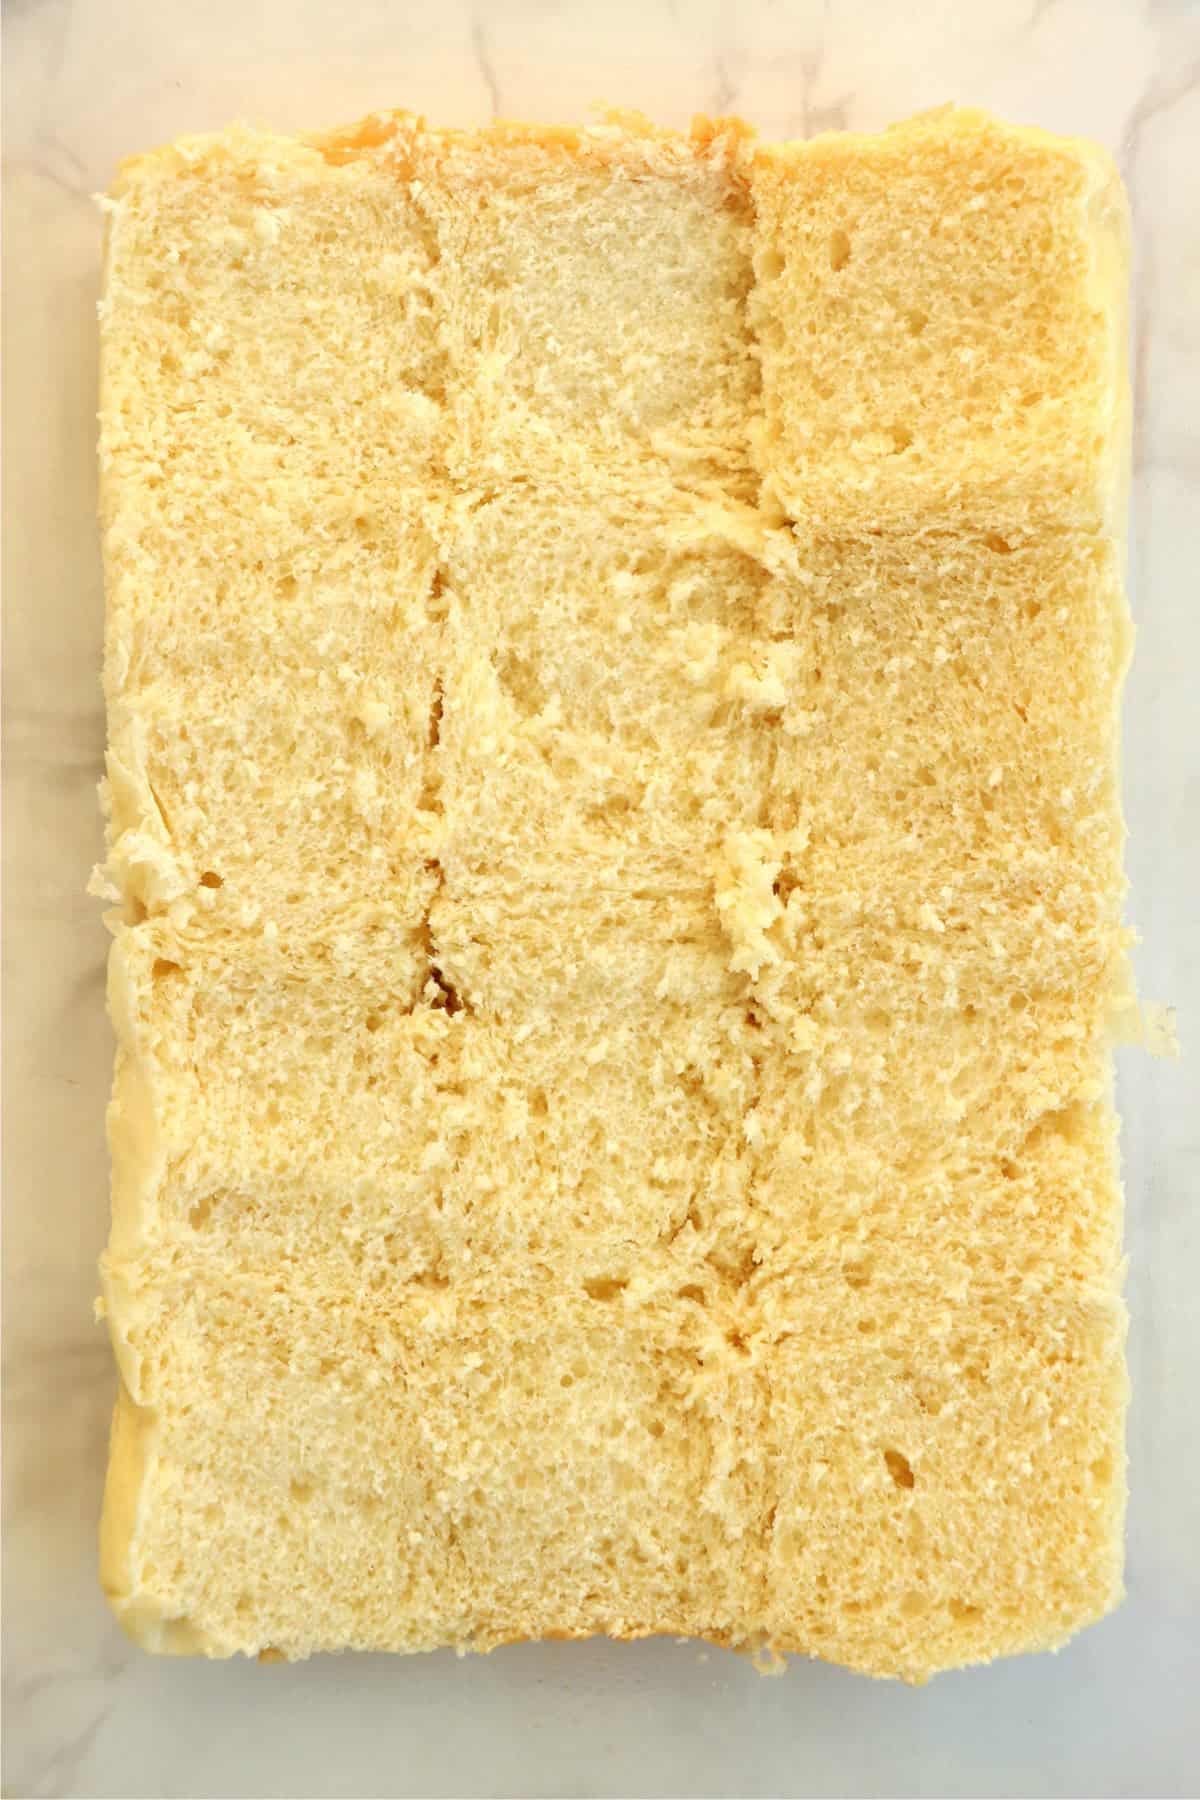
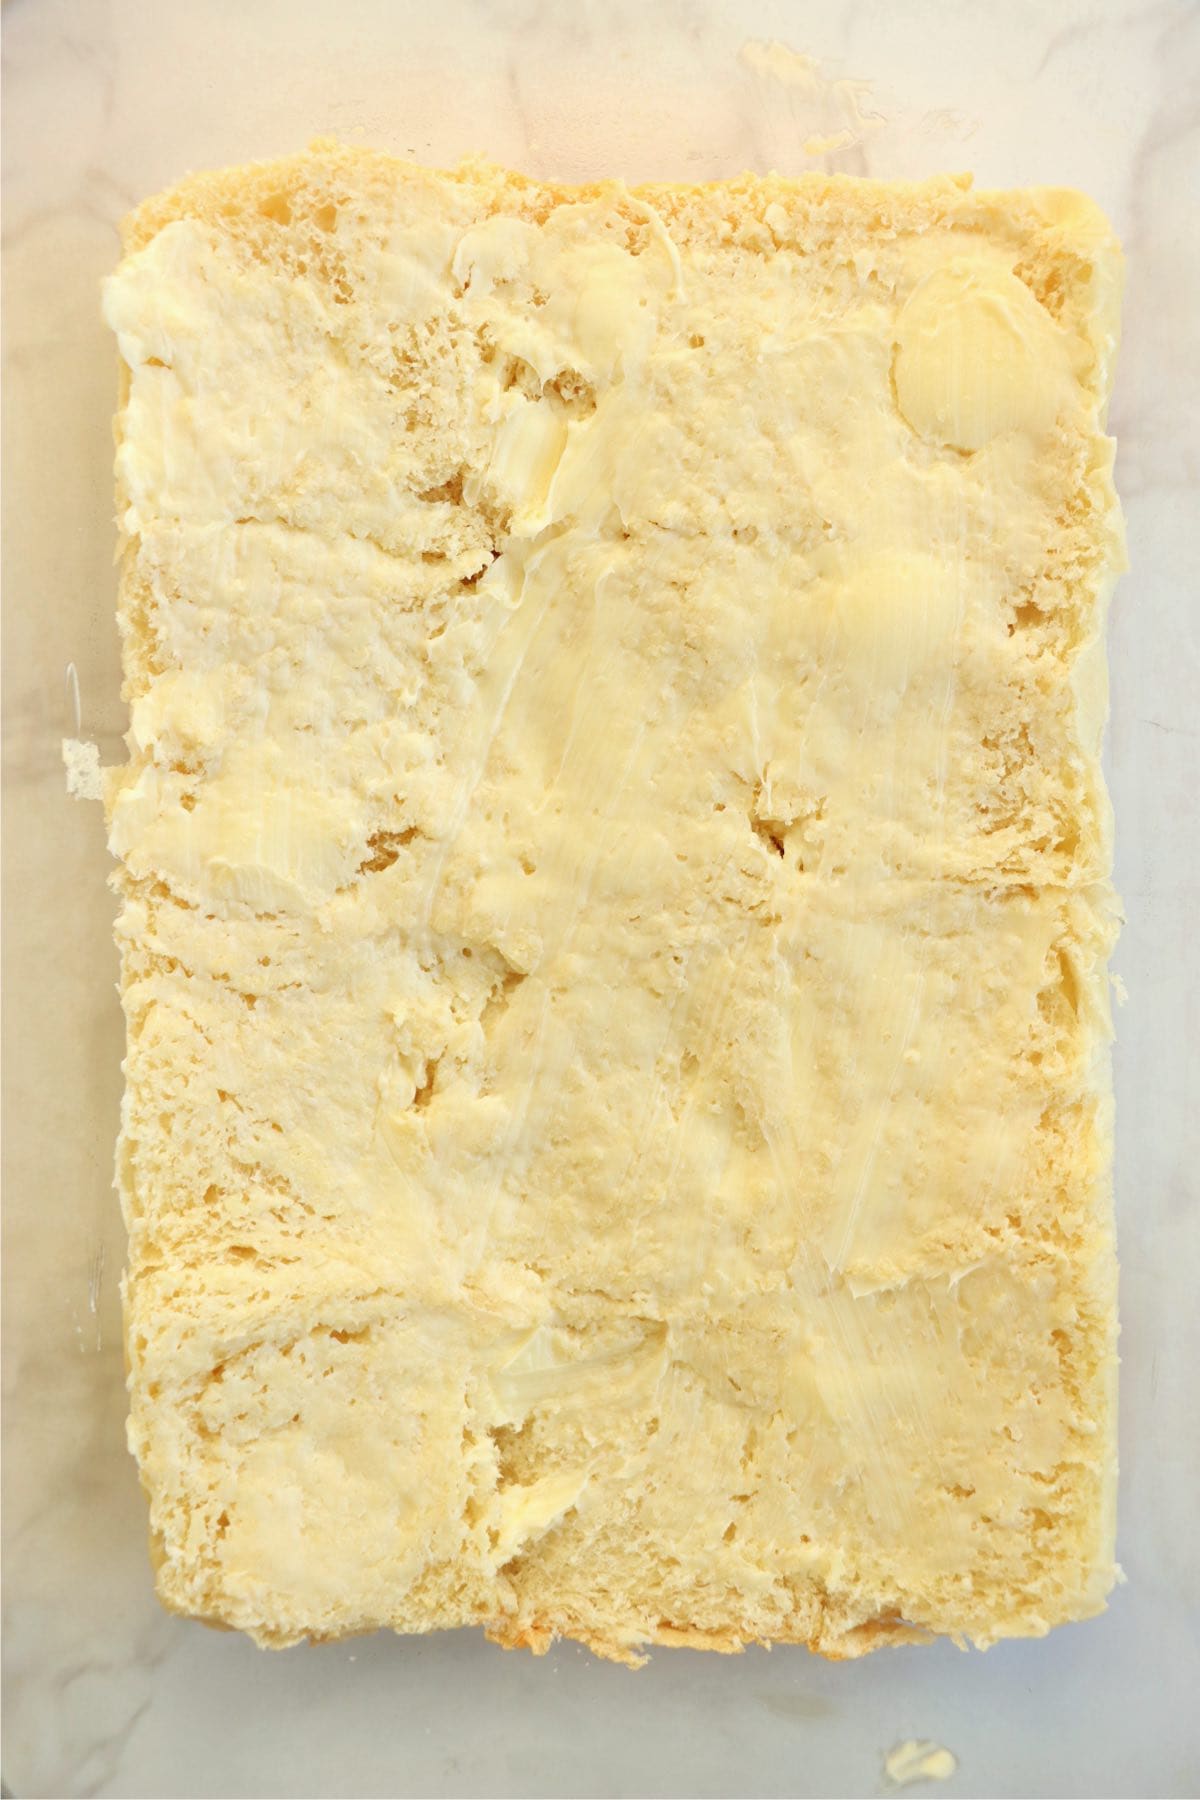
2: Butter the bread.
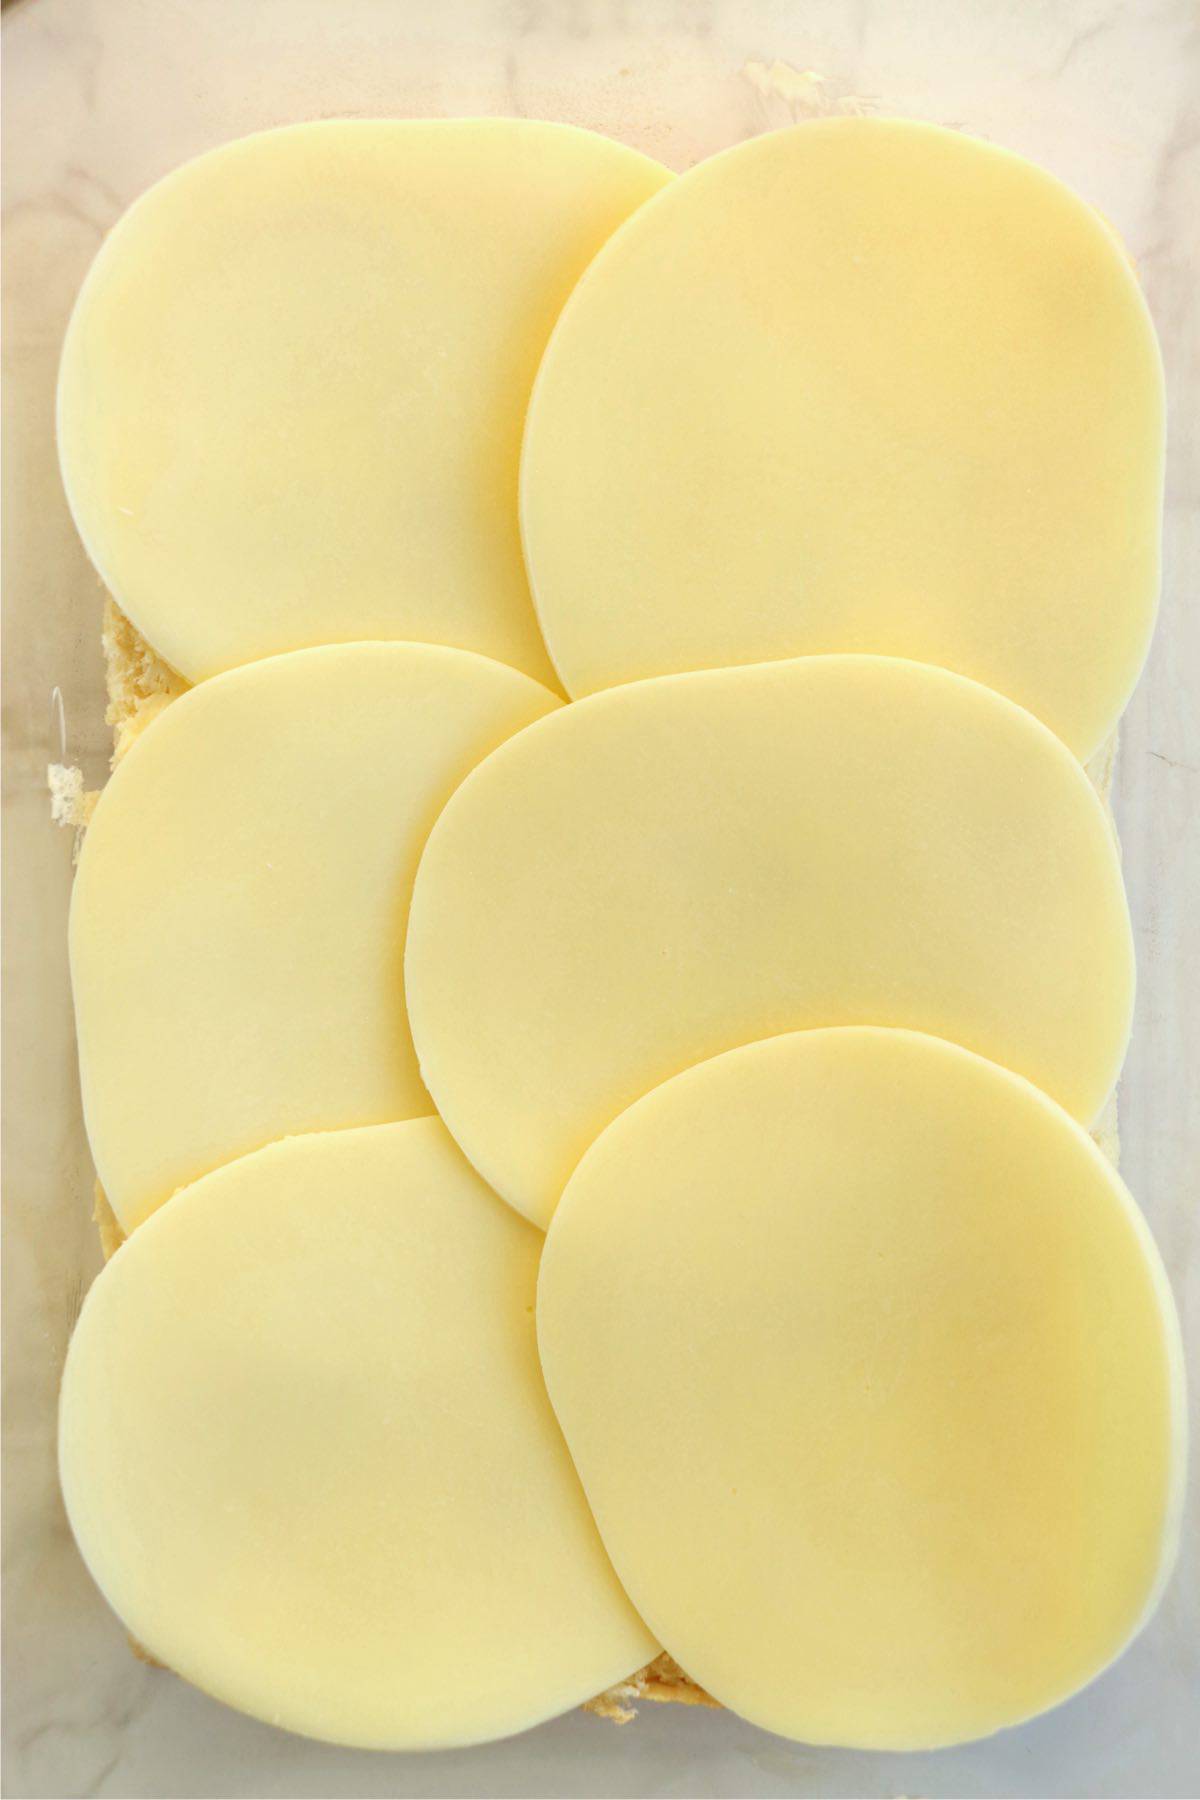
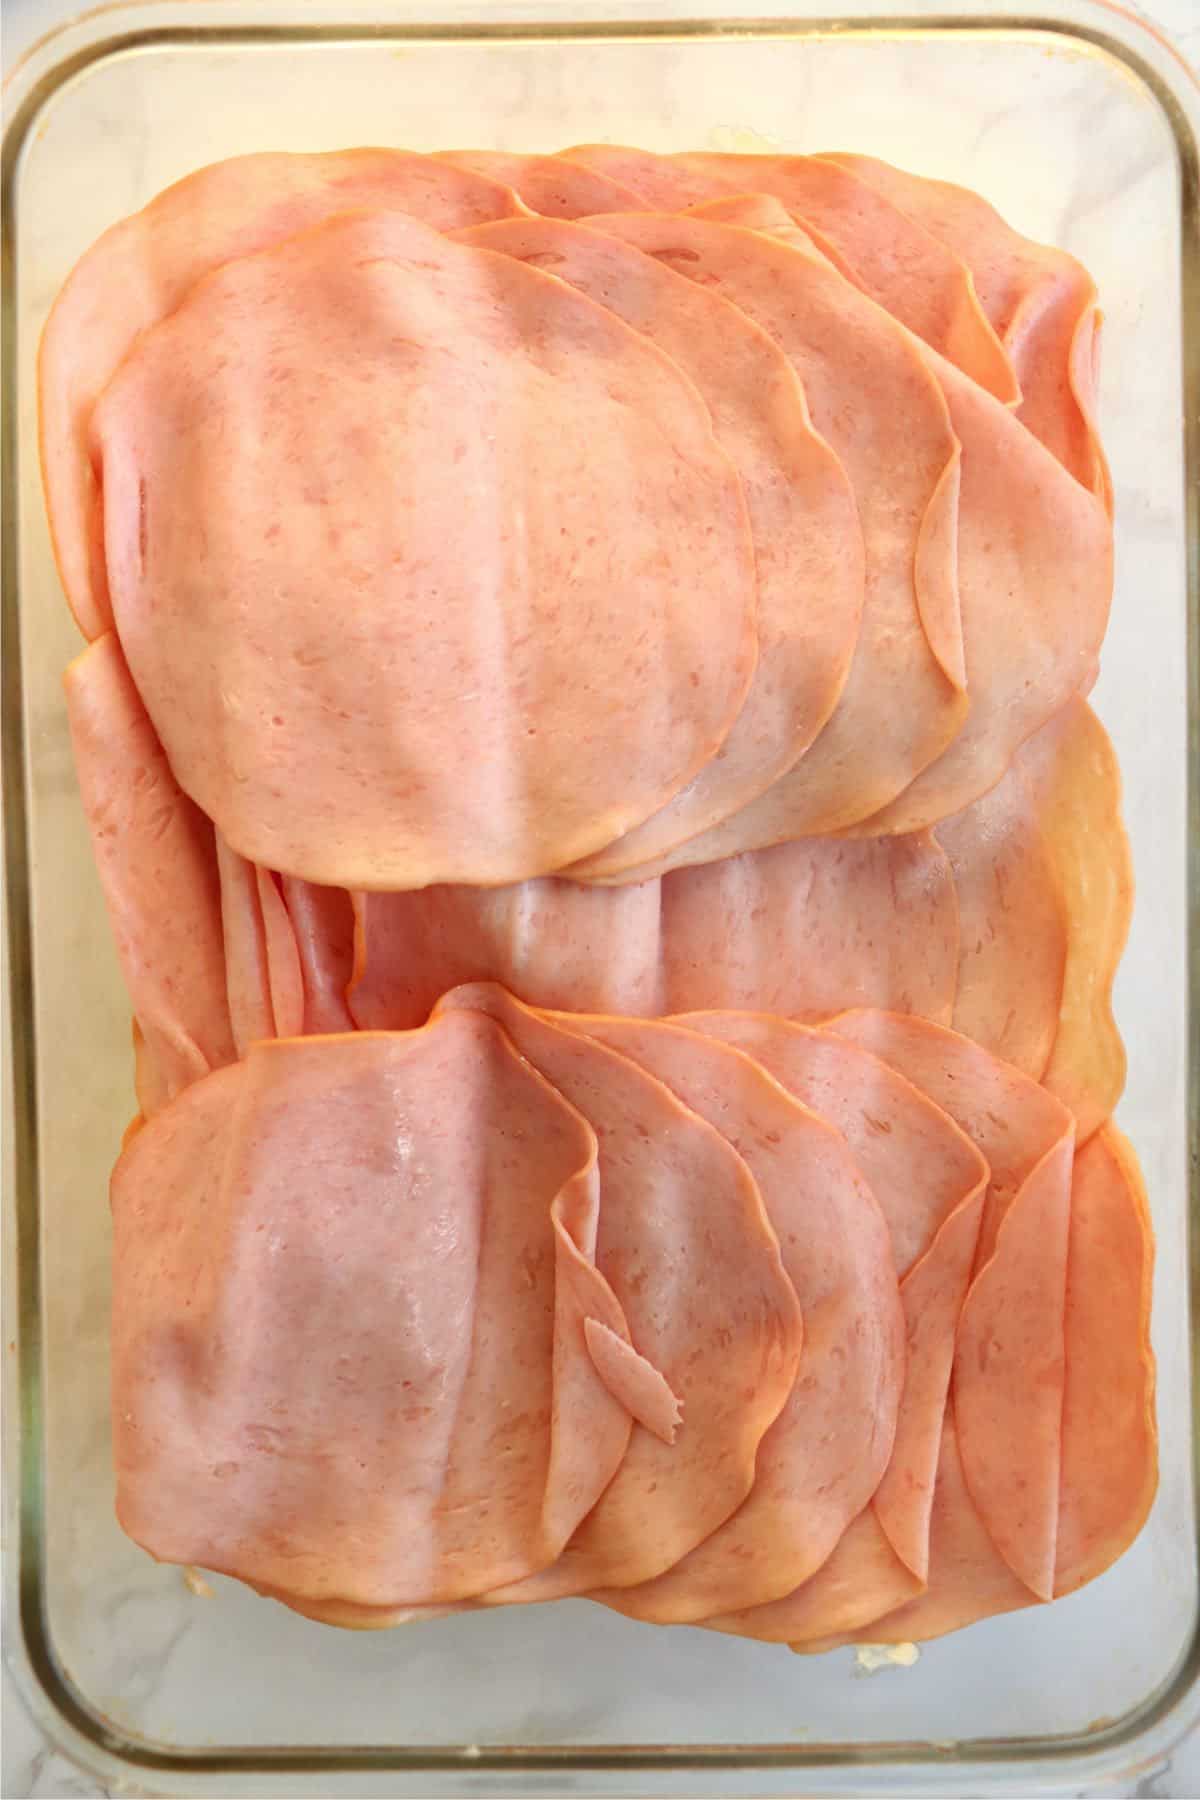
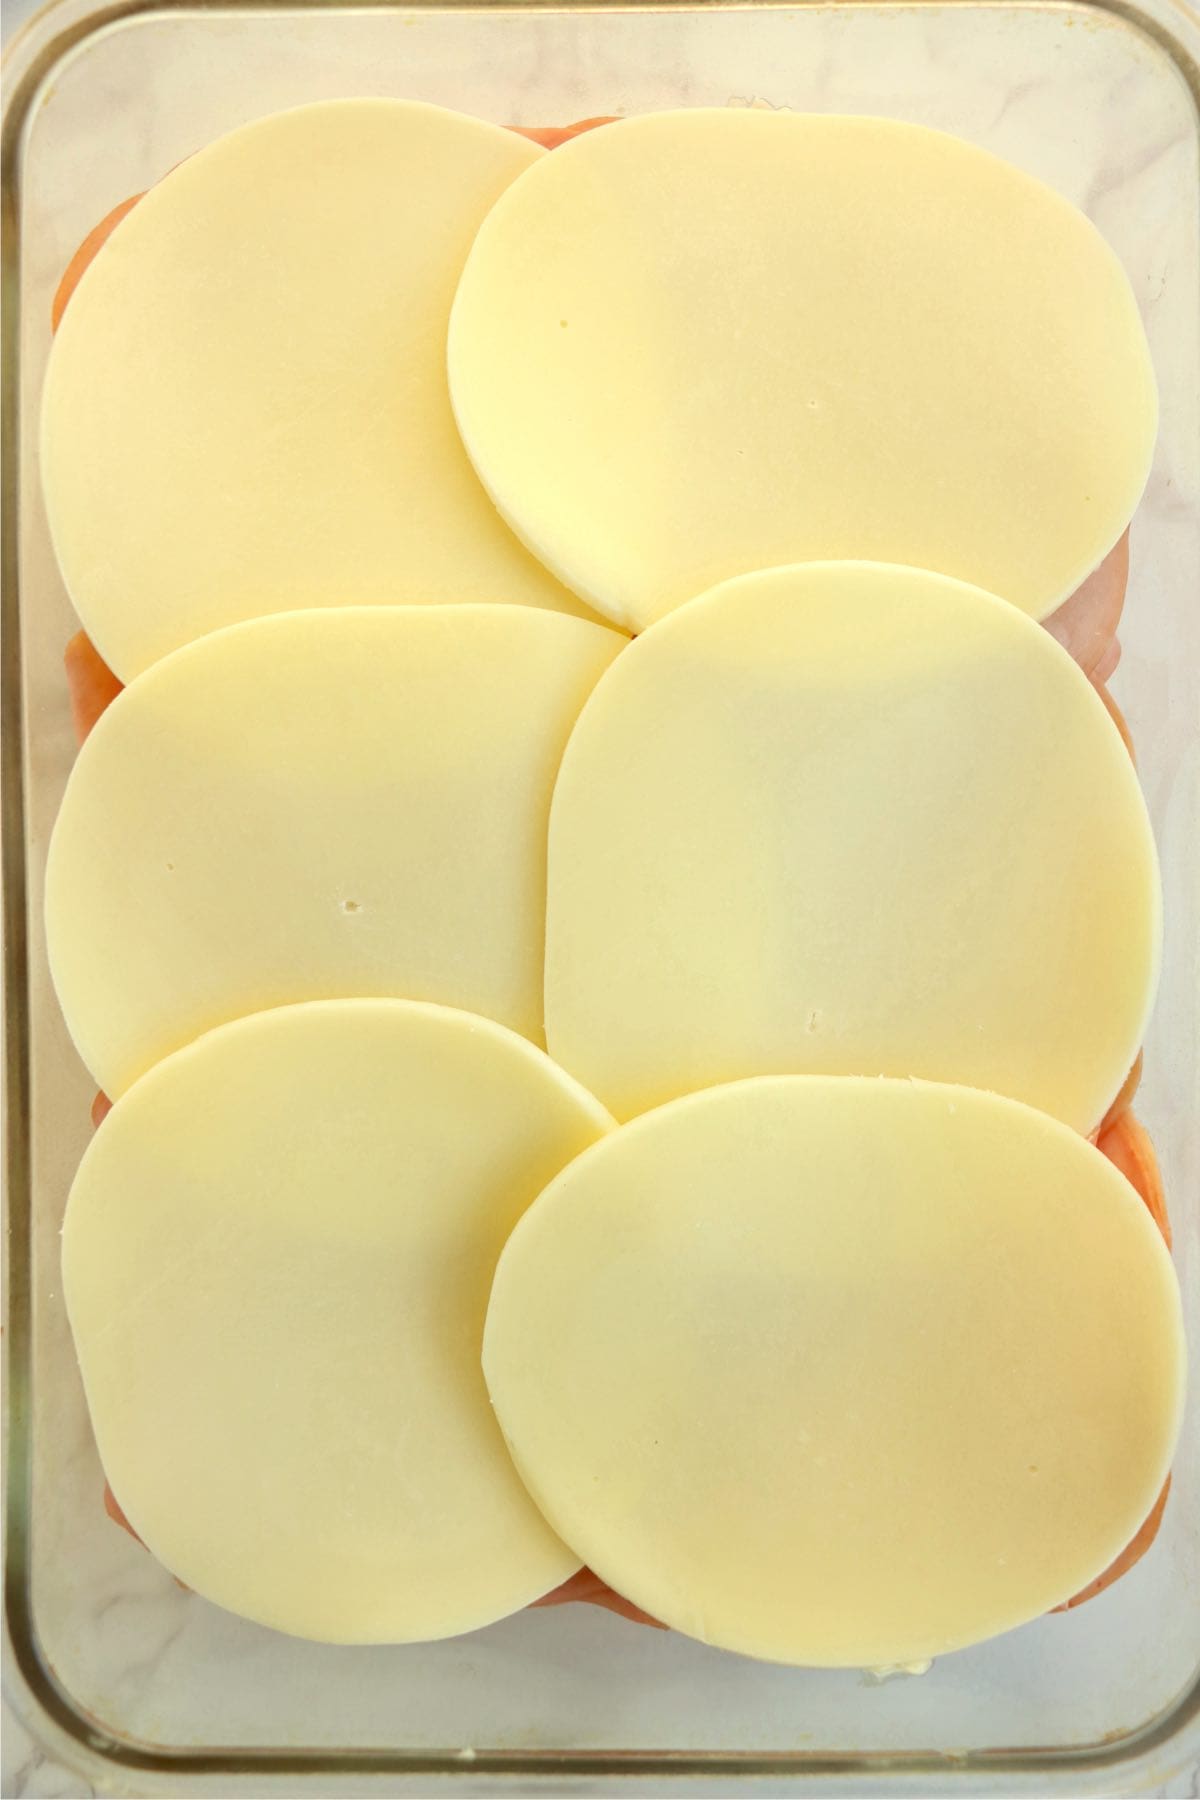
3: Add a layer of cheese, a layer of turkey, and a final layer of cheese. Then, add the top buns.
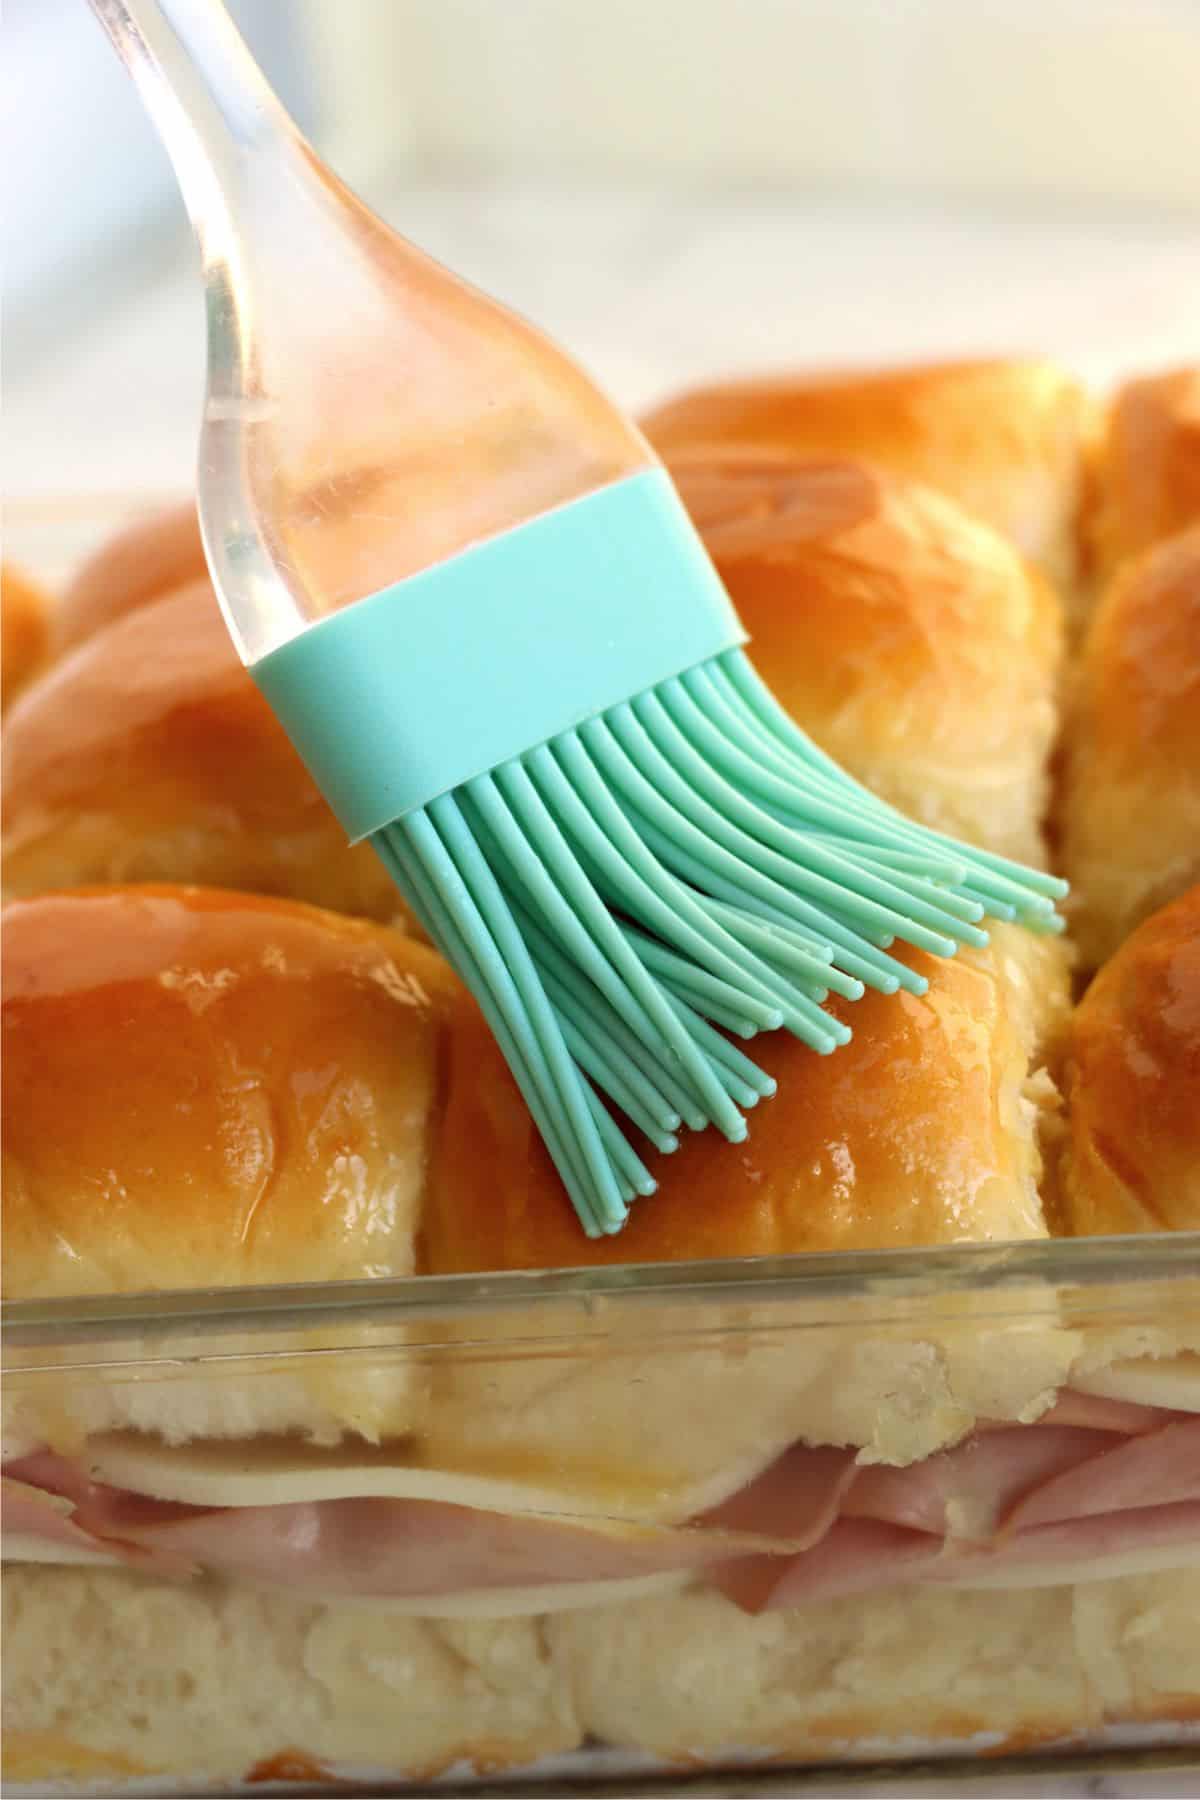
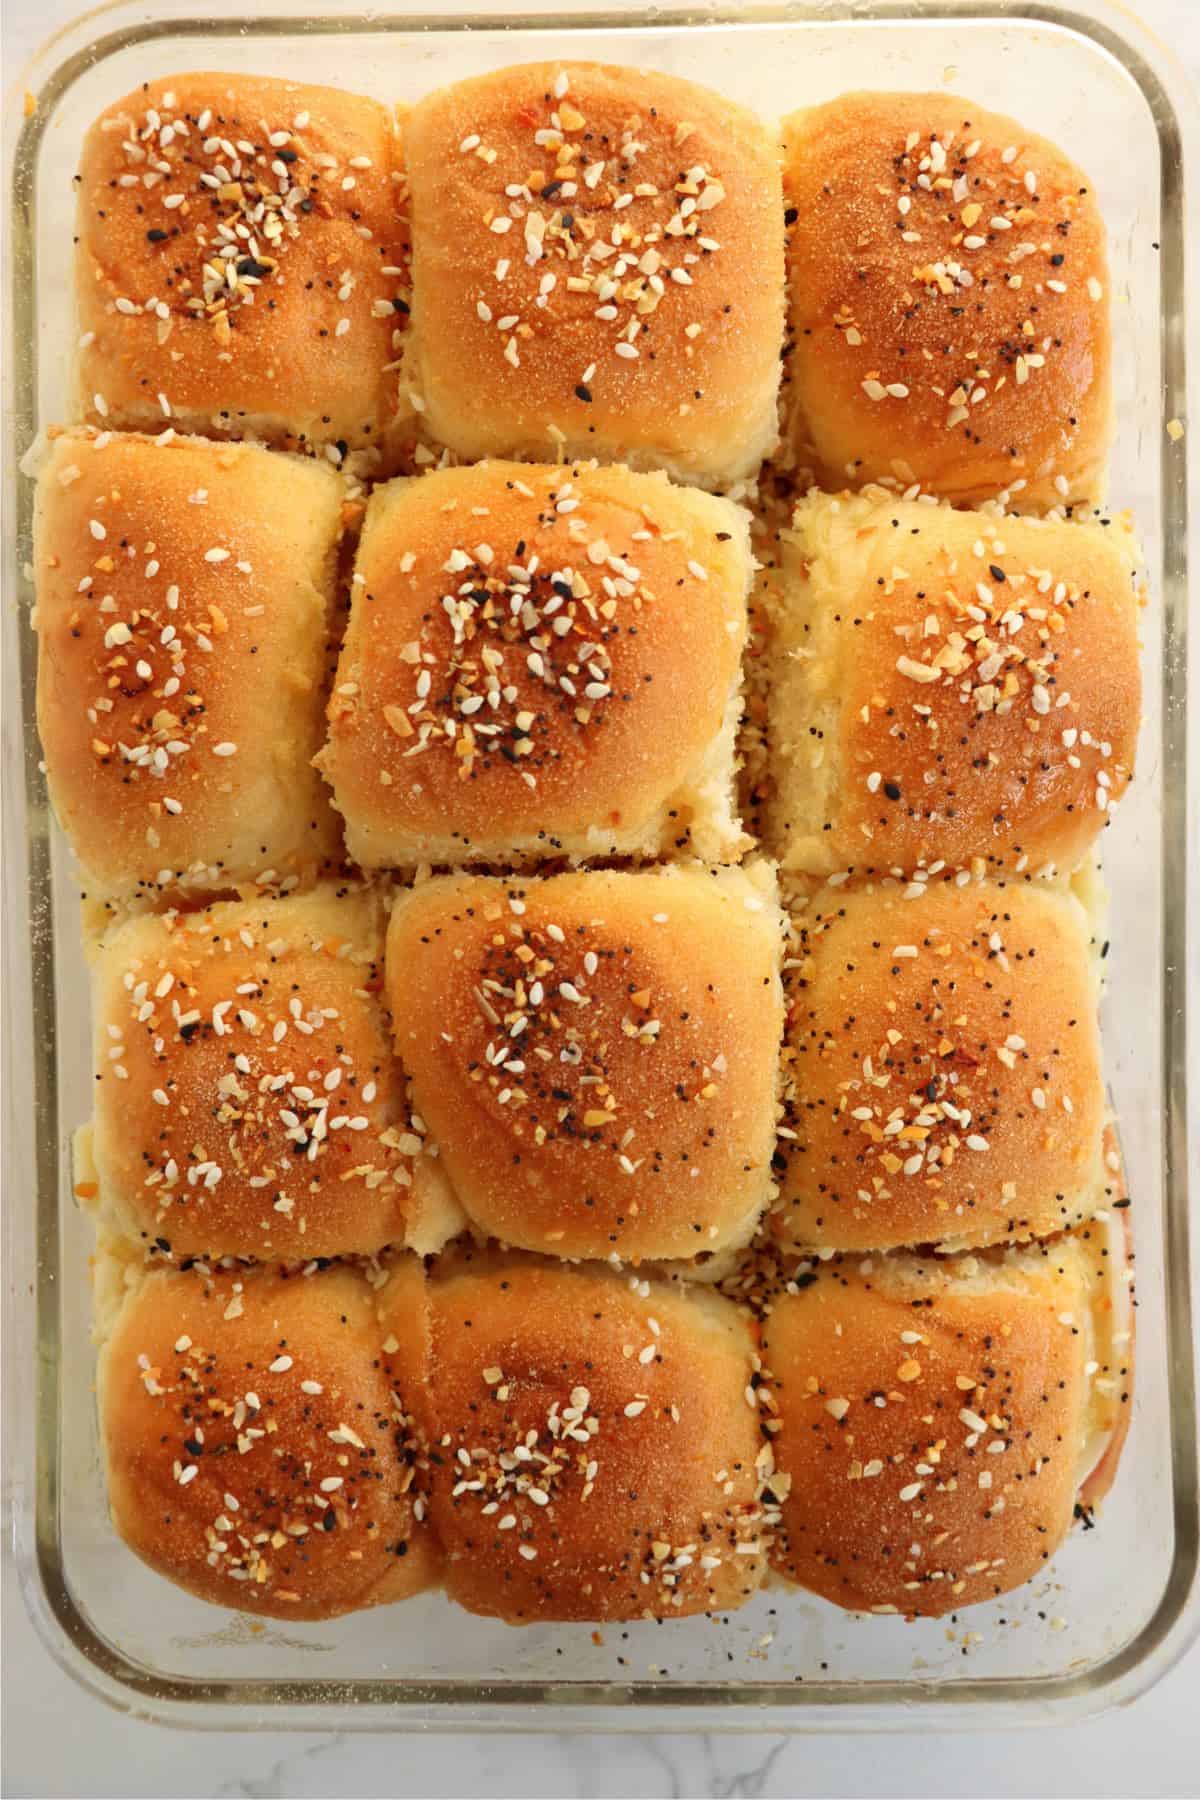
4: Brush the buns with butter, top with Everything seasoning, and bake until golden and slightly crusty.
Substitutions and Variations
- Use your favorite cheese for this recipe.
- Use your favorite lunch meat for this recipe.
- Use your favorite rolls for these sliders.
- For a kick of heat, try adding sliced jalapenos before baking.
Equipment
- Serrated bread knife
- Cutting board
- Baking dish
- Food grade brush
Storage
Refrigerator: Store for up to 3 days in an air-tight container.
Freezer: Wrap individually in plastic wrap, then store in an air-tight, freezer-safe container or heavy-duty freezer bag for up to 3 months.
Make Ahead: You can construct the sliders up to 2 days ahead of time. Then, when ready to bake, brush the tops with melted butter, add the Everything seasoning, and bake.
Reheat: To reheat the sliders, brush them lightly with melted butter and bake at 375 for to 10 minutes until heated through.
What to Serve with Turkey and Cheese Sliders
These sliders are classic party food, and as such, they're perfect with all the great party sides we love. Serve them with:
- Potato chips
- Tortilla chips
- French fries
- Sweet potato fries
- Potato wedges
- Coleslaw
- Potato salad
- Baked Beans
- Mac and cheese
Tips
- Use a sharp, serrated bread knife when cutting the slider buns to prevent squishing them.
- Your sliders are done when the tops are golden and a bit crunchy.
- Use a food-grade silicon brush for the melted butter. This prevents little brush hairs from getting all over your sliders.
FAQ
Sliders were originally small hamburgers. However, these days, sliders are any kind of baked or toasted sandwich consisting of meat or some other filling, cheese, Hawaiian rolls, or similar small rolls.
Sliders were originally small hamburgers. Many people described them as being so greasy that they slid right down your throat.
No! Sliders are ridiculously easy to make. You just layer the ingredients and bake them. That's it!
More Irresistible Sandwiches


Turkey and Cheese Sliders
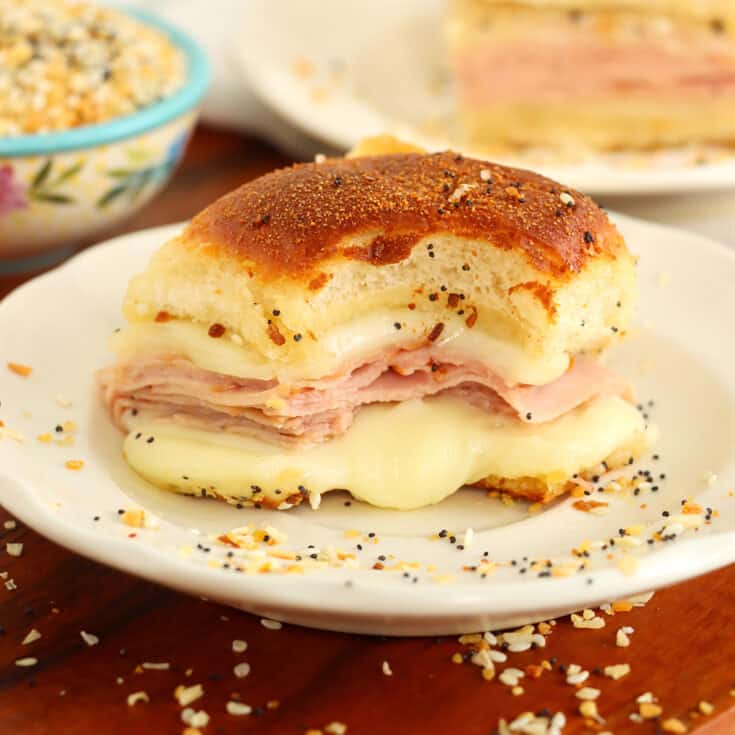
Baked turkey and cheese sliders are loaded with gooey cheese and hot turkey lunchmeat on the inside and a buttery, seasoned outside coating.
Ingredients
- 12 Sweet Hawaiian Rolls
- 3 tbsp butter, divided
- 12 Provolone cheese slices
- 1 lb thin sliced turkey breast
- ½ tsp garlic powder
- 1 tbsp Everything Bagel seasoning
Instructions
- Preheat oven to 375ºF.
- Cut tops of rolls off and separate each roll.
- Place bottoms into a greased baking dish.
- Spread 1 tablespoon of butter over bottom layer of rolls.
- Place 6 slices of cheese on top of butter.
- Spread sliced turkey breast evenly over top of cheese.
- Add remaining 6 slices of cheese over turkey.
- Place tops of rolls on top of cheese.
- Melt remaining butter and brush it over top of sliders.
- Sprinkle garlic powder and Everything Bagel seasoning on top.
- Bake for 12-15 minutes or until cheese is melted and tops of rolls are a bit crunchy.
Nutrition Information
Yield
12Serving Size
1Amount Per Serving Calories 266Total Fat 14gSaturated Fat 8gTrans Fat 0gUnsaturated Fat 4gCholesterol 64mgSodium 834mgCarbohydrates 20gFiber 1gSugar 6gProtein 15g
Get Inspired!
Never miss my delicious recipes, cute creations, or household tips!