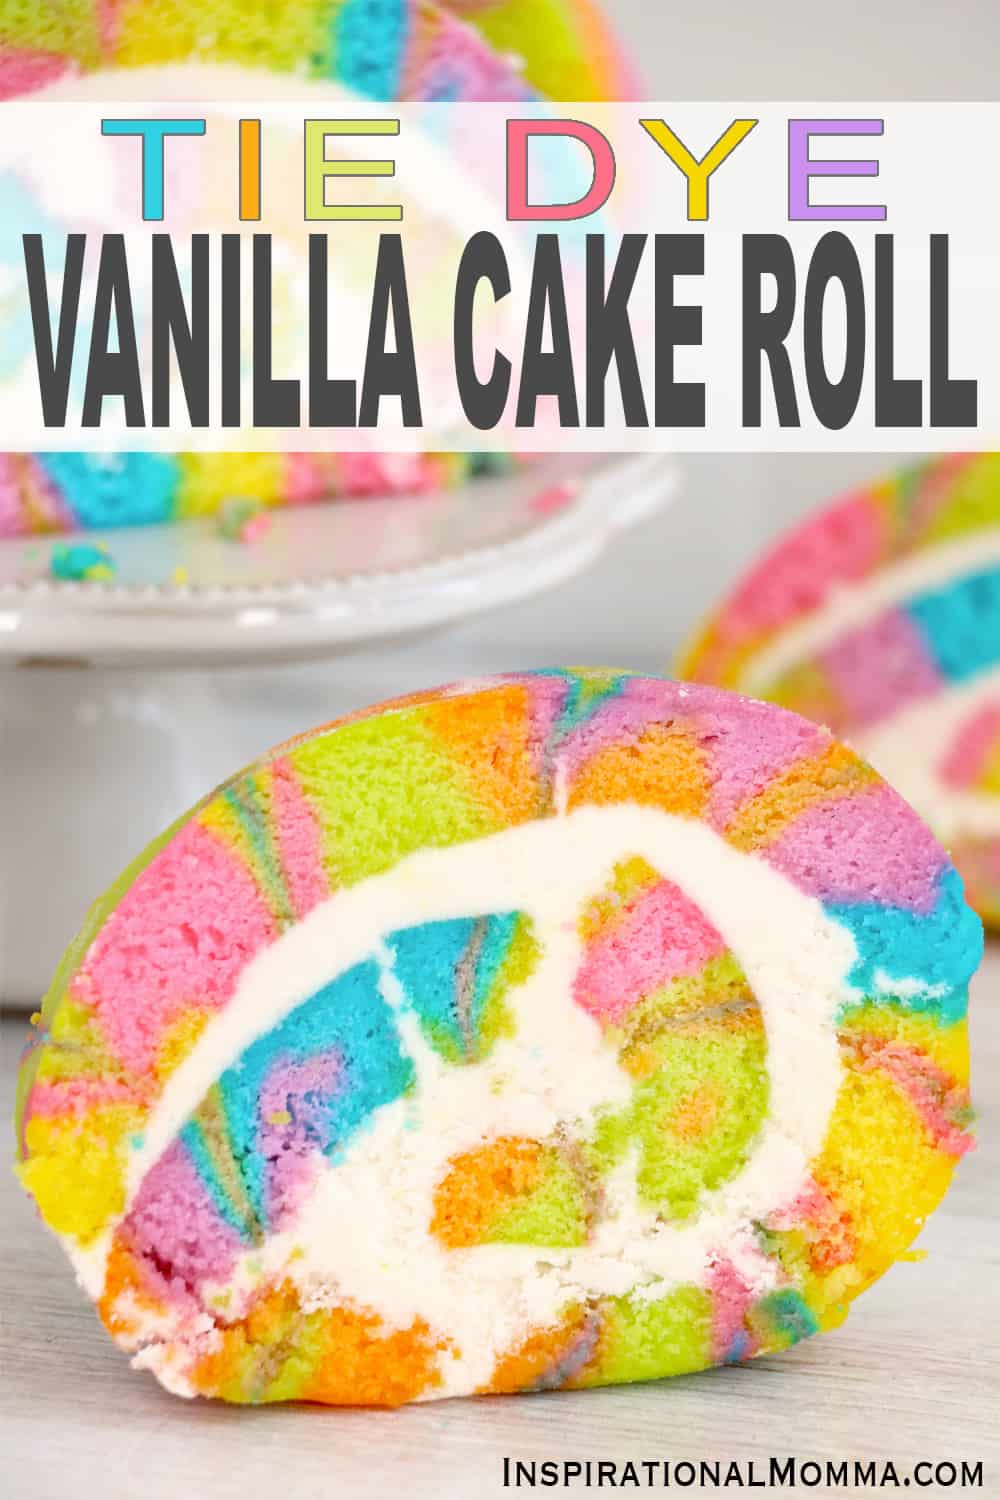
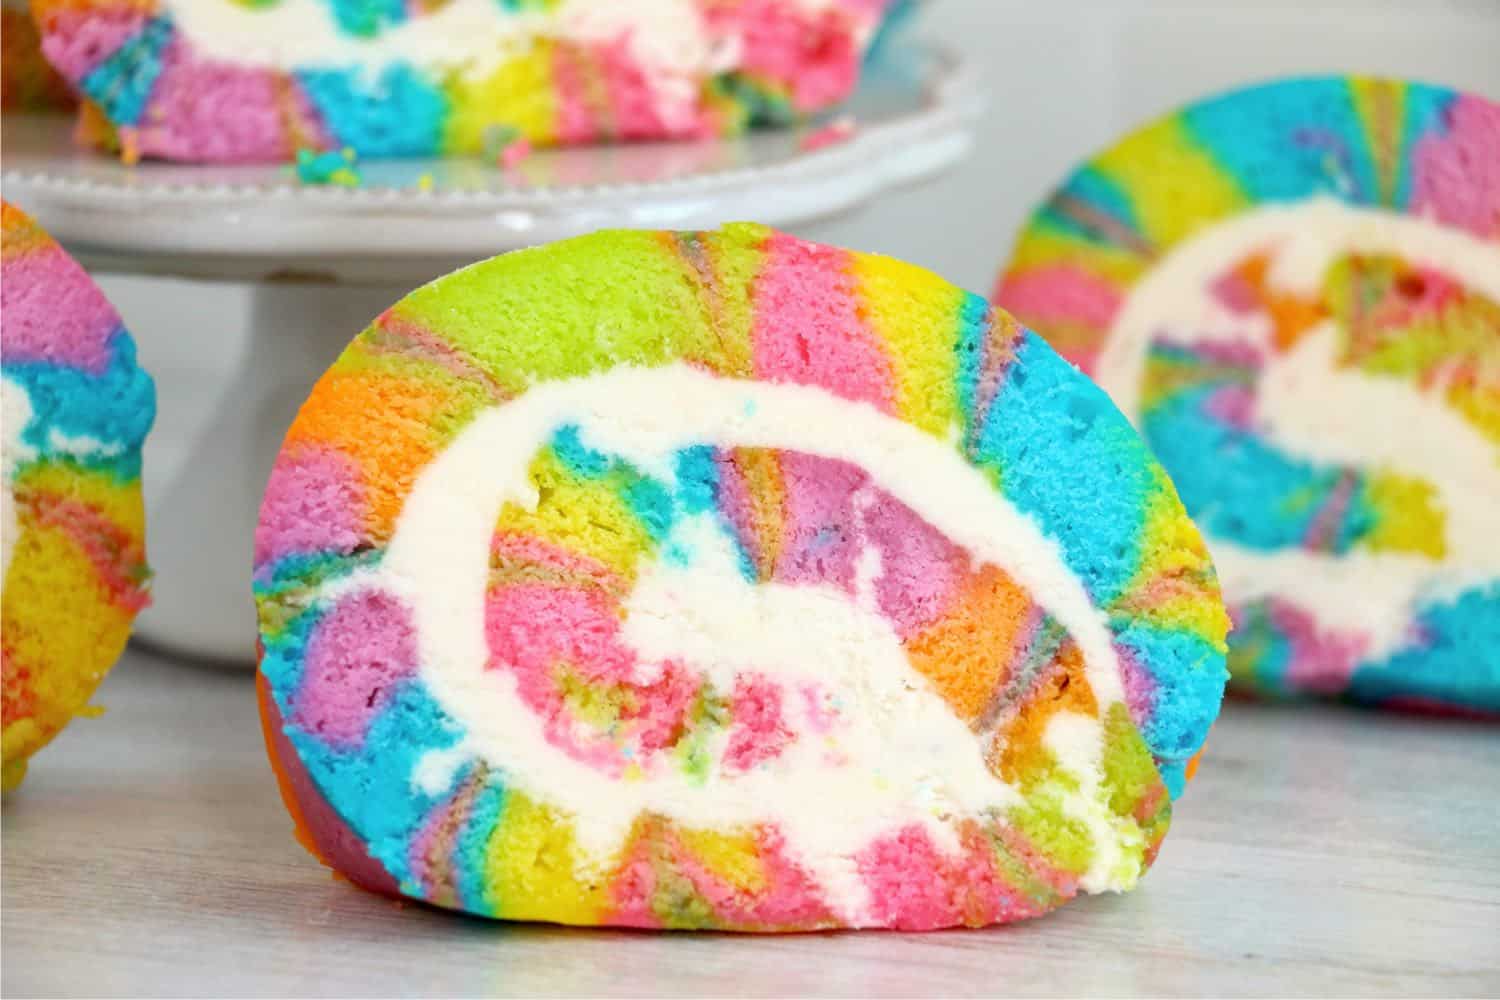
Tie Dye Vanilla Roll Cake
This Tie Dye Vanilla Cake Roll is a sweet, rich, and decadent roll cake filled with homemade buttercream frosting. Perfect for parties!
Rainbow Cake Pinwheels
It's time to party! There is no better way to celebrate than with this perfect combination of moist cake and creamy frosting. It definitely will satisfy everyone's sweet tooth! Looking for another sweet treat? Check out my Strawberry Angel Food Dessert! 100% delish!
When it comes to baking, there are two things that go together like nothing else! Gorgeous and delicious! There are foods that taste amazing that may not look too attractive. There are others that catch the eye, but don't live up to the hype. Then there are those that steal your heart at first glance and have you begging for more.
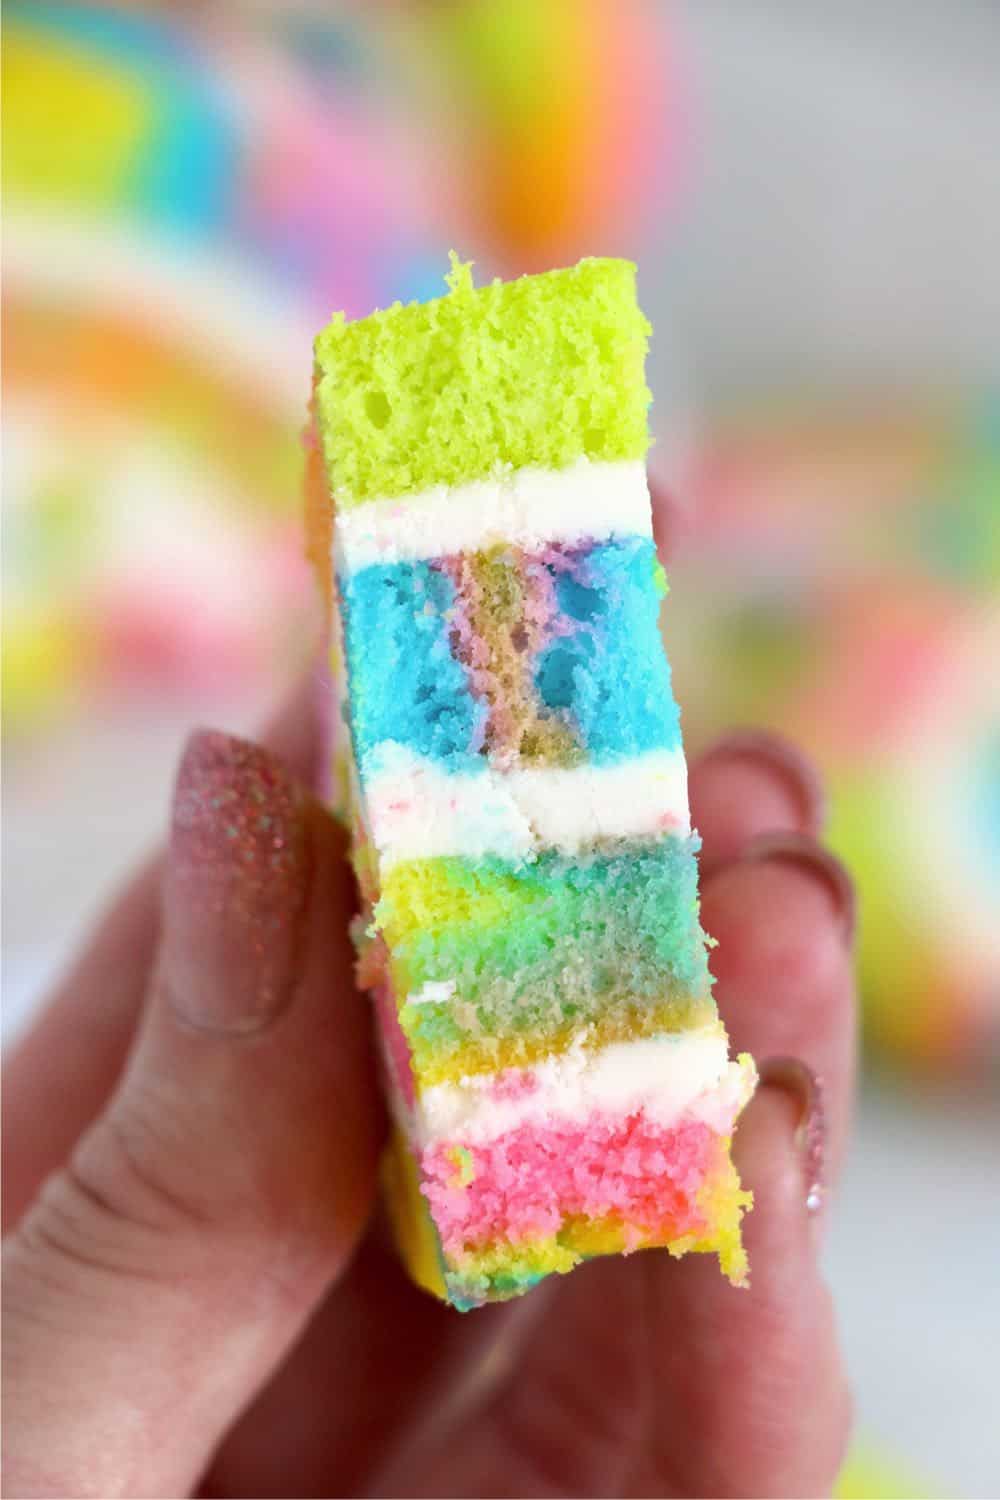
That is exactly how I felt the first time I made this Tie Dye Vanilla Cake Roll. WOW! Just look at it! It is almost too beautiful to eat. But let's be honest, I couldn't resist digging in. Moist, colorful white cake filled with homemade creamy buttercream frosting is a sensational combination that everyone will love!
And don't be intimidated! This is a recipe that anyone can make. Get ready to impress all your guests!
Ingredients for Tie Dye Vanilla Cake Roll
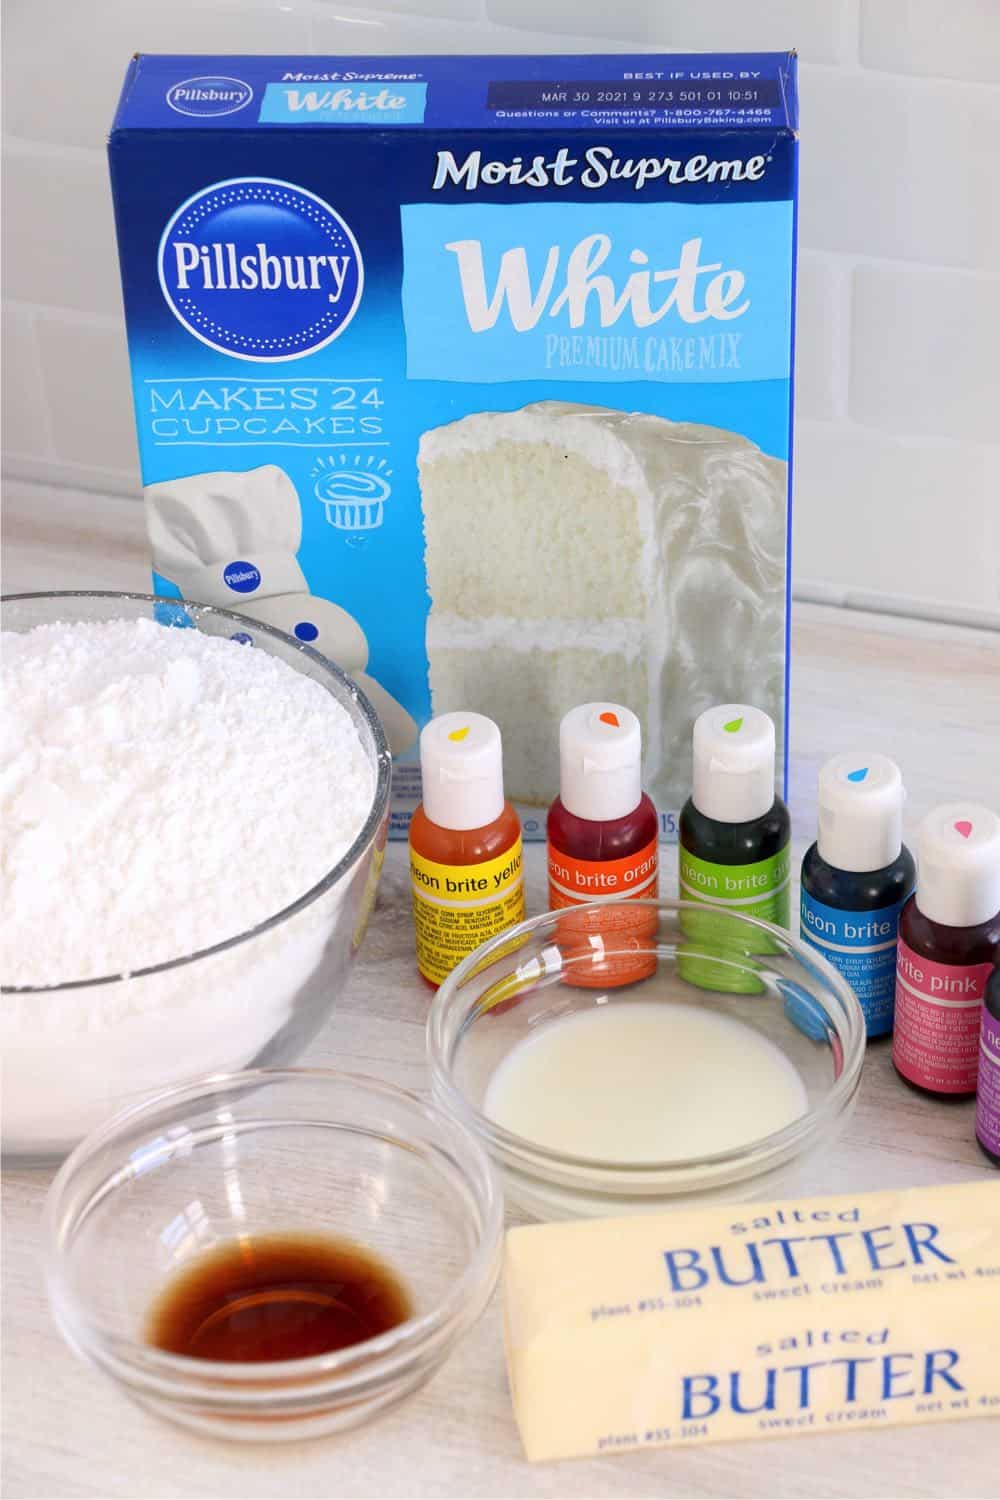
- white cake mix
- food dye
- butter
- vanilla
- powdered sugar
- milk
How to Make a Tie Dye Vanilla Cake Roll
Before we get started, preheat your oven to 325ºF. You should also prepare a jelly roll pan by covering it with a thin layer of shortening. Next, sprinkle a small amount of flour on it. Tap the sides of the pan to work the flour around until the pan is completely coated. Set it aside for later.
Our next step is to prepare the cake batter according to the package directions. This recipe will work with any boxed cake mix, but each one calls for slightly different ingredients. Be sure to add what your particular cake mix calls for.
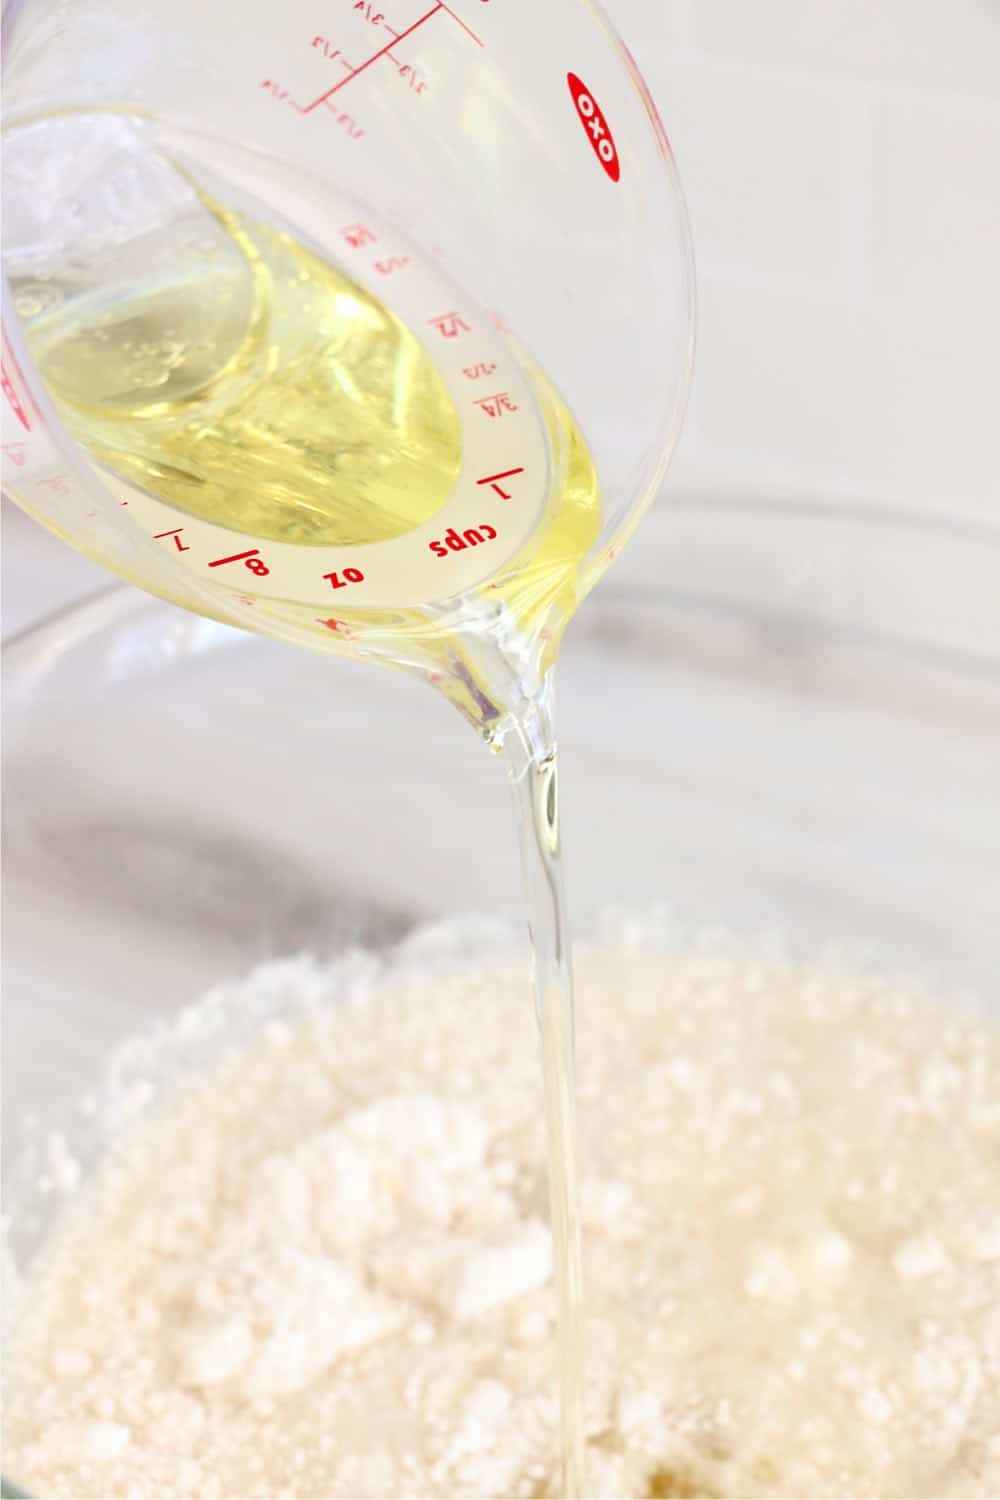
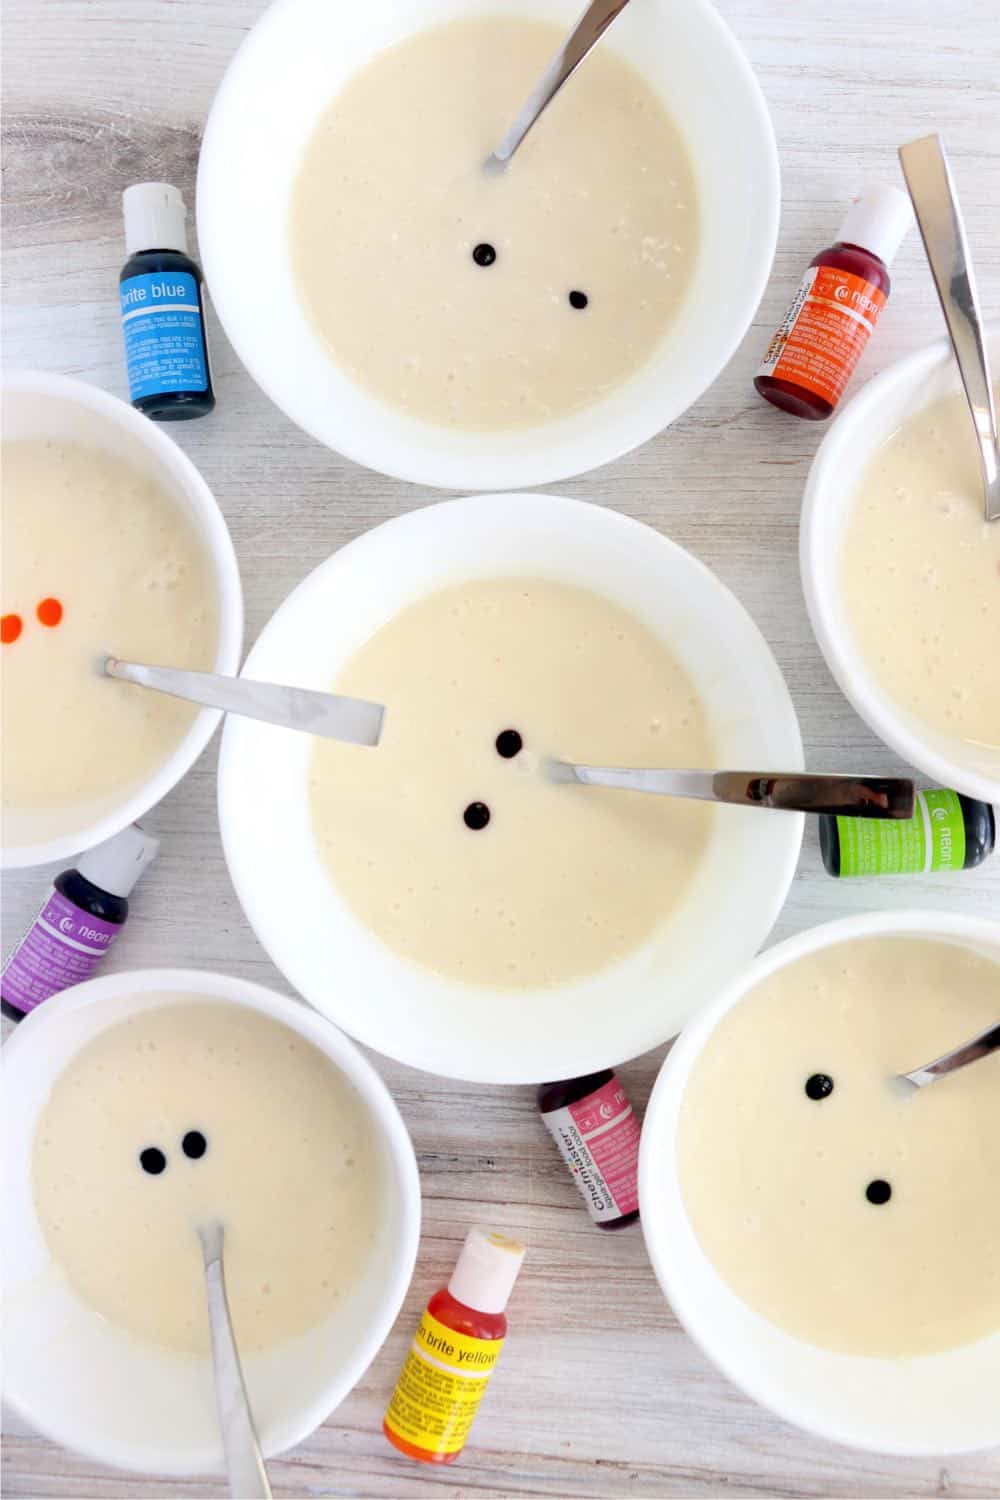
Now that your batter is prepared, you need to separate it evenly into six bowls. Your amounts don't have to exact, but try to get them as close as possible.
Next, add food dye to each bowl and mix until the colors are uniform throughout. I am a huge fan of these neon gel food colors. They produce gorgeous, vibrant colors that are irresistible!
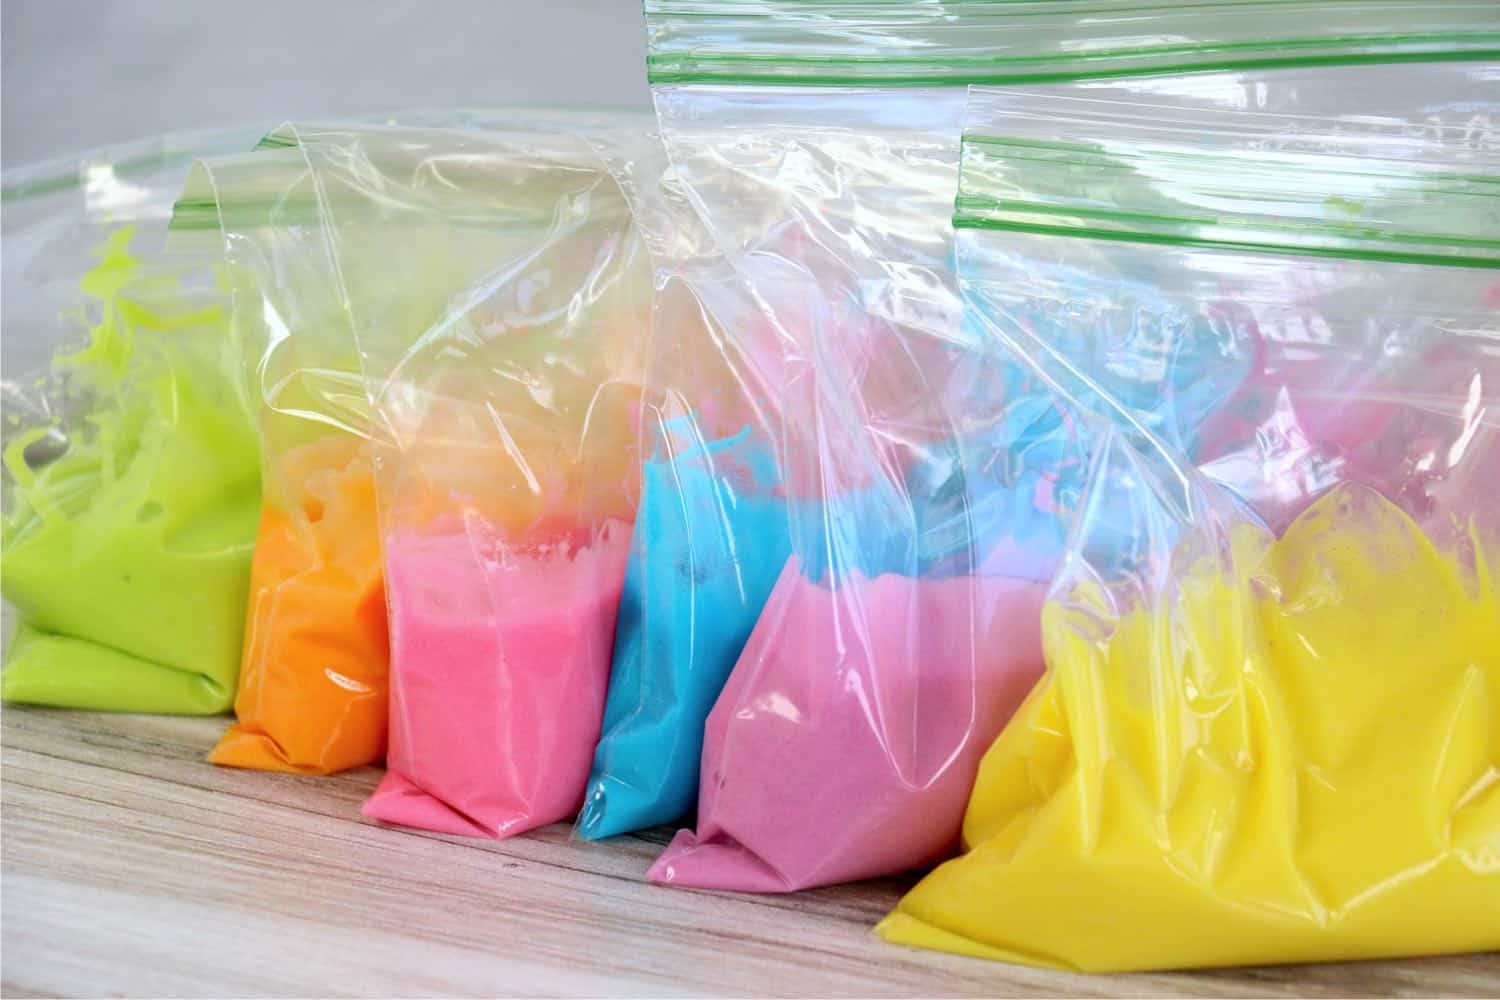
It's time to transfer the batter to six ziplock baggies. This part can get a little messy, so I usually have one of my children help hold the bags for me. Be sure they are sealed. Cut a small bottom corner off of each bag. Just be sure to lay them so the cut corners are up, avoiding the batter from running out.
Create Your Tie Dye Cake
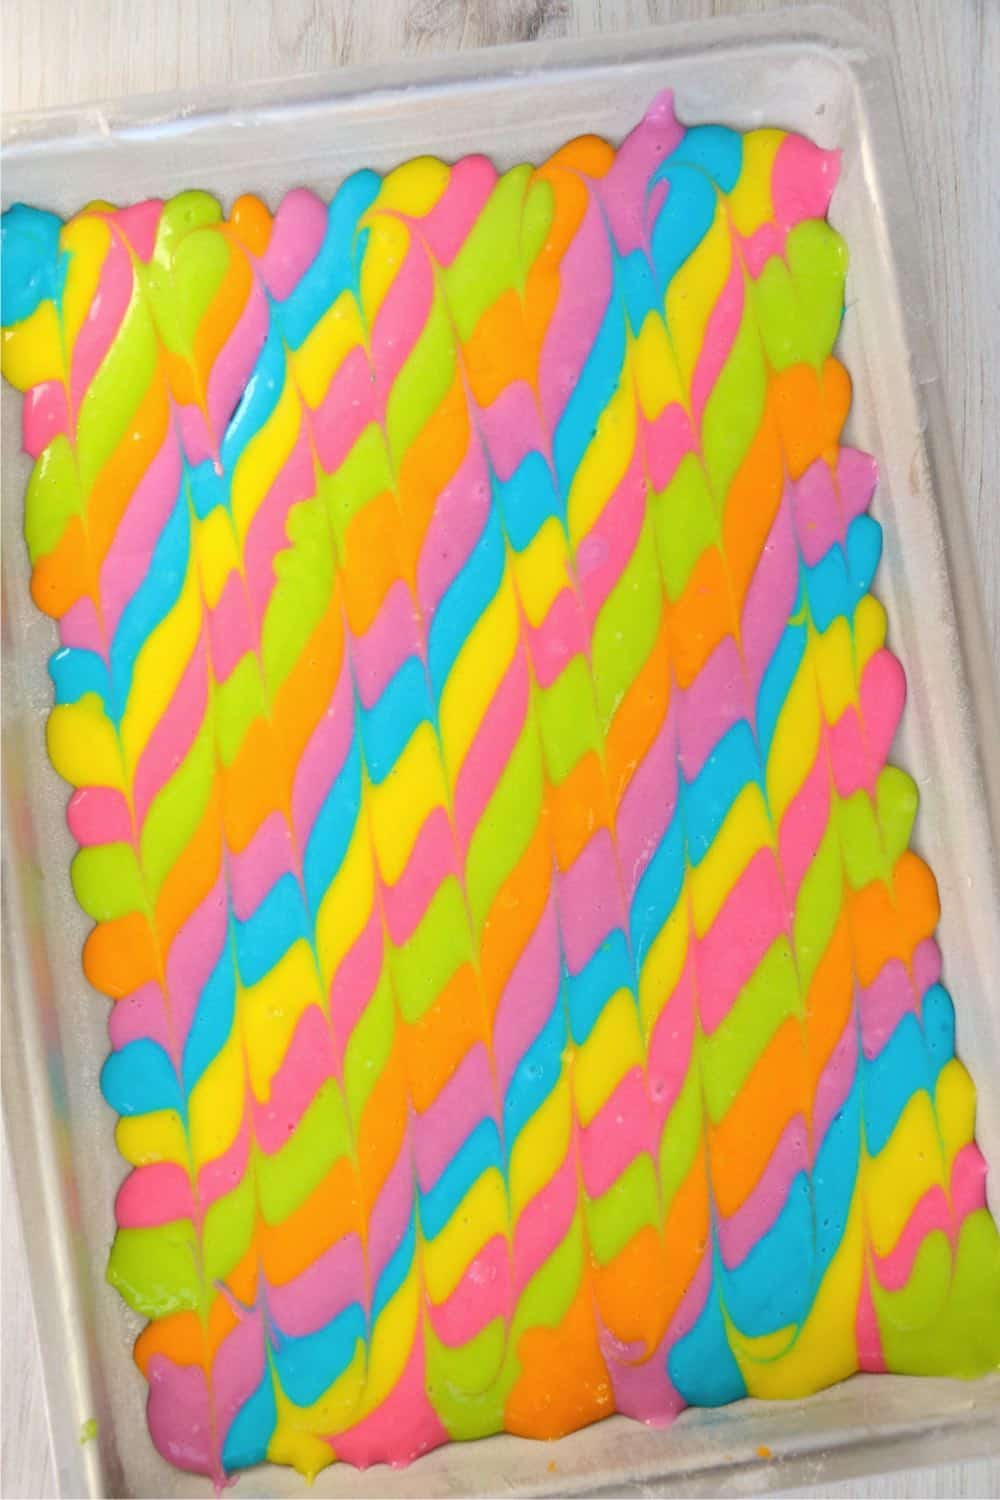
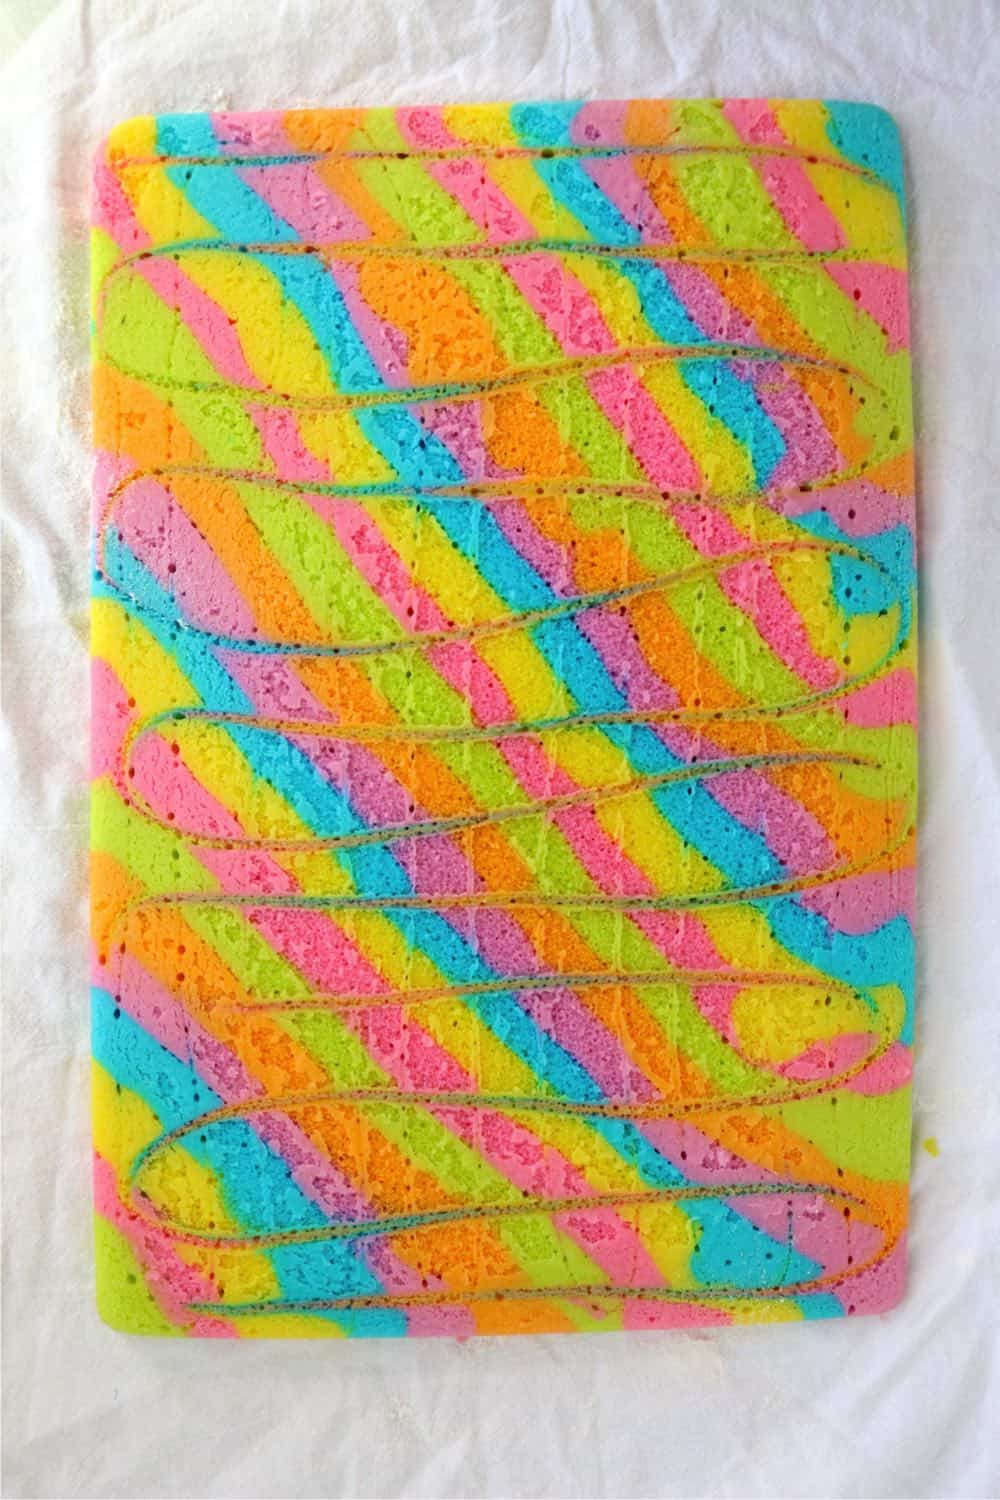
Grab your prepared jelly roll pan, and in a diagonal pattern, squeeze strips of each color into it until the pan is filled. If you have batter remaining, you can go back and fill in as needed. When all the bags are empty, gently shake the pan to even out the cake batter. Using a toothpick, draw swirls in the batter to create a tie dye look.
Bake your cake for 18 minutes or until it is set. You can check the center with a toothpick to make sure it comes out clean. When the cake is done, remove it from oven and allow it to cool for 20 minutes.
Place a thin towel on a flat surface and sprinkle flour on it. Carefully, but quickly, flip the cake out of the pan and onto the floured towel.
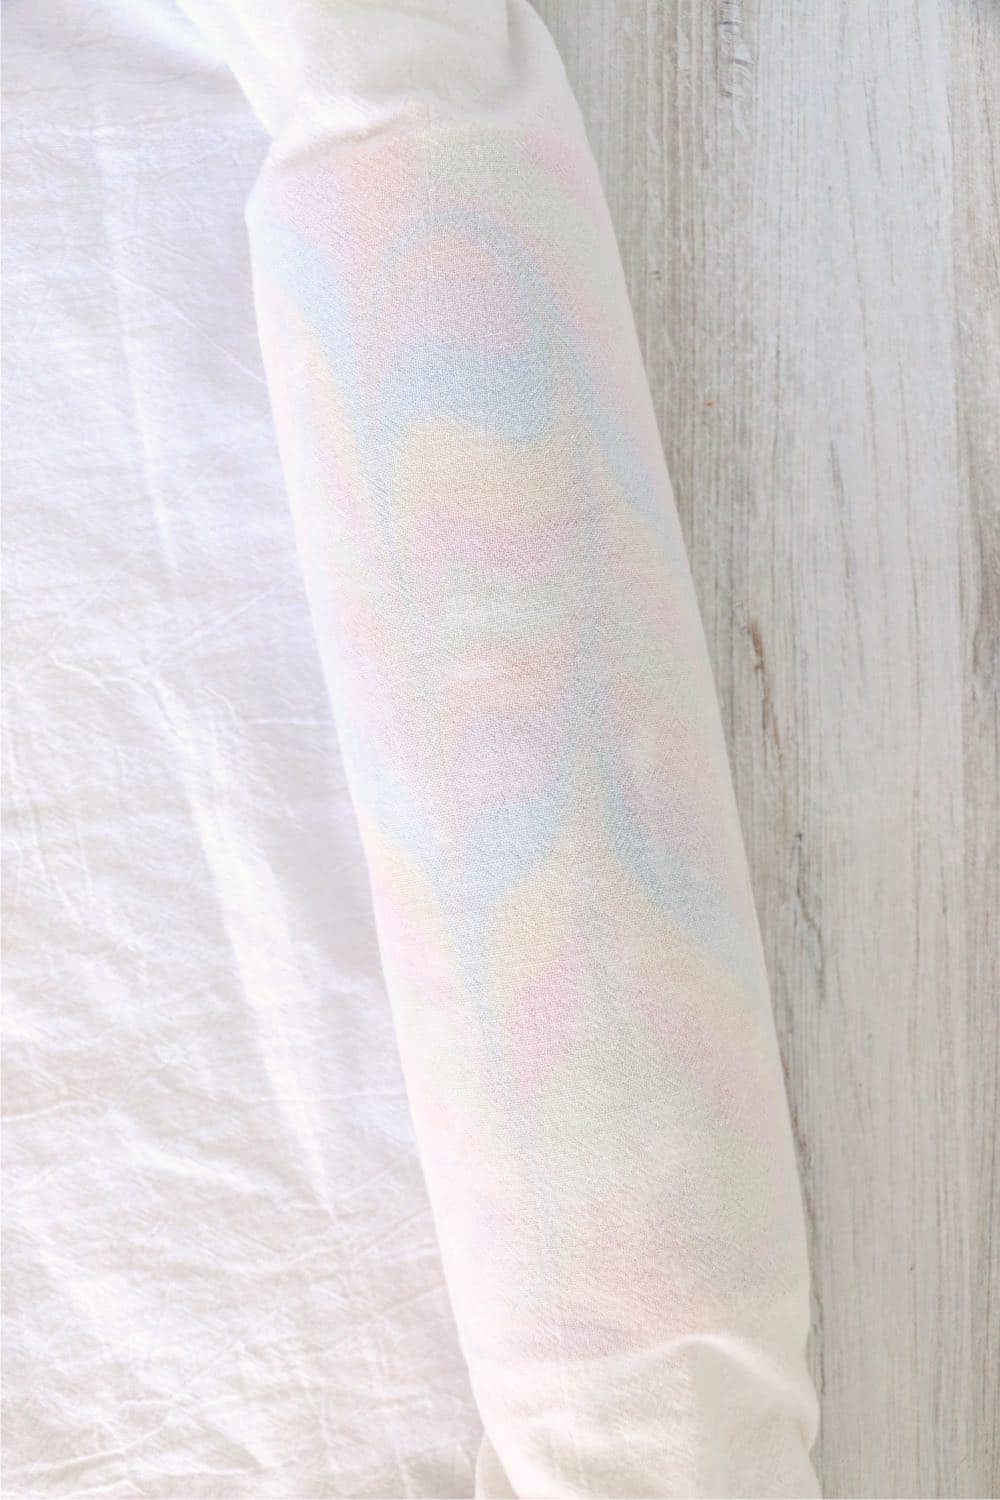
Sprinkle a small amount of flour on the top side of the cake and cover it with another thin towel. Starting on one end, roll the cake up with a towel on each side. Tuck the ends underneath, trying to keep it as tight as possible. With the cake tightly rolled, set it aside to completely cool. When the cake is completely cool, gently unroll it.
How to make Homemade Buttercream Frosting
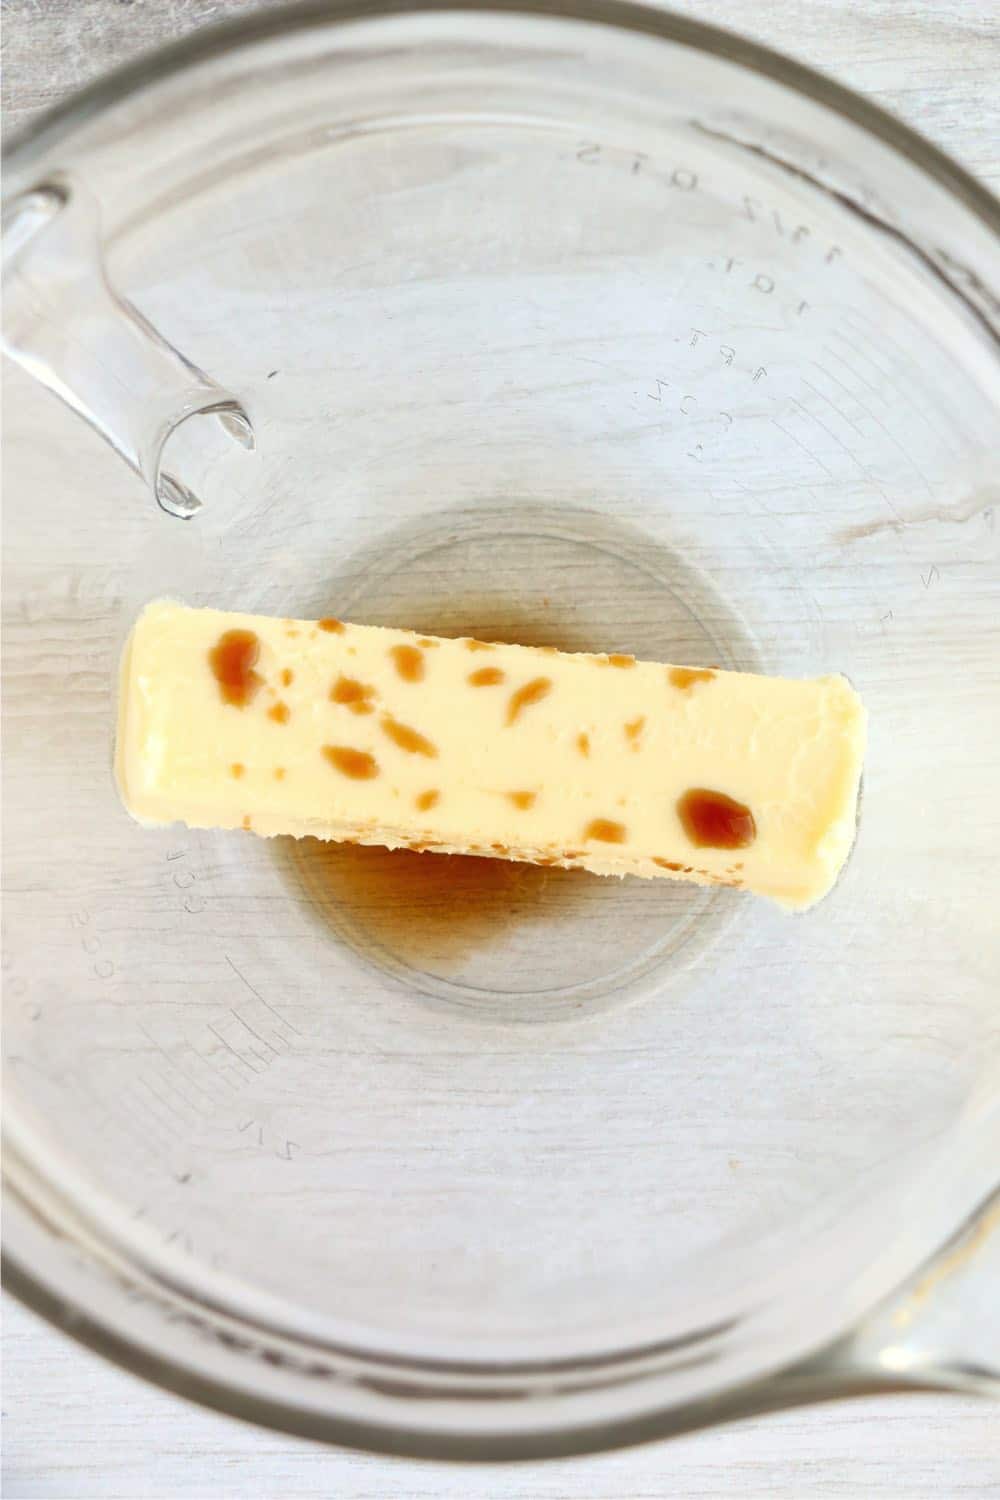
To prepare the buttercream frosting, beat the butter and vanilla together.
Next, add powdered sugar and enough milk to reach the consistency you desire. If the frosting is too thick, it will tear the cake as you spread it. If it is too thin, it will not help hold the cake's form like it should.
I prefer to transfer the frosting into a large ziplock bag so I can distribute it all over. This is not necessary, but it does make spreading it with a spatula much easier.
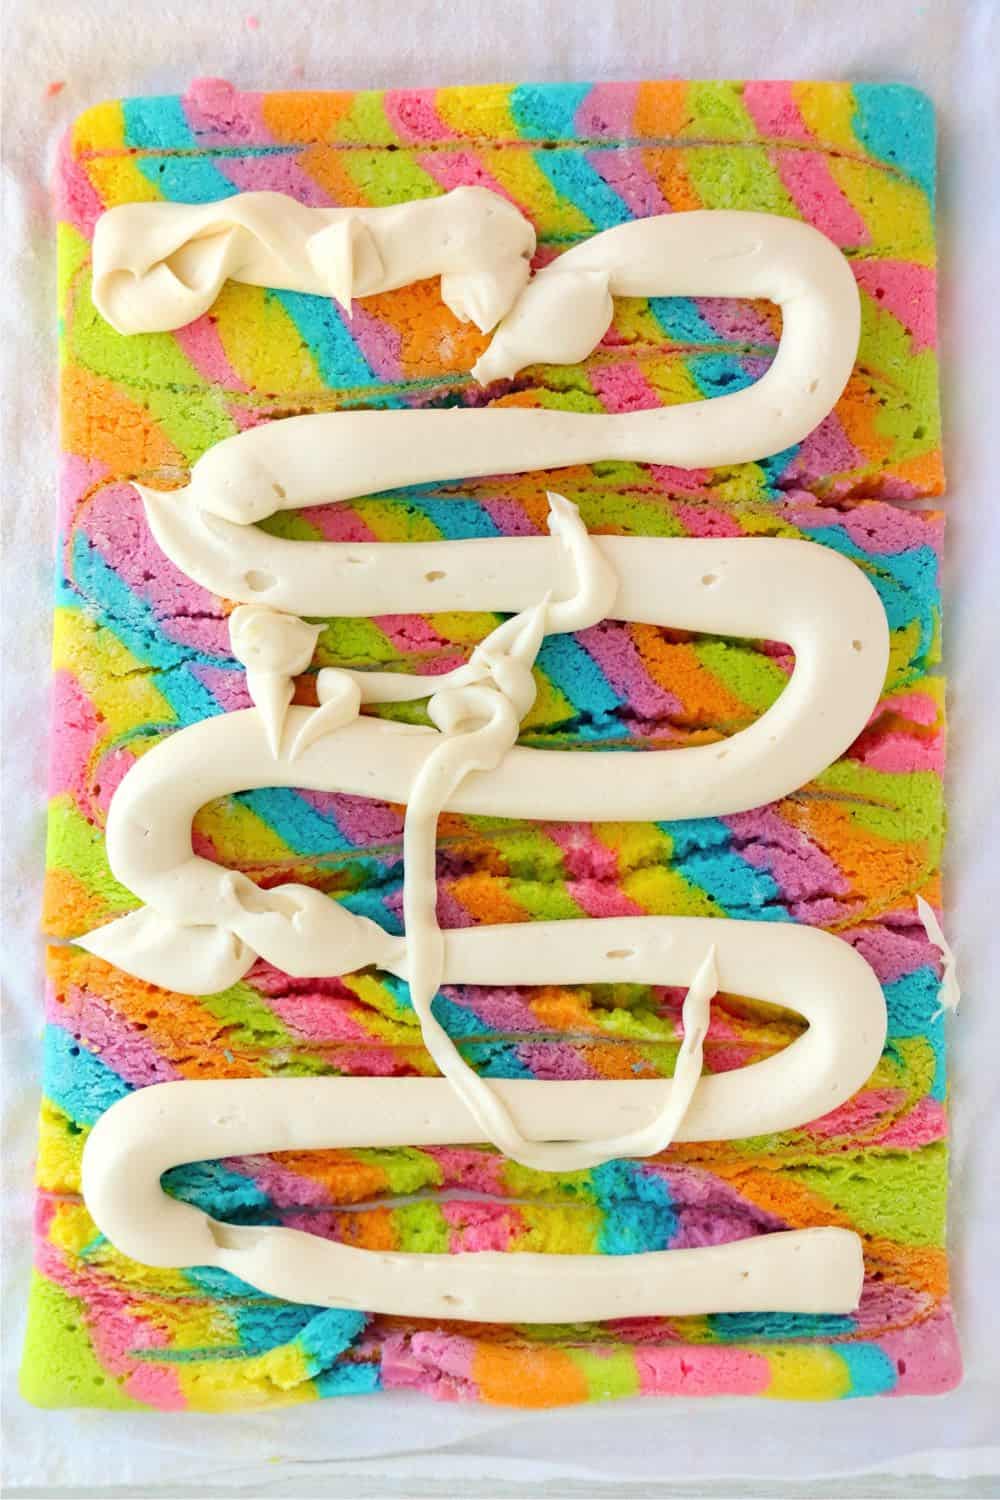
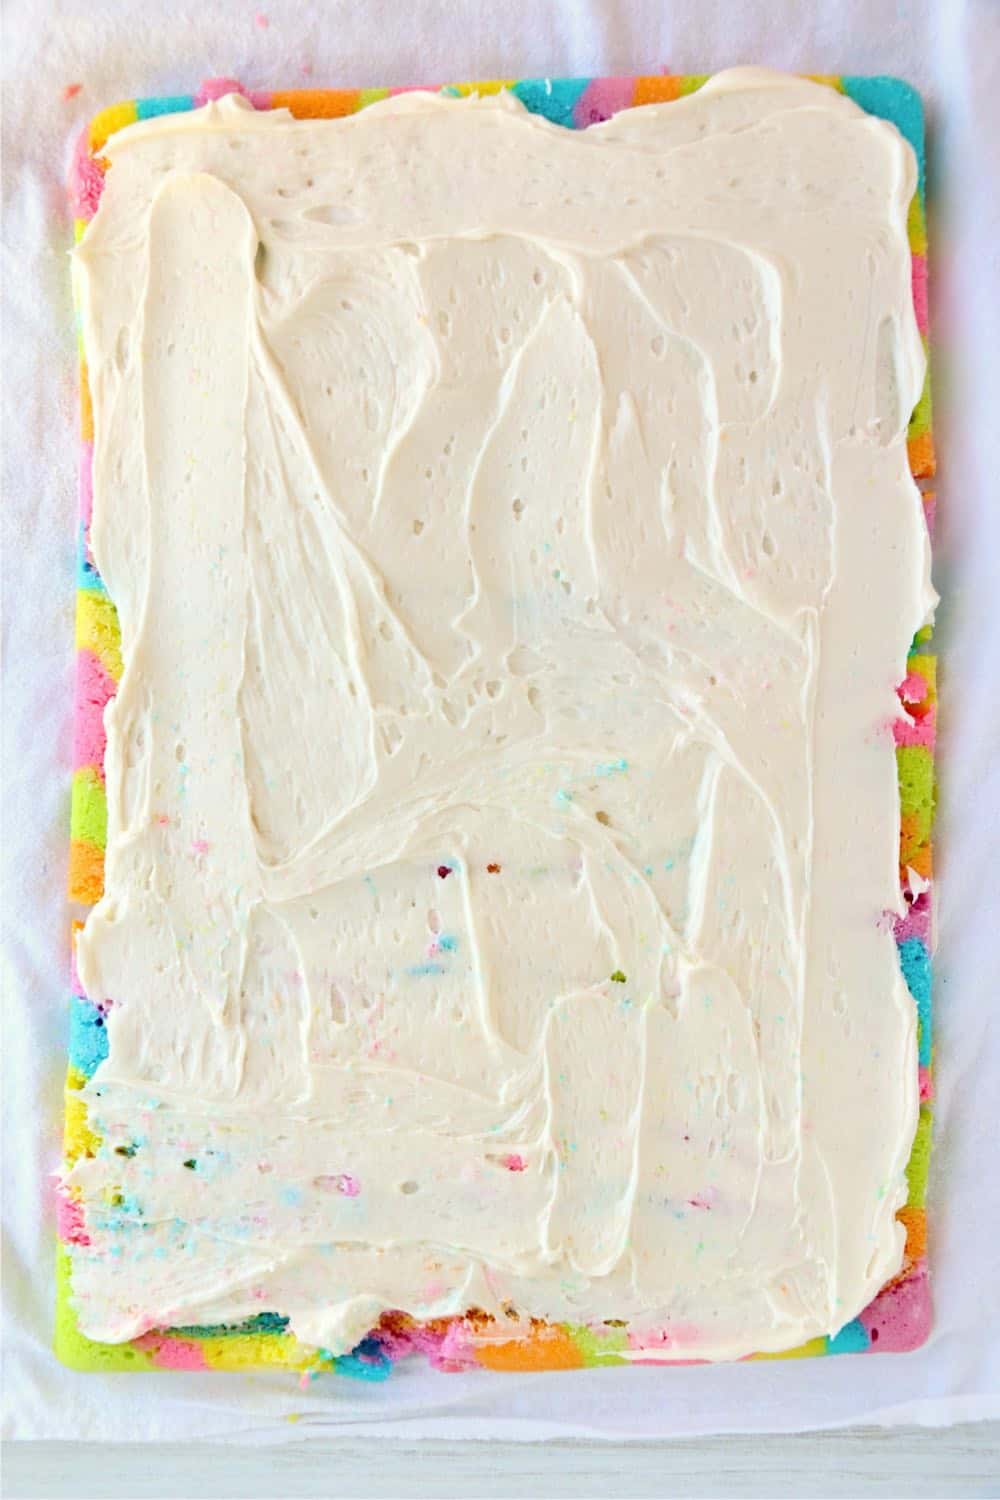
Spread the frosting, covering the entire top of the cake.
Begin rolling the cake from one end, using one towel to help guide you. This time, be sure that you do not roll the towel inside the cake and frosting. When the cake is completely rolled, wrap the towel tightly around it to help hold its form. Place the cake roll in the freezer for 4 hours.
When you are ready to be amazed, remove it from the freezer and cut it into slices.
This colorful dessert is not only gorgeous, it is absolutely delicious! It is the perfect combination of moist cake and creamy frosting that will satisfy everyone's sweet tooth!
Love what you see?
Find more of my fun creations on Facebook, Instagram & Pinterest! You can also sign up for my weekly newsletter below and never miss any of my inspirations!
Can’t get enough? Check out more of my favorites!
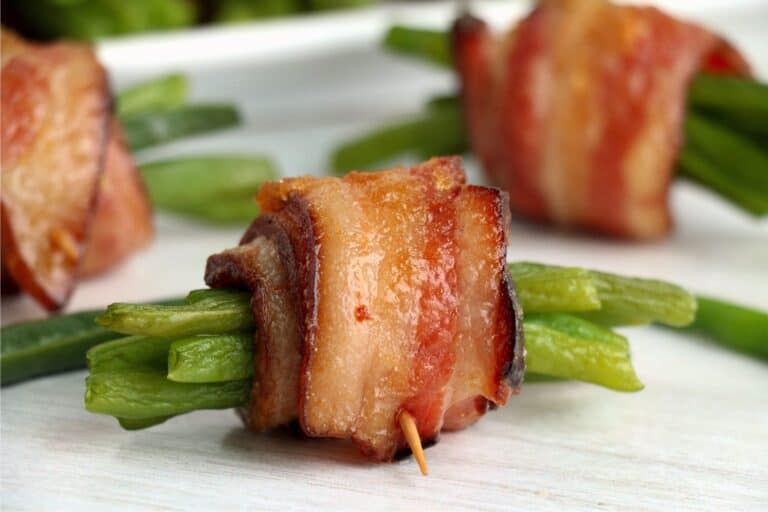
- Bacon Wrapped Green Beans
- Fresh Homemade Salsa
- Raspberry Jello Poke Cake
- Crab & Cream Cheese Crescent Ring
- Savory Seafood & Corn Chowder
- Creamy Shrimp Pasta
- Air Fryer Baked Potatoes
- Crock Pot Honey Garlic Meatballs
- Creamy Cheesy Broccoli Soup
- Easy Air Fryer Baked Potatoes
- Easy & Delicious Pumpkin Bars
Tie Dye Vanilla Roll Cake

This Tie Dye Vanilla Cake Roll is a sweet, rich, and decadent roll cake filled with homemade buttercream frosting. Perfect for parties!
Ingredients
- 1 white cake mix (including ingredients in box directions)
- 6 neon food dye colors
- 1/2 cup butter, softened
- 1 tsp vanilla
- 3 cups powdered sugar
- 3-4 tbsp milk
Instructions
- Preheat oven to 325ºF.
- Prepare a jelly roll pan with shortening and flour. This step will ensure that your cake does not stick. Set aside for later.
- Prepare cake batter according to the box directions.
- Separate batter evenly into 6 bowls.
- Add a color of food dye to each bowl and mix until the colors are uniform throughout.
- Transfer batter into 6 ziplock bags. Cut a small corner off of each bag.
- In a diagonal pattern, squeeze strips of each color until the pan is filled. If you have batter remaining, you can go back and fill in as needed.
- Gently shake the pan to even out the cake batter.
- Using a toothpick, draw swirls in the batter to create a tie dye look.
- Bake for 18 minutes or until the cake is set. Remove from oven and allow to cool for 20 minutes.
- Place a towel on a flat surface and sprinkle flour on it.
- Flip the cake out of the pan and onto the towel.
- Sprinkle a small amount of flour on the top side of the cake and cover it with another towel.
- Starting on one end, roll the cake up with a towel on each side. Try to keep it as tight as possible.
- With the cake tightly rolled, set it aside to completely cool.
- When cool, gently unroll it.
- To prepare frosting, beat butter and vanilla together.
- Add powdered sugar and enough milk to reach the consistency you desire.
- Spread on the frosting, covering the top of the cake.
- Begin rolling the cake from one end, using one towel to help guide you.
- When the cake is completely rolled, wrap the towel tightly around it to help hold its form.
- Place cake roll in the freezer for 4 hours.
- Remove from freezer and cut into slices.
- Serve and enjoy!
Nutrition Information
Yield
12Serving Size
1Amount Per Serving Calories 206Total Fat 9gSaturated Fat 5gTrans Fat 0gUnsaturated Fat 3gCholesterol 22mgSodium 90mgCarbohydrates 32gFiber 0gSugar 29gProtein 1g
Get Inspired!
Never miss my delicious recipes, cute creations, or household tips!